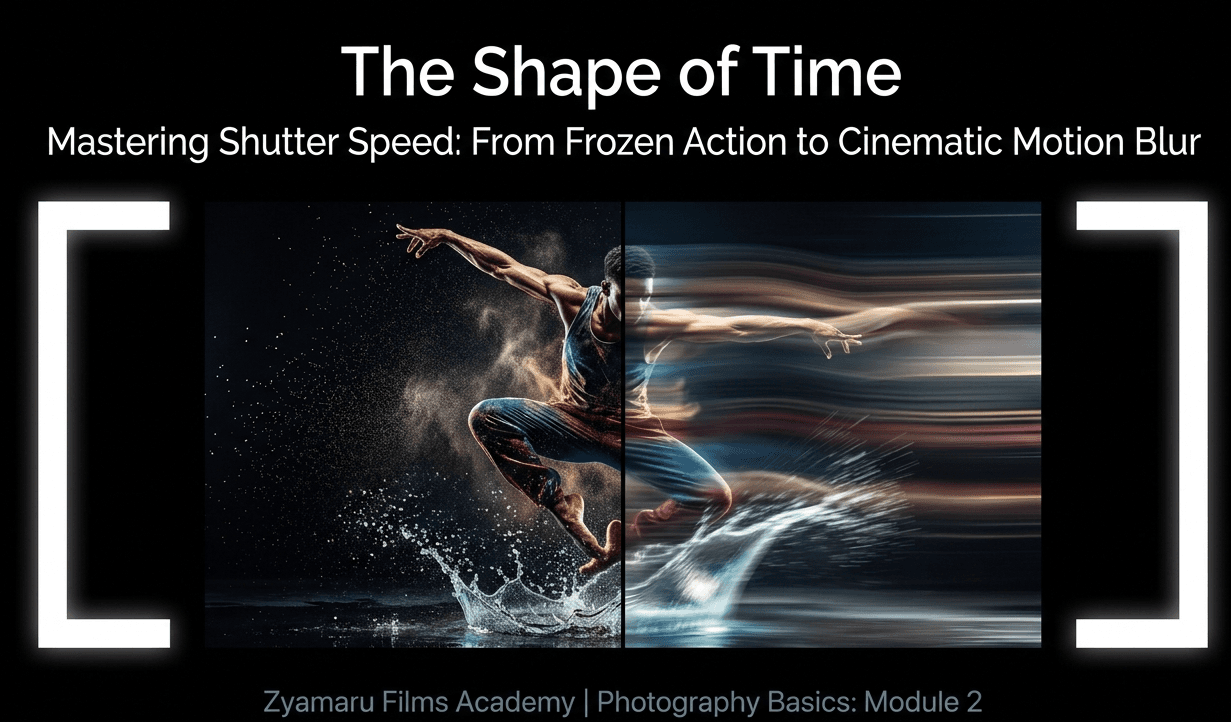
Shutter Speed Explained: Freezing Motion vs Creating Motion Blur
Of the three corners of the exposure triangle, shutter speed is the one most directly tied to time — and to storytelling. It's the setting that decides whether a moving subject in your photo looks frozen mid-action,
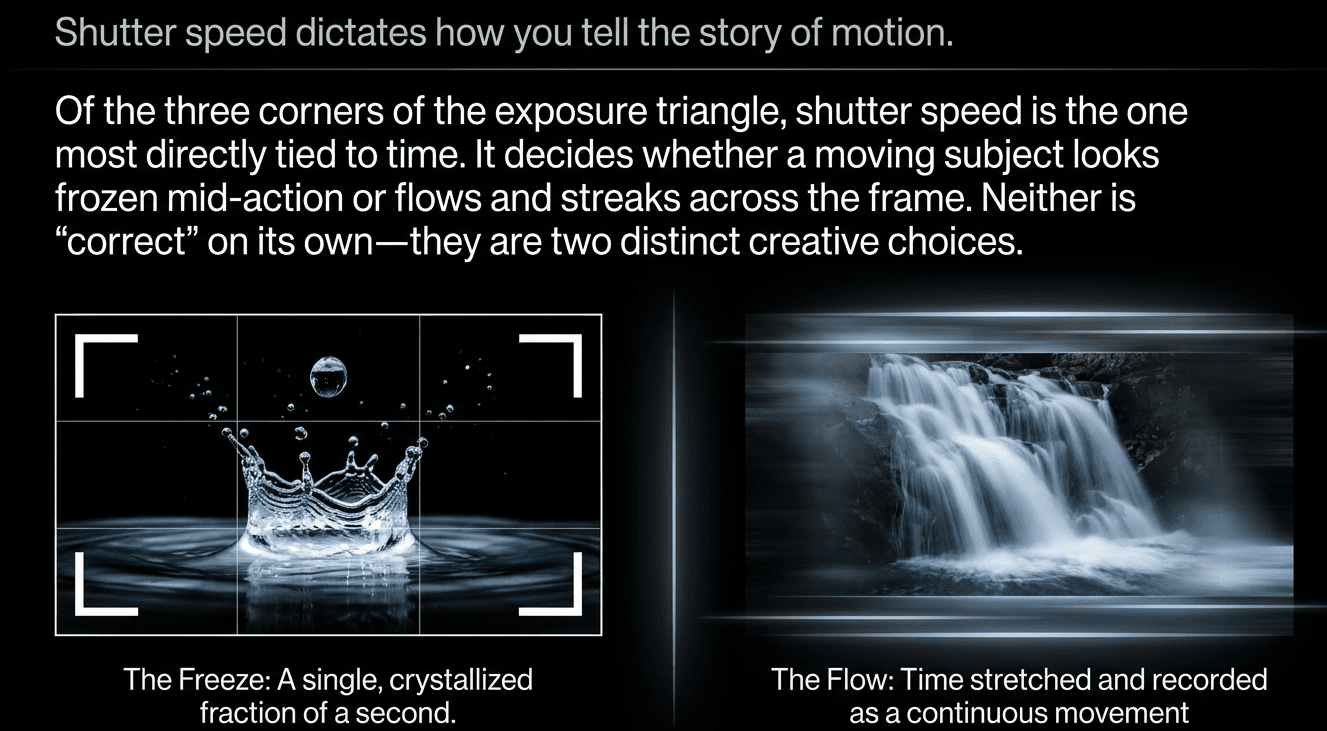
or flows and streaks across the frame like it's still moving. Neither is "correct" on its own — they're two different creative choices, and knowing when to reach for each one is a genuine skill.
What shutter speed actually is
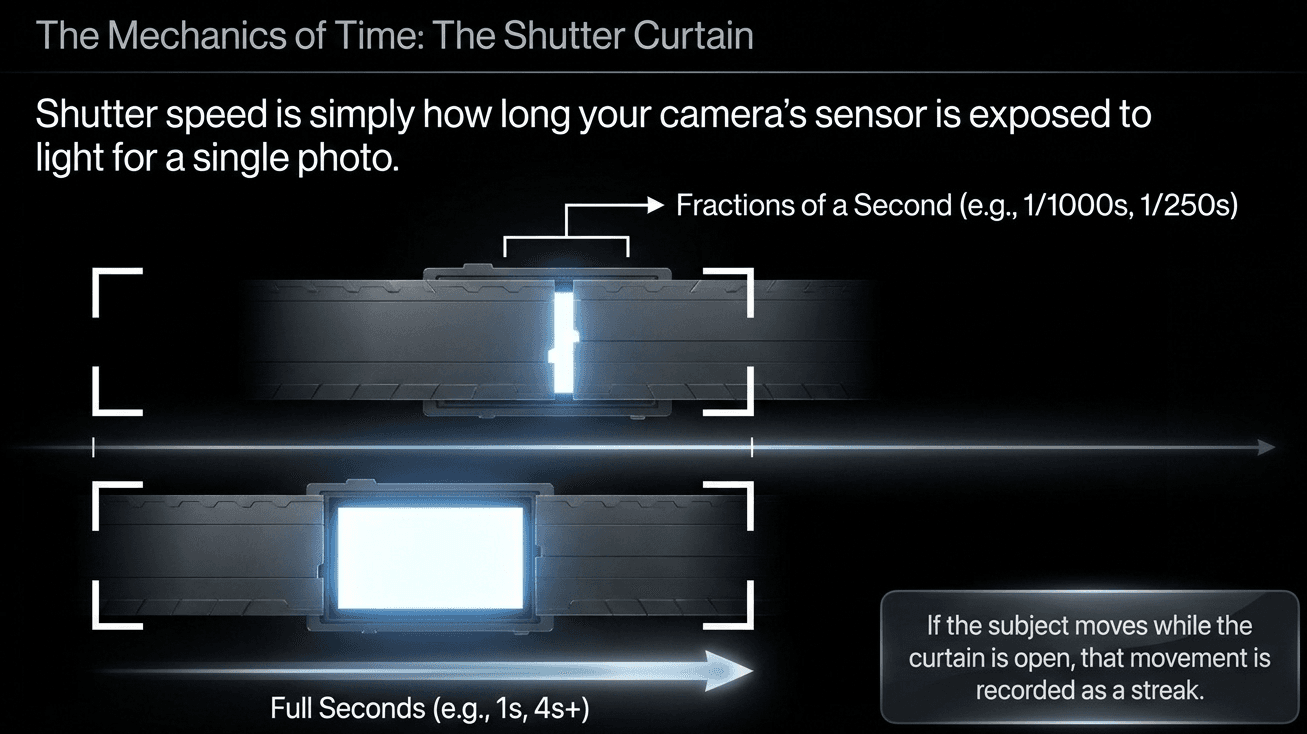
We introduced this in Module 1: shutter speed is how long your camera's sensor is exposed to light for a single photo, measured in fractions of a second for fast speeds (1/1000s, 1/250s) or full seconds for slow ones (1s, 4s, and beyond). The shutter itself is a physical or electronic curtain that opens to let light hit the sensor, then closes again — shutter speed is simply how long that curtain stays open.
How shutter speed affects motion
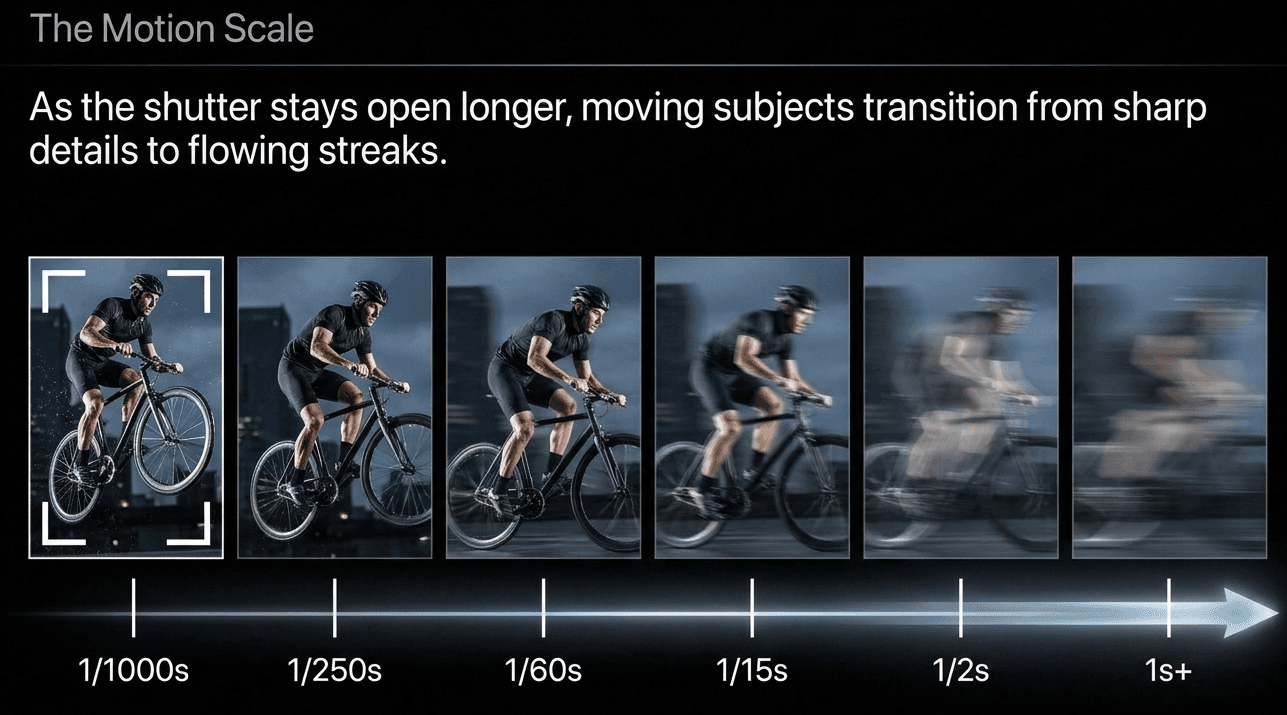
The logic is simple once you picture it: if your subject is moving and your shutter is only open for a tiny fraction of a second, the subject barely moves during that instant — the result is a sharp, frozen frame. If your shutter stays open longer, the subject continues moving while light is still being recorded, and that movement gets captured as a streak or blur across the image.
- Very fast shutter speeds (1/1000s and faster): freeze even rapid motion — a bird's wings mid-flap, a splash of water frozen mid-air, a cricket ball at the moment of impact
- Moderate shutter speeds (1/125s to 1/250s): freeze most everyday motion — walking, casual movement, typical street photography
- Slow shutter speeds (1/30s and slower): begin showing visible motion blur on moving subjects, while stationary parts of the scene stay sharp
- Very slow shutter speeds (1 second and beyond): create dramatic, flowing motion blur — and require a tripod, since even your own hand movement will blur the entire frame at these speeds
Real examples: two completely different creative choices
Example 1 — Freezing action at a local futsal match:
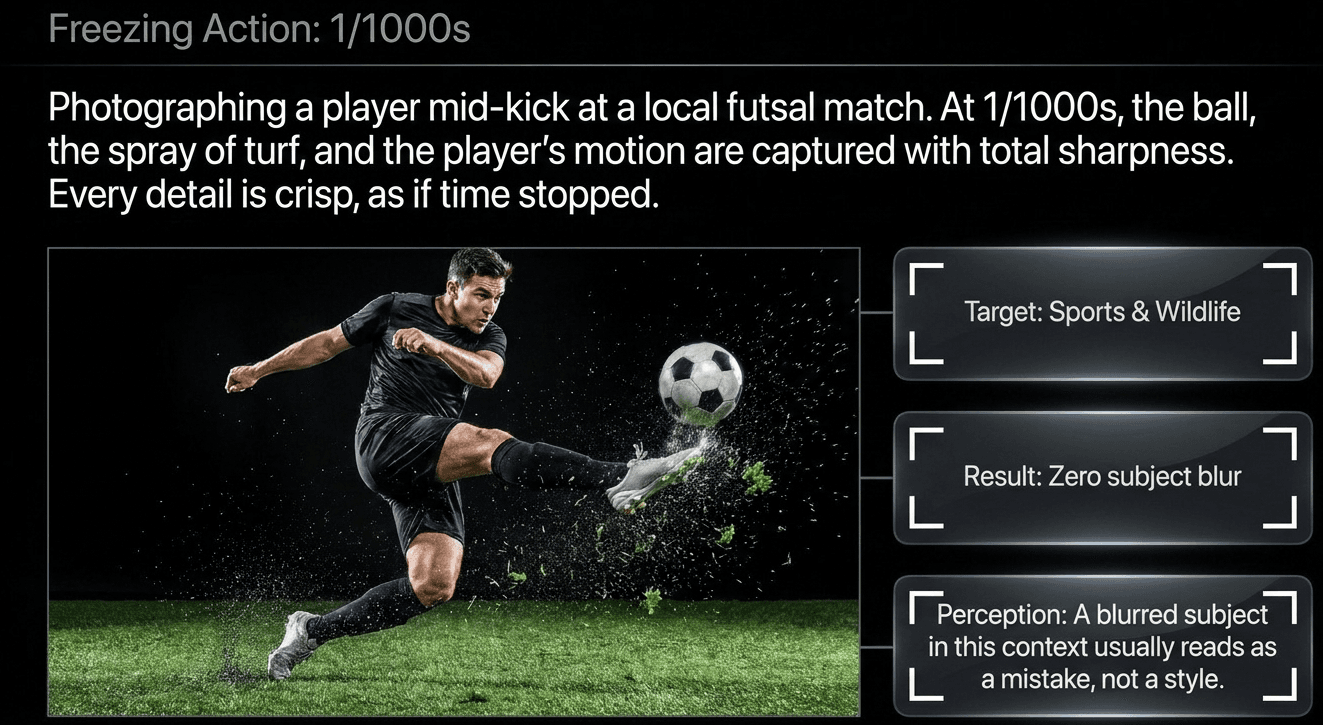
Photographing a player mid-kick at 1/1000s freezes the ball, the spray of turf, and the player's motion with total sharpness — every detail crisp, as if time stopped. This is the shutter speed range sports and wildlife photographers live in, because a blurred subject in action photography usually reads as a mistake, not a style.
Example 2 — Intentional motion blur on Kathmandu traffic at night:
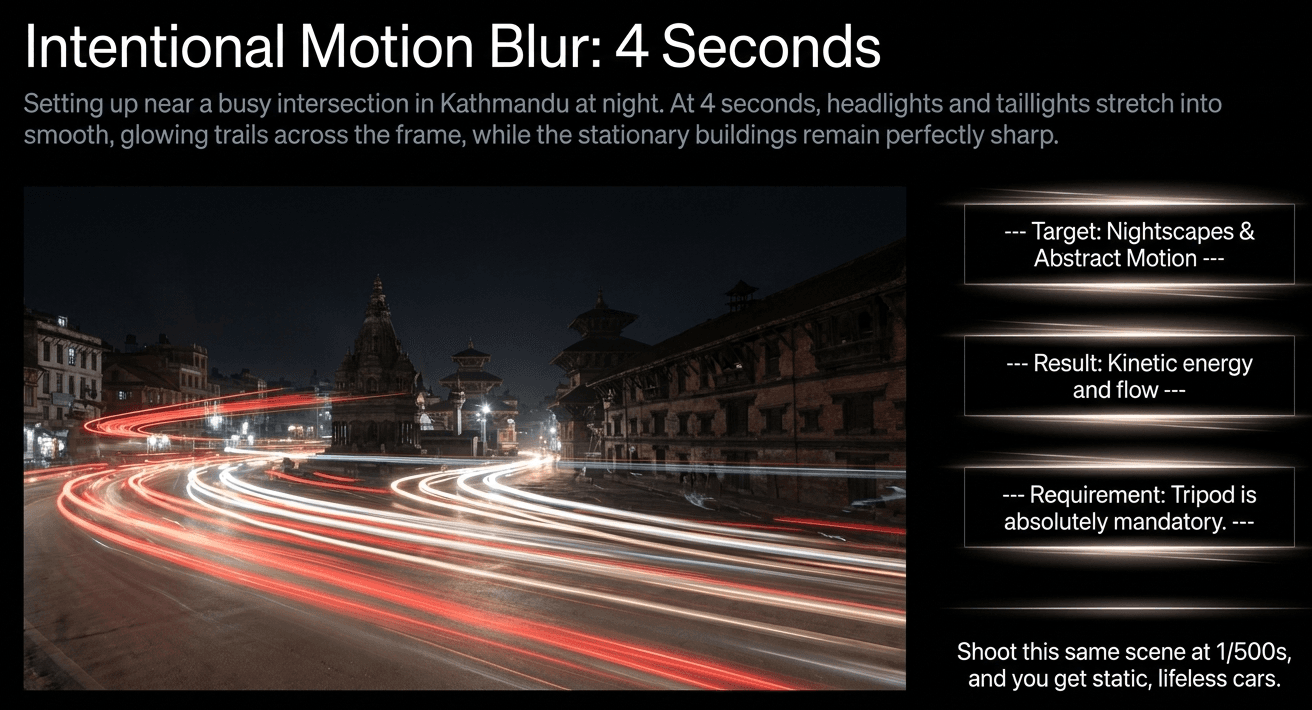
Set up on a tripod near a busy intersection and shoot at 4 seconds, and the headlights and taillights of passing vehicles stretch into smooth, glowing light trails across the frame, while the stationary buildings and road stay perfectly sharp. Shoot that same scene at 1/500s instead, and you'd just get static cars — the sense of motion and energy completely disappears.
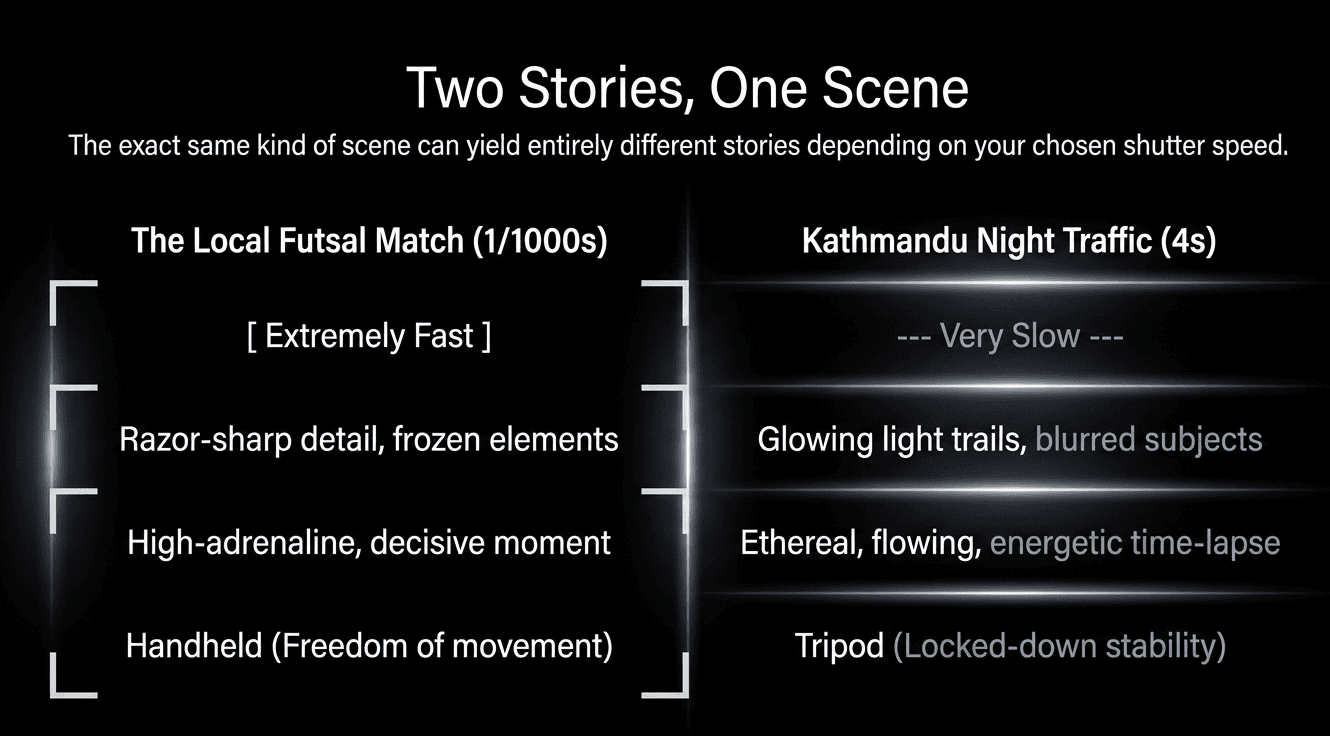
Neither photo is more "correct" — they're simply telling two different stories about the same kind of scene.
Shutter speed also affects exposure — and camera shake
As covered in the exposure triangle post, a faster shutter speed lets in less light (darker exposure), while a slower shutter speed lets in more light (brighter exposure). But there's a second, very practical consideration specific to shutter speed: camera shake.
We covered this in Module 1's post on holding a camera properly — as a general rule of thumb, your shutter speed should be at least as fast as 1 over your lens's focal length to safely handhold without visible blur from your own hand movement. Go slower than that without a tripod or other support, and even a subject standing perfectly still can come out blurry, purely from your hands shaking during the exposure.
A simple shutter speed reference chart
| Shutter speed | Typical use |
|---|---|
| 1/2000s – 1/1000s | Fast sports, birds in flight, splashes |
| 1/500s – 1/250s | General action, kids and pets moving, street photography |
| 1/125s – 1/60s | Everyday handheld shooting, portraits |
| 1/30s – 1/15s | Slight intentional blur, low light with a steady hand or support |
| 1s – 4s | Light trails, waterfalls, star-adjacent night shots (tripod required) |
| 4s and beyond | Long exposure landscapes, star trails, very low light (tripod required) |
A common beginner mistake: fighting your own shutter speed
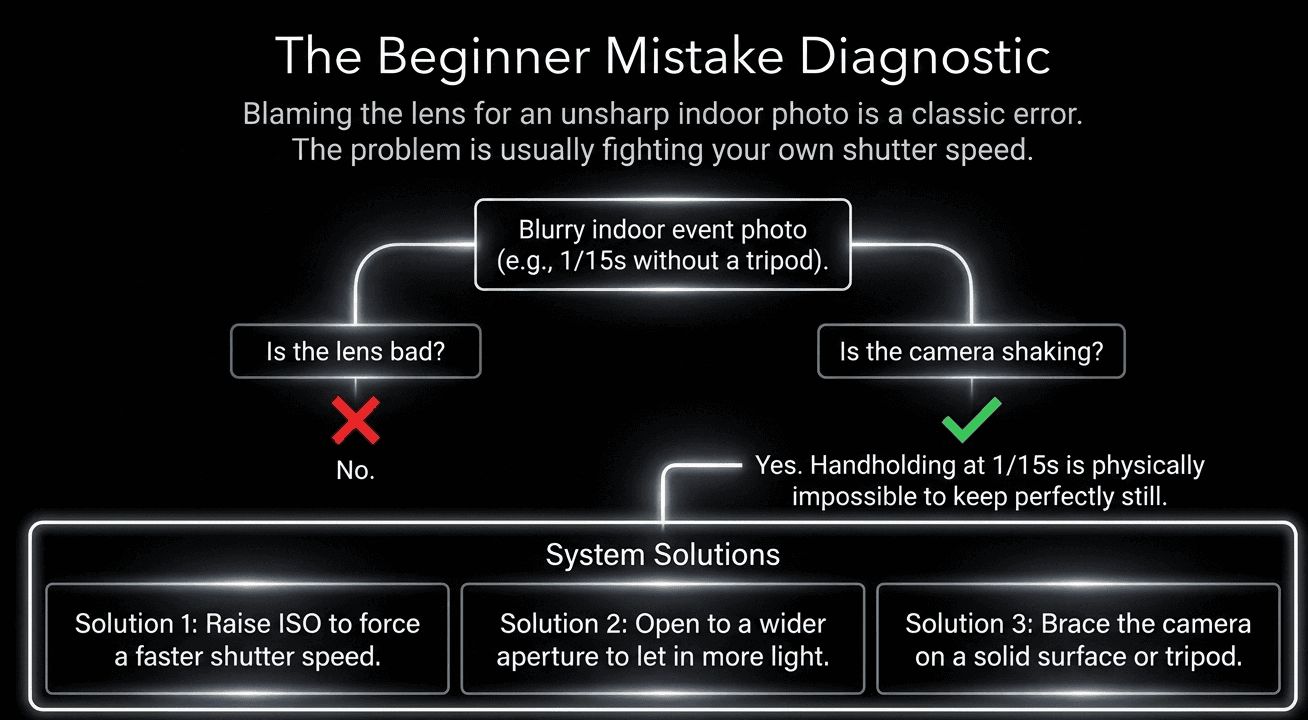
New students often try to handhold shots at slow shutter speeds — say, indoor event photography at 1/15s without a tripod — and then blame the camera or lens for "not being sharp." In most of these cases, the sharpness problem isn't the gear at all; it's the physical impossibility of holding a camera perfectly still for that long. The fix isn't a better lens — it's either raising ISO to allow a faster shutter speed, using a wider aperture, adding light, or bracing the camera on something solid.
This is exactly why the exposure triangle matters as a connected system, not three separate settings: a shutter speed problem is often actually solved through aperture or ISO.
How to choose your shutter speed: a quick decision guide
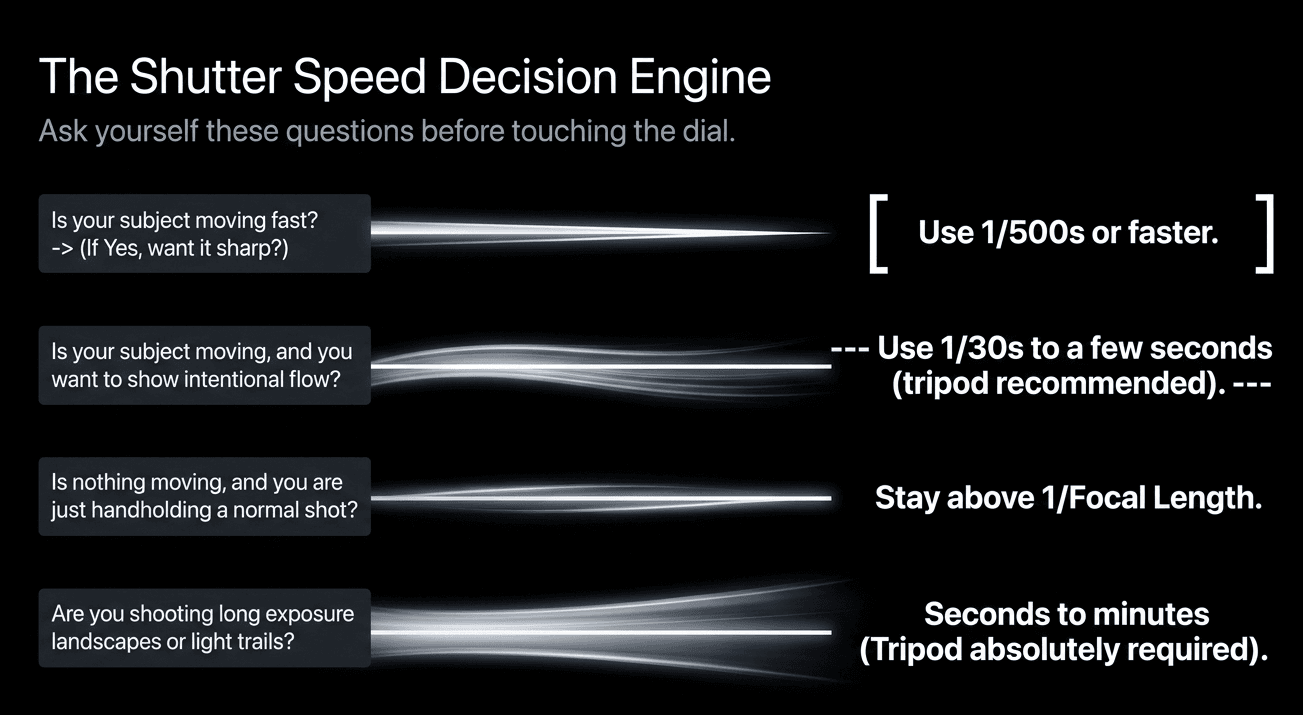
- Is your subject moving fast, and you want it sharp? Go faster — 1/500s or beyond, depending on the speed of motion
- Is your subject moving, and you want to show that motion intentionally? Go slower — 1/30s to a few seconds, ideally with a tripod
- Is nothing moving, and you're just handholding a normal shot? Stay at or above roughly 1 over your focal length, to avoid camera shake
- Are you shooting long exposure landscapes or light trails? Go very slow — seconds to minutes — always with a tripod
What comes next in this module
- ISO Demystified — when to push it, and when to keep it low
- How to Read a Histogram — a more reliable way to judge exposure than your LCD screen
- Common Exposure Mistakes Beginners Make — closing out Module 2 before we move into composition
Practice freezing and blurring motion hands-on at Zyamaru Films Academy
Shutter speed is one of those settings that genuinely needs live practice to click — timing a fast shutter to catch peak action, or setting up a tripod for a clean long exposure, are both skills built through repetition. Our Basic Photography to Cinematography course at Zyamaru Films Academy in Tahachal, Kathmandu includes dedicated hands-on sessions for both, guided directly by an industry-active cinematographer.
Turn Passion Into Profession.
Frequently asked questions
What shutter speed should I use to avoid blurry photos?
As a general starting rule, keep your shutter speed at least as fast as 1 divided by your lens's focal length when handholding — for example, 1/50s or faster with a 50mm lens — to minimize camera shake.
Do I need a tripod for slow shutter speeds?
Yes, generally for anything slower than about 1/15s to 1/30s. Below that range, even a steady hand usually can't hold the camera still enough to avoid blur across the whole frame.
What's the best shutter speed for everyday photography?
Somewhere between 1/125s and 1/250s covers most everyday, non-action situations comfortably — fast enough to avoid camera shake and typical subject movement, without needing unusually bright light or very high ISO.