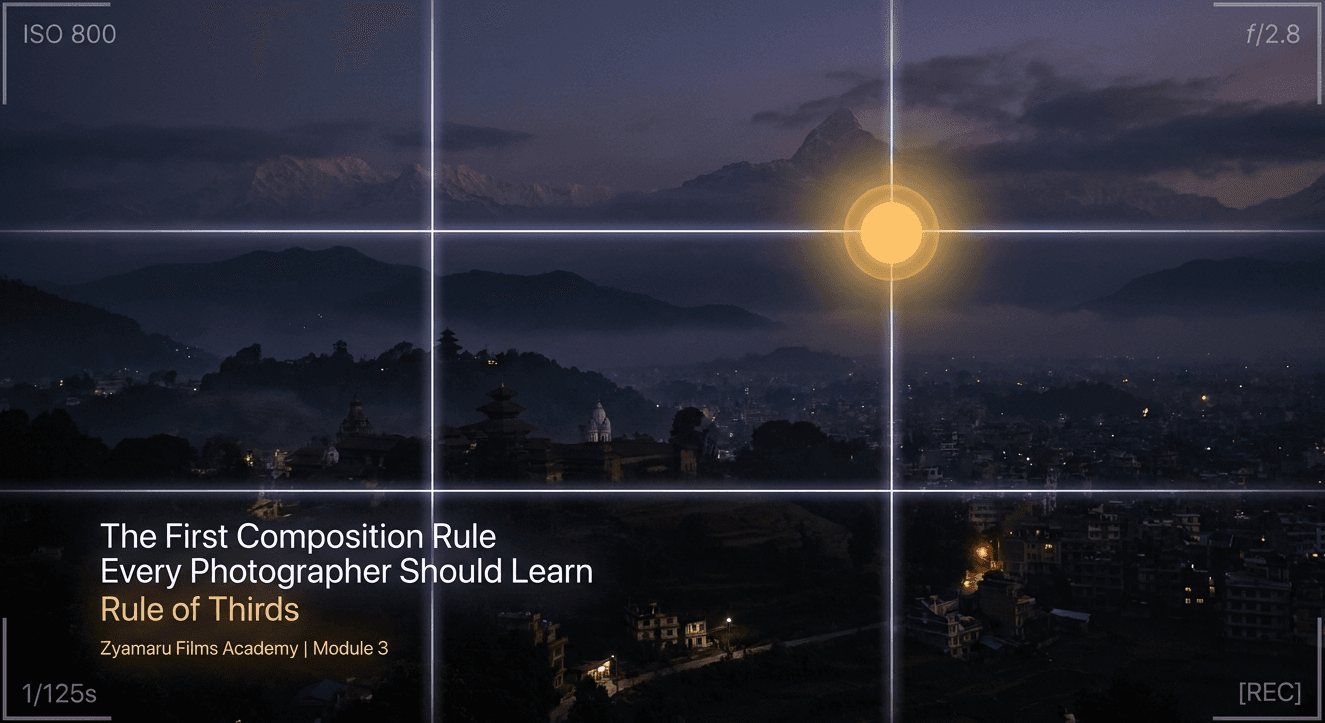
Rule of Thirds: The First Composition Rule Every Photographer Should Learn
Welcome to Module 3. Everything up to this point — exposure, aperture, shutter speed, ISO — has been about getting the technical side of a photo right. Composition is where a technically correct photo starts becoming a genuinely interesting one. And the rule of thirds is where every photographer, including every instructor at Zyamaru Films Academy, first learned to see a frame differently.
It's simple enough to explain in one sentence, and powerful enough that it still shapes how working photographers and cinematographers frame nearly every shot, years into their careers.
What the rule of thirds actually is
Imagine your camera frame divided by two evenly spaced vertical lines and two evenly spaced horizontal lines, splitting the image into a 3x3 grid — nine equal sections, four intersection points. The rule of thirds simply says: instead of placing your main subject dead-center in the frame, place it along one of those grid lines, or better yet, right on one of the four intersection points, sometimes called power points.
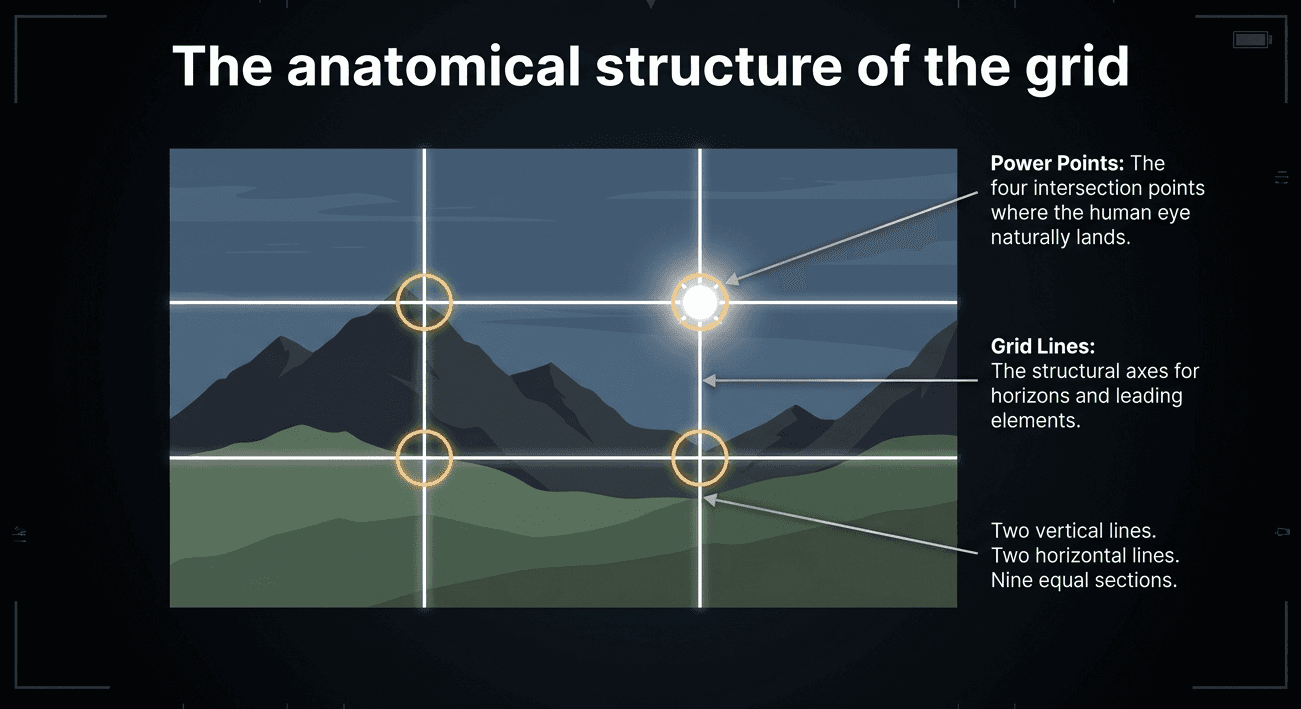
Most cameras and phones let you turn on this grid directly in your viewfinder or screen — check your settings menu for "grid display" or "composition grid." Turning it on is genuinely the fastest way to start applying this rule while you shoot, rather than only thinking about it afterward.
Why off-center placement works better than centering
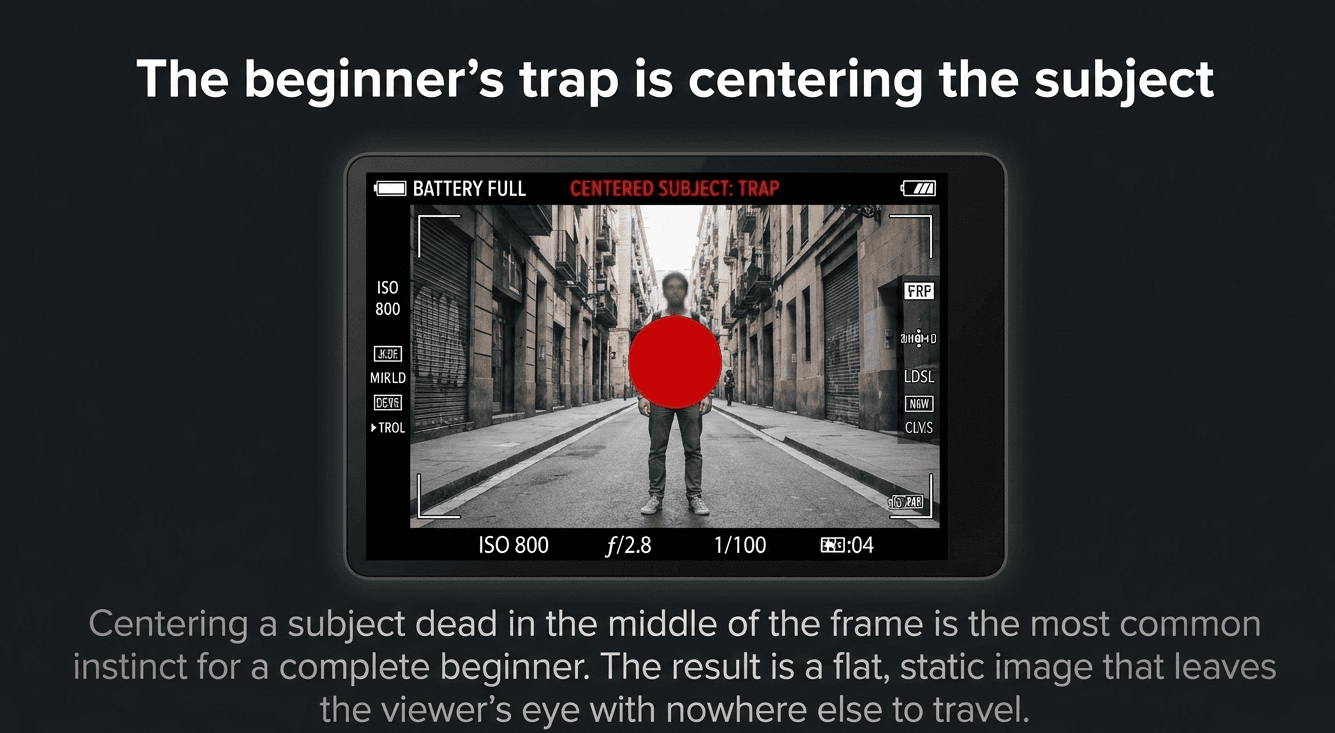
Centering a subject dead in the middle of the frame is the single most common instinct for a complete beginner — and it usually produces a static, flat-feeling photo. Placing a subject off-center, along a third line or power point, does a few things a centered composition doesn't:
- It creates visual tension and movement, giving the eye somewhere to travel across the frame rather than landing in the middle and stopping
- It leaves room in the frame for context, background, or negative space, which we'll cover in a later post in this module
- It mirrors how the human eye naturally scans a scene, which tends to sweep across a frame rather than fixate on dead center
Real examples: applying the grid
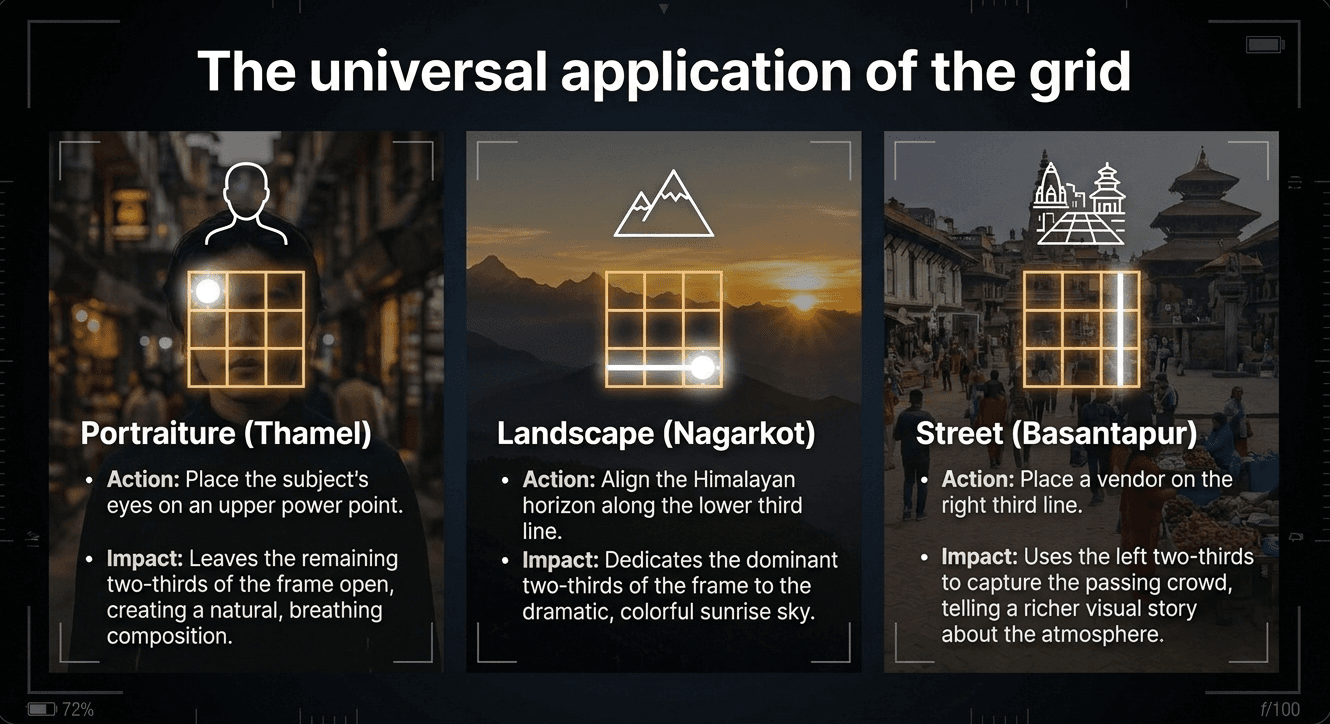
Example 1 — Portrait near Thamel: Photographing a student for a portfolio shot, placing their eyes on the upper-left power point, with their body facing into the empty two-thirds of the frame, creates a natural, breathing composition — there's room for the subject to "look into." Center that same subject dead in the frame instead, and the photo feels boxed in and static by comparison.
Example 2 — Landscape at Nagarkot: Photographing the Himalayan range at sunrise, placing the horizon along the lower third line (rather than slicing the frame exactly in half) gives the sky — with its color and cloud detail — the dominant two-thirds of the frame, producing a much more dramatic result than a photo where sky and land split the frame evenly.
Example 3 — Street photography at Basantapur Durbar Square: Photographing a vendor at their stall, placing them on the right third line with the open square and passing crowd filling the left two-thirds tells a richer visual story about the location and atmosphere than a tightly centered shot of the vendor alone would.
The rule of thirds and depth of field work together
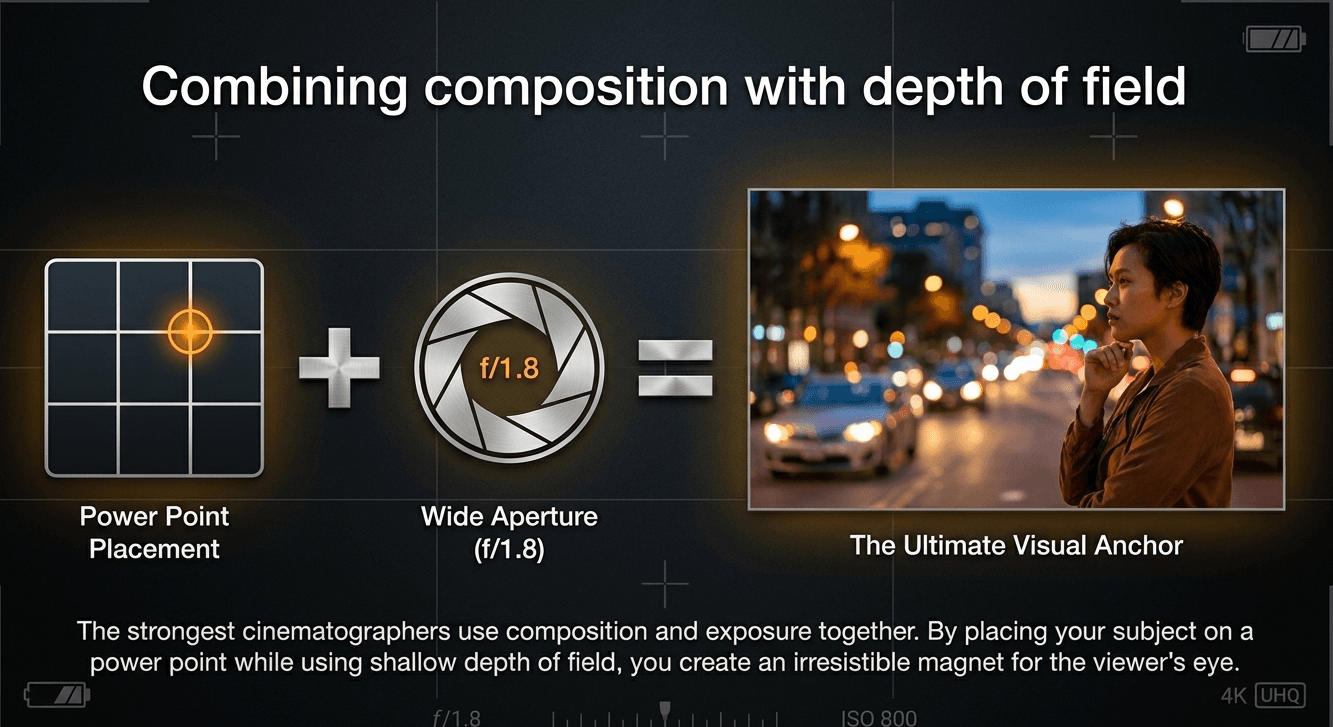
This connects directly back to Module 2's aperture post: a subject placed on a power point, shot with a wide aperture for shallow depth of field, tends to feel even more intentional — the viewer's eye is pulled to the one sharp point in the frame, which also happens to sit exactly where the rule of thirds naturally draws attention. Composition and exposure settings aren't separate skills; the strongest photographers use them together.
A common beginner mistake: applying the grid mechanically, without thinking about the subject
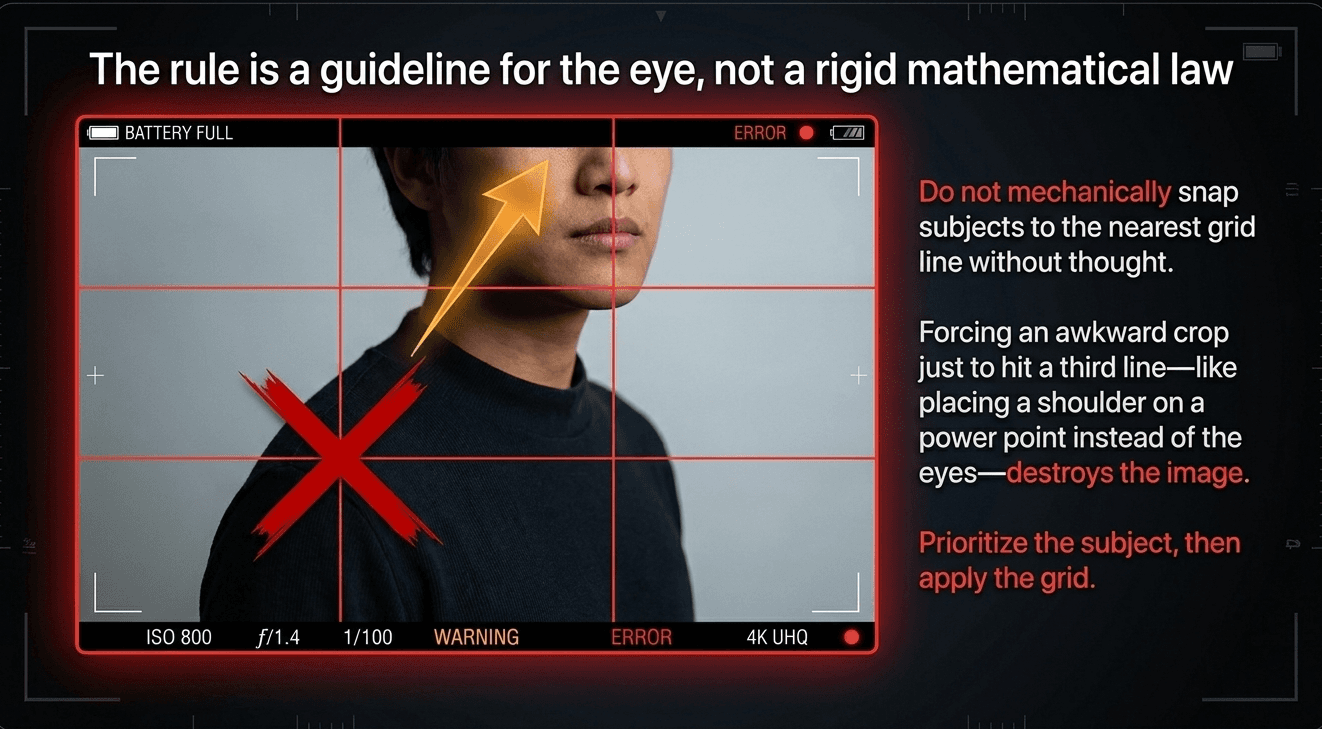
Some new students start mechanically snapping every subject onto the nearest grid line without considering whether it actually serves the photo — placing a subject's ear or shoulder on a power point instead of their eyes, for instance, or forcing an awkward crop just to hit a third line. The rule of thirds is a starting guideline for where the eye naturally wants to land, not a rigid measurement to satisfy at the expense of a genuinely good shot.
When the rule of thirds isn't the right choice
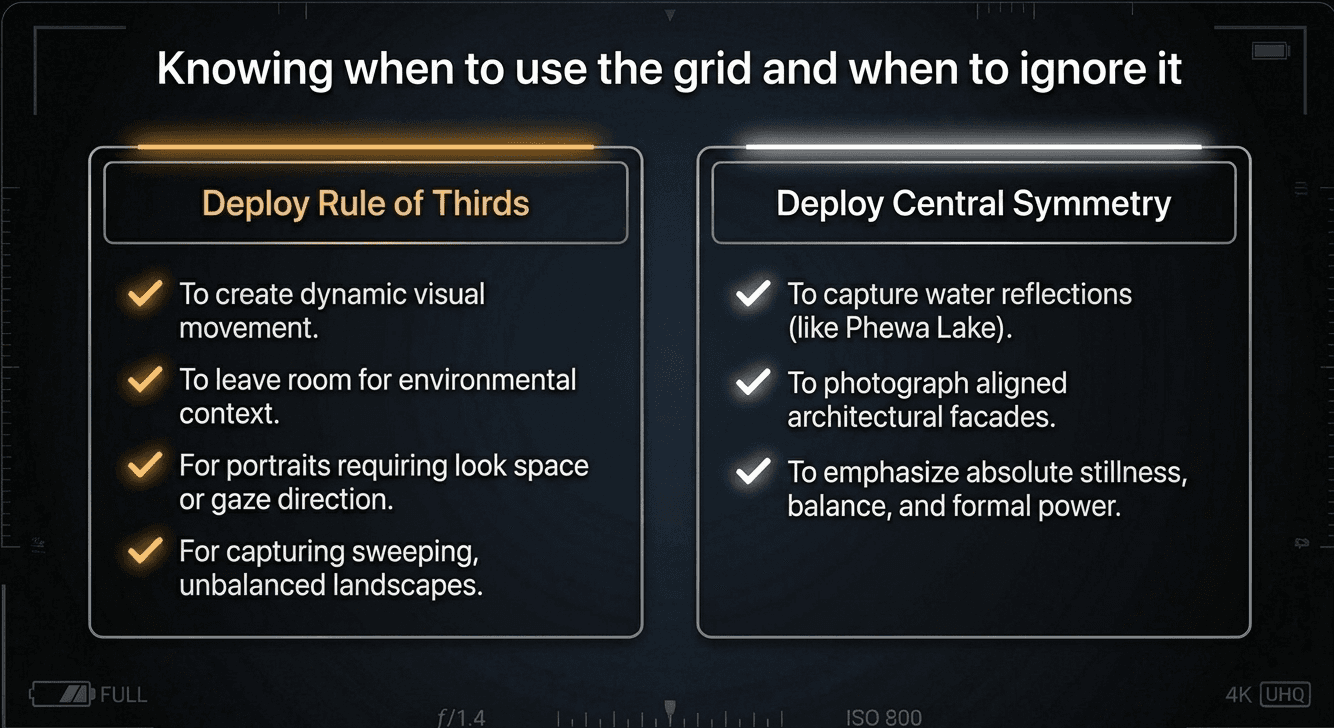
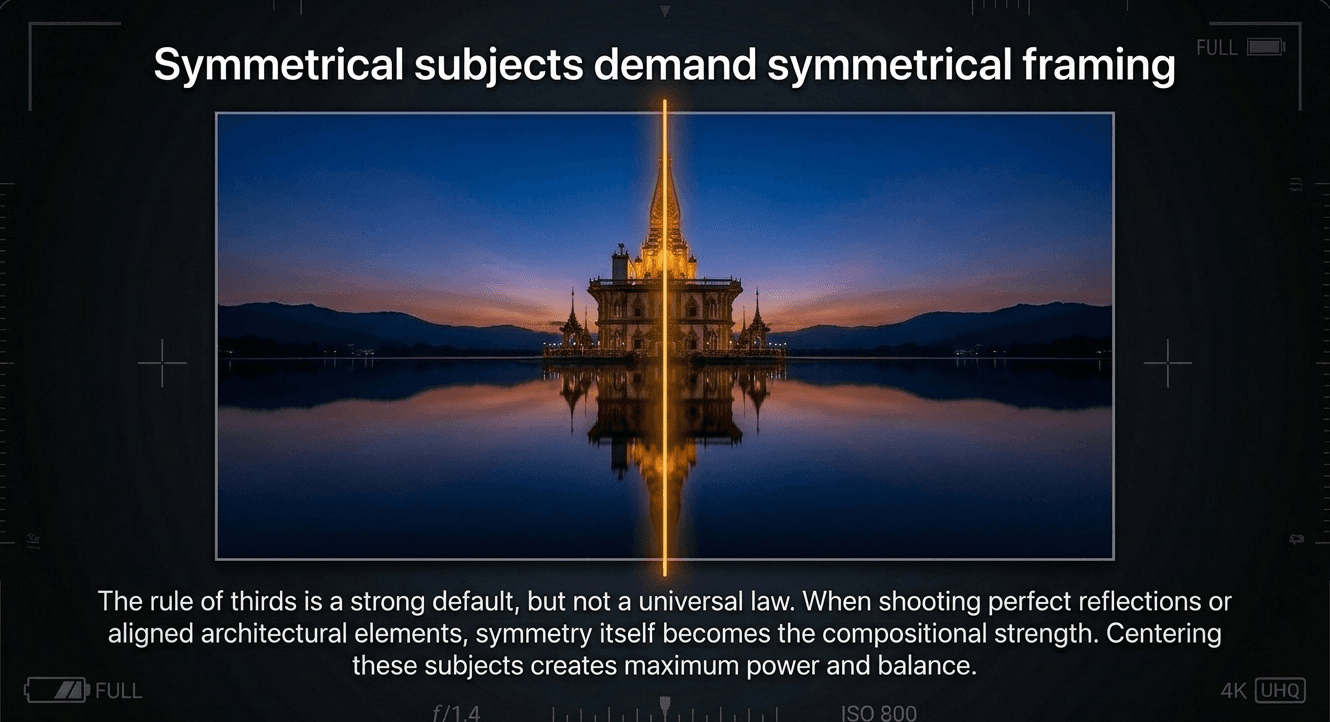
We'll dedicate an entire post later in this module to breaking composition rules deliberately, but it's worth flagging early: symmetrical subjects — a reflection in Phewa Lake, a perfectly aligned temple facade — often look stronger centered, precisely because symmetry itself becomes the compositional strength. The rule of thirds is a strong default, not a universal law.
A simple practice drill
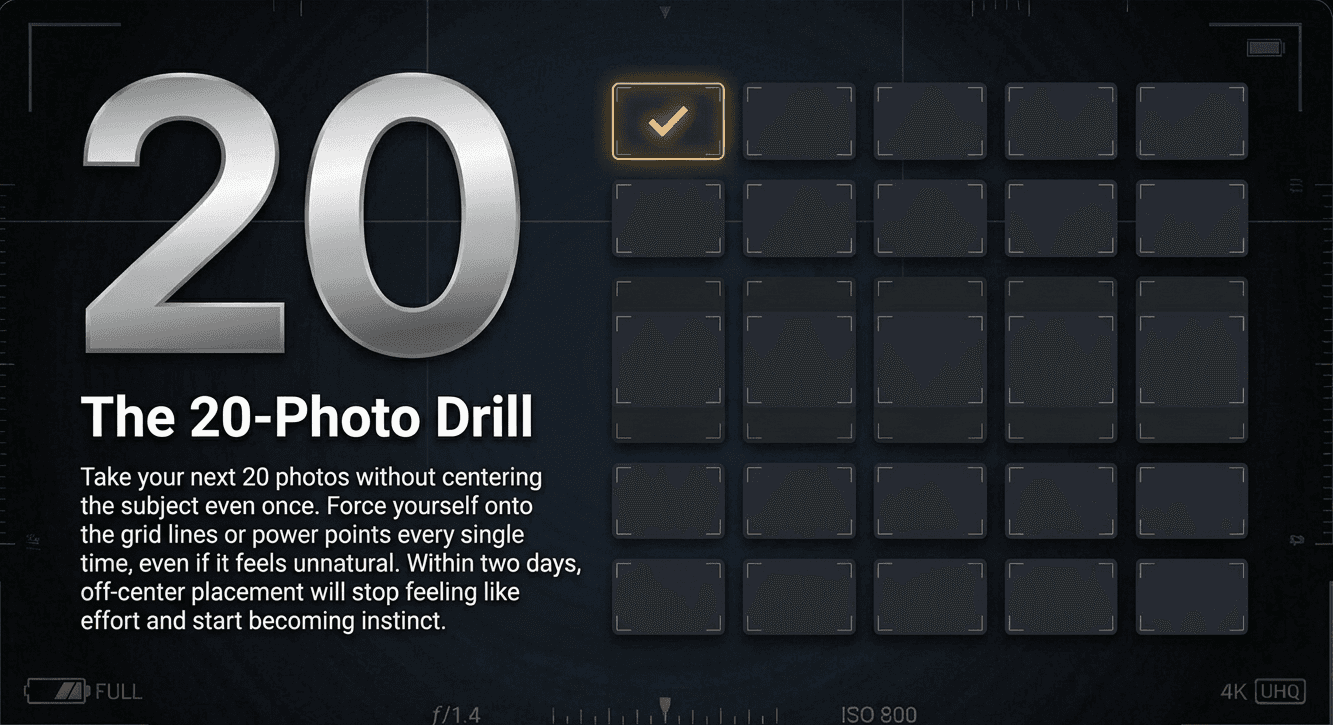
For your next 20 photos, deliberately avoid centering your subject even once. Force yourself onto the grid lines or power points every time, even when it feels unnatural at first. Most students find that within a day or two of this drill, off-center placement stops feeling like an effort and starts becoming instinct — which is exactly the point.
What comes next in this module
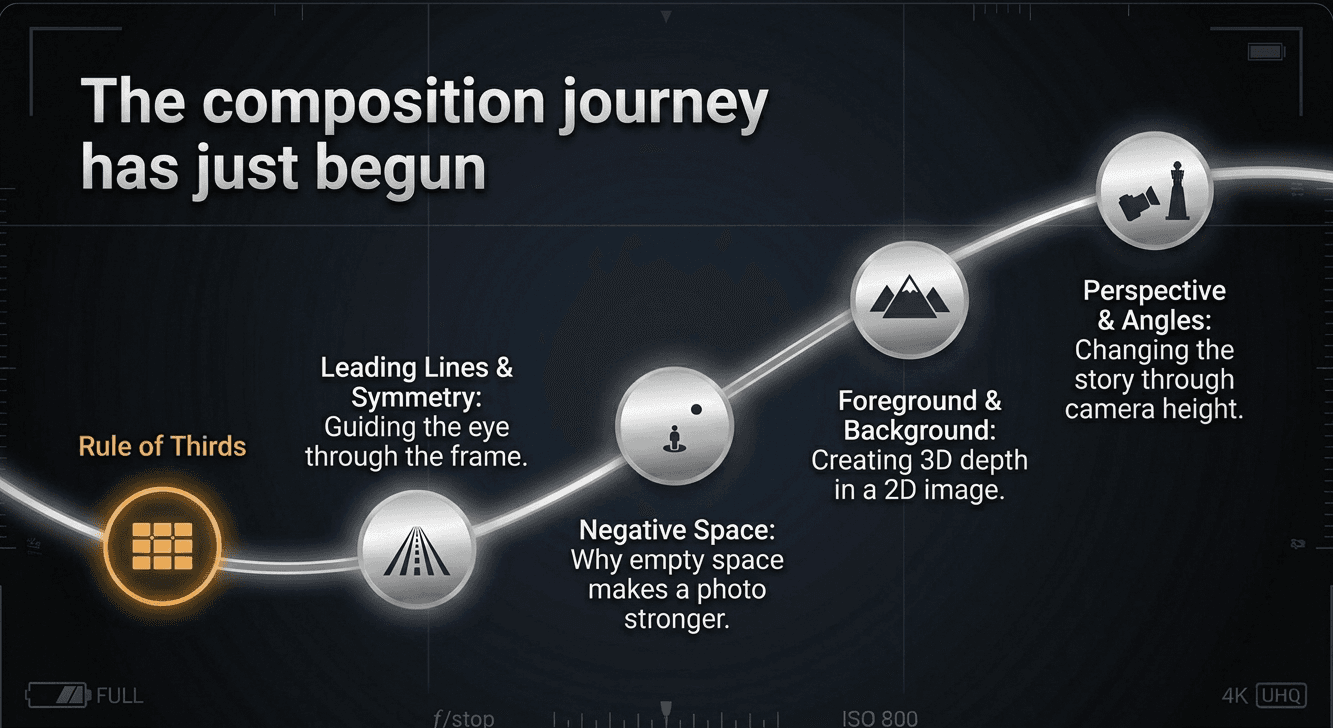
- Leading Lines, Framing & Symmetry — composition techniques that guide the eye through a photo
- Negative Space — why empty space can make a photo stronger, not weaker
- Foreground, Midground, Background — creating a sense of depth in a flat, two-dimensional image
- When to Break Composition Rules — and why rules are guidelines, not laws
- Perspective & Angles — how camera height changes the entire story of a photo
Practice composition hands-on at Zyamaru Films Academy

Reading about the rule of thirds is a fast start, but it becomes genuine instinct only through repetition — framing real subjects, in real Kathmandu light, with someone experienced pointing out exactly why one placement works better than another. Our Basic Photography to Cinematography course at Zyamaru Films Academy in Tahachal, Kathmandu builds this instinct through hands-on shooting exercises from day one, guided by an industry-active cinematographer.
Turn Passion Into Profession.
Frequently asked questions
What is the rule of thirds in photography?
The rule of thirds is a composition guideline where the frame is divided into a 3x3 grid, and the main subject is placed along one of the grid lines or at an intersection point, rather than dead-center, to create a more balanced and engaging composition.
How do I turn on the rule of thirds grid on my camera?
\Most cameras and smartphones offer a grid overlay option in the display or settings menu, often labeled "grid" or "composition grid." Turning this on shows the 3x3 grid directly in your viewfinder or screen while you shoot.
Should I always follow the rule of thirds?
No. It's a strong starting guideline, especially for beginners learning to see off-center composition, but symmetrical subjects and certain creative choices often work better centered. Later in this module, we cover exactly when breaking this rule makes a stronger photo.