ISO Demystified: When to Push It and When to Keep It Low
Of the three corners of the exposure triangle, ISO is the one beginners tend to either ignore completely or fear unnecessarily. Some students leave it locked on a low number no matter what, wondering why their indoor photos come out dark and blurry. Others crank it up defensively "just in case," and end up with grainier photos than the situation actually required.
ISO deserves neither the neglect nor the fear. It's simply a tool with a clear trade-off — and once that trade-off is understood, using it well becomes second nature.
What ISO actually is
We touched on this in the exposure triangle overview:
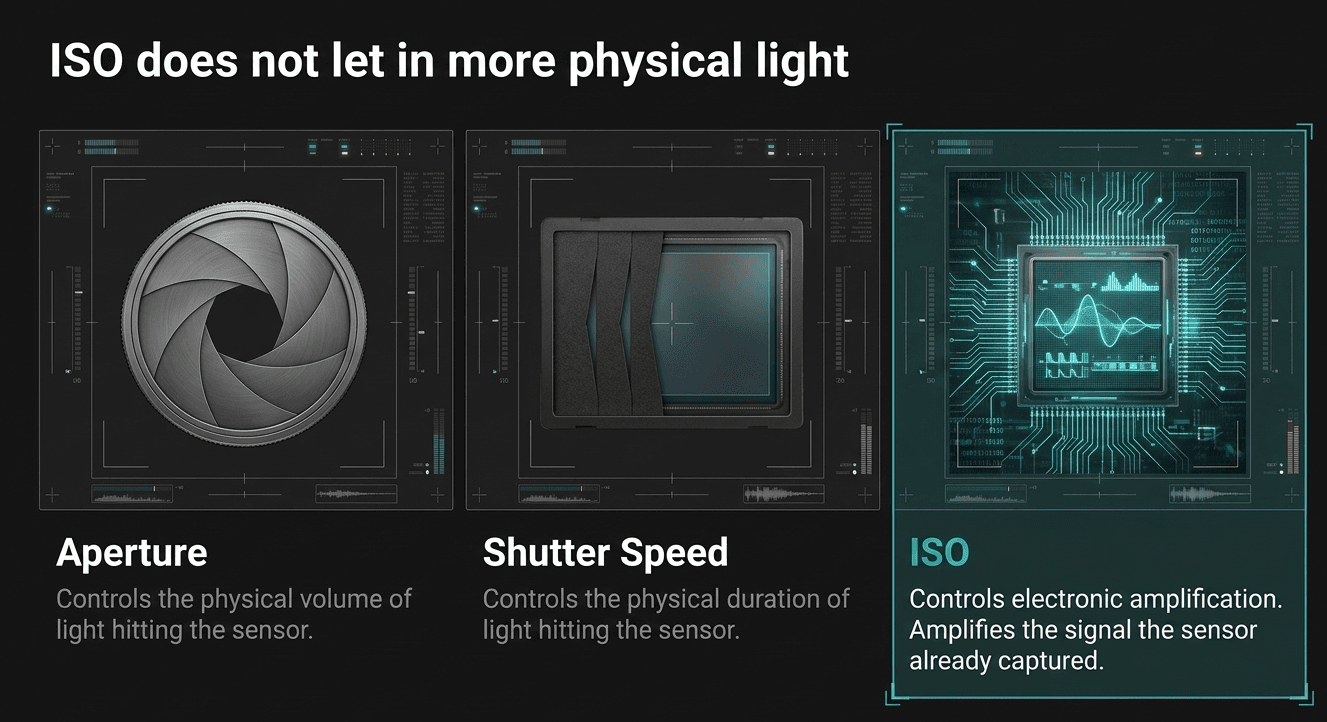
ISO measures your camera sensor's sensitivity to the light it receives. Here's the important distinction that separates ISO from aperture and shutter speed — ISO doesn't let in more physical light. Aperture and shutter speed both control the actual quantity of light hitting the sensor.
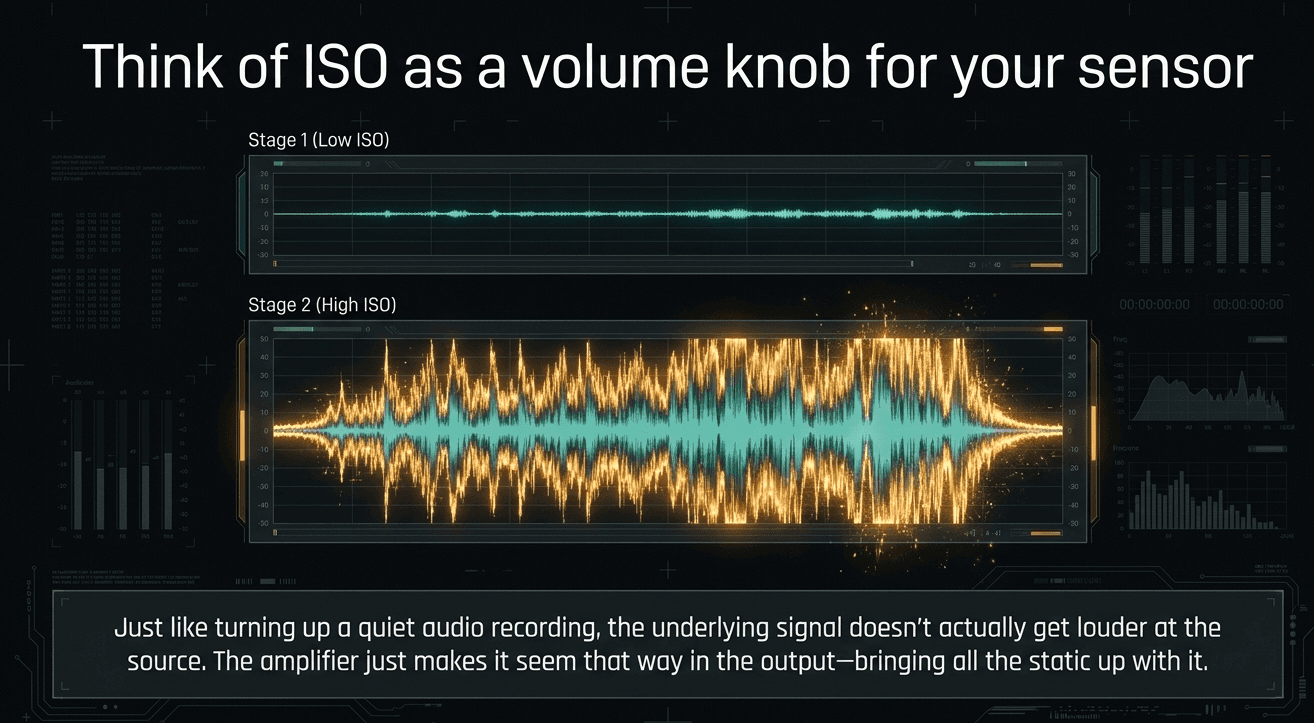
ISO instead amplifies the signal the sensor already captured, similar to turning up the volume on a quiet audio recording — the underlying sound doesn't get any louder at the source, but the amplifier makes it seem that way in the output.
Why raising ISO isn't free: the noise trade-off
That amplification comes at a cost. Along with boosting the actual image data, raising ISO also amplifies the small amount of random electronic noise every sensor naturally produces. At low ISO, that noise is negligible and invisible. At high ISO, it becomes visible as a grainy, speckled texture, most noticeable in shadow areas and flat, smooth surfaces like skies or skin.
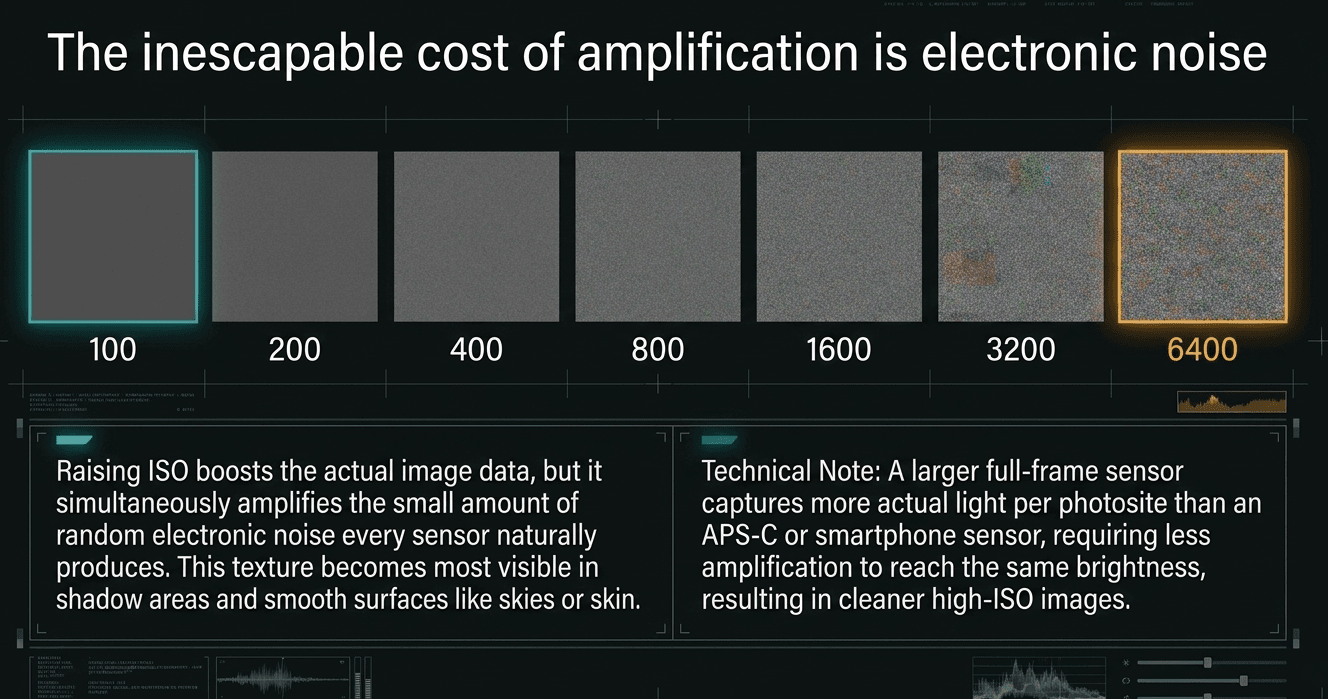
Different cameras handle this differently — a full-frame sensor (which we compared to smartphone and APS-C sensors back in Module 1) generally produces noticeably cleaner results at high ISO than a smaller sensor, because a larger sensor captures more actual light per photosite to begin with, needing less amplification to reach the same brightness.
Native ISO: your sensor's true "zero point"
Every camera sensor has one or more native ISO values — the ISO setting at which the sensor is reading light with no extra electronic amplification applied, or the least amplification needed to reach a usable signal. This is genuinely the sensor's cleanest, truest state: maximum dynamic range, lowest noise, and the most accurate color the sensor is physically capable of producing.
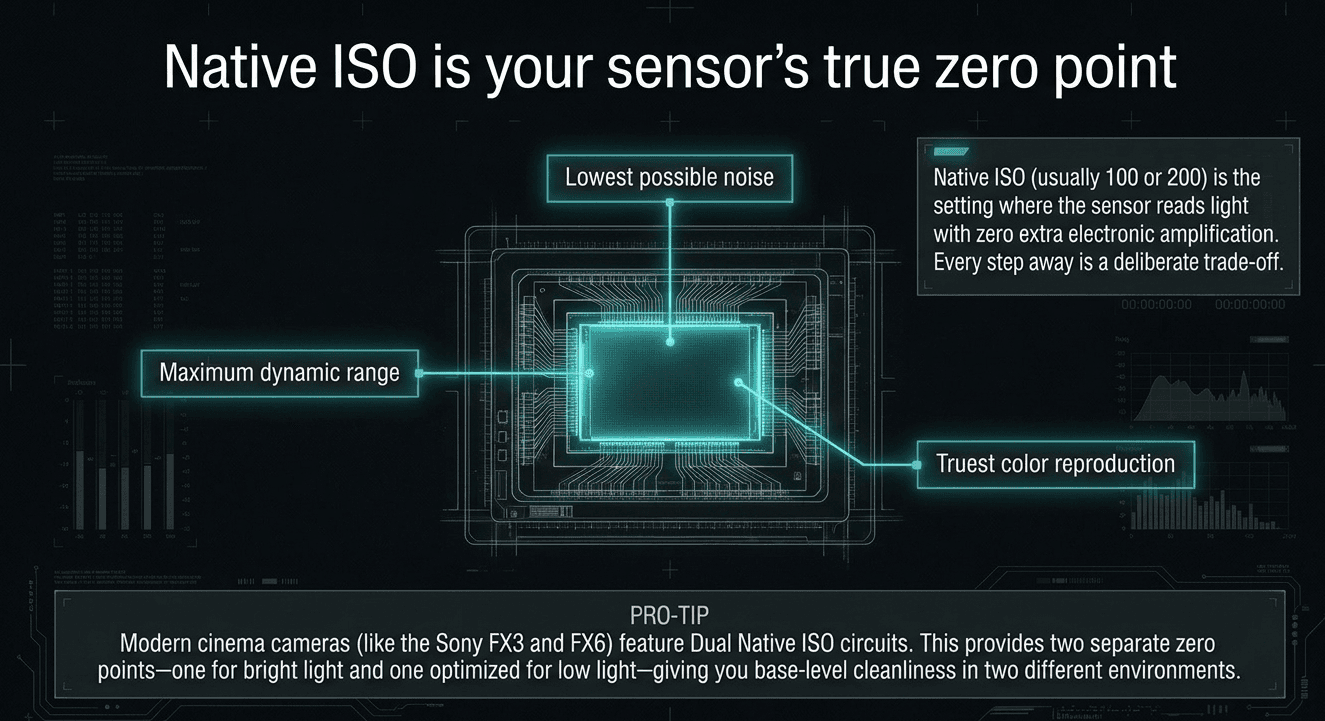
For most photo cameras, native ISO is a single value, usually ISO 100 or ISO 200 — check your camera's specifications, since it varies by model and sensor design. Many modern cinema cameras (like the Sony FX-series used in professional video work) actually have dual native ISO — two separate points, a low one and a high one, where the sensor's circuitry is optimized to read cleanly. Sony's FX3 and FX6, for example, have dual native ISO points, so you get close-to-base-ISO cleanliness at both a low-light and a brighter setting, rather than just one.
Every ISO value away from native — up or down — pushes the sensor further from its cleanest reading. This is exactly why photographers and cinematographers try to work at or near native ISO whenever the light allows, and treat every stop away from it as a deliberate trade-off rather than a free adjustment.
How dynamic range changes as you raise ISO
Dynamic range is how much detail your camera can capture across the darkest shadows and brightest highlights in a single photo, at the same time, without losing information at either end. This matters constantly in real shooting — think of a bright Kathmandu sky above a shaded temple courtyard, where you want detail visible in both the sky and the shadowed stone at once.
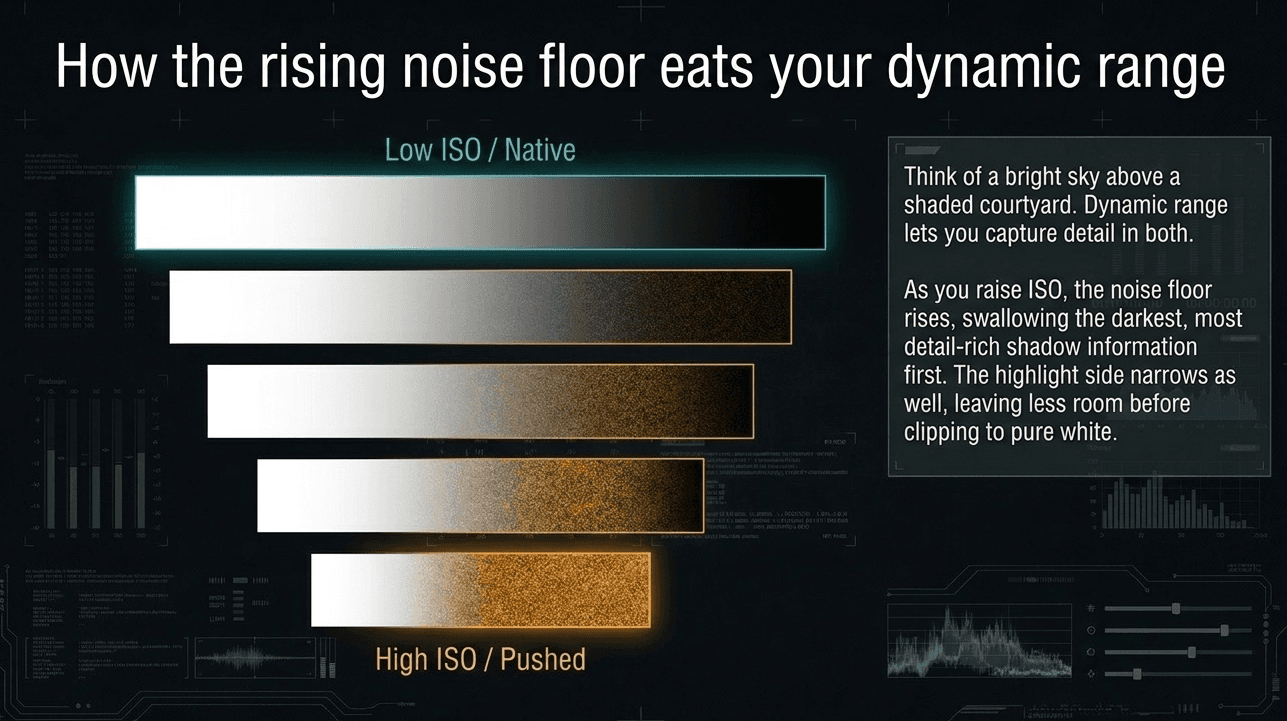
Dynamic range is at its widest at native ISO, and it narrows as ISO increases. Here's why: raising ISO amplifies the sensor's signal, but it amplifies the noise floor right along with it. As that noise floor rises, it eats into the darkest, most detail-rich shadow information first — data that was previously distinguishable from noise gets swallowed by it. The highlight side narrows too, though less dramatically, since higher ISO settings generally have less room before clipping to pure white.
In practical terms: a RAW file shot at ISO 100 typically holds several more stops of shadow detail recoverable in editing than the same scene shot at ISO 6400. Push the shadows up on a high-ISO file in Lightroom, and you'll often reveal harsh, blotchy noise almost immediately. Push the shadows up on a low-ISO file, and there's usually far more clean, usable detail waiting underneath.
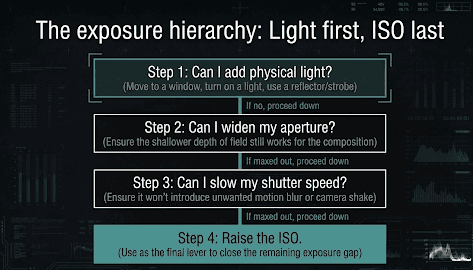
This is one more reason the "light first, ISO last" hierarchy from earlier in this post matters: every stop of ISO you avoid raising is dynamic range you get to keep.
When to keep ISO low
Bright daylight, studio lighting with strobes, or any situation with abundant light — there's simply no reason to amplify a signal that's already strong. Keeping ISO at its base value (usually ISO 100 on most cameras) gives you the cleanest possible image, with the fullest dynamic range and richest color accuracy your sensor is capable of.
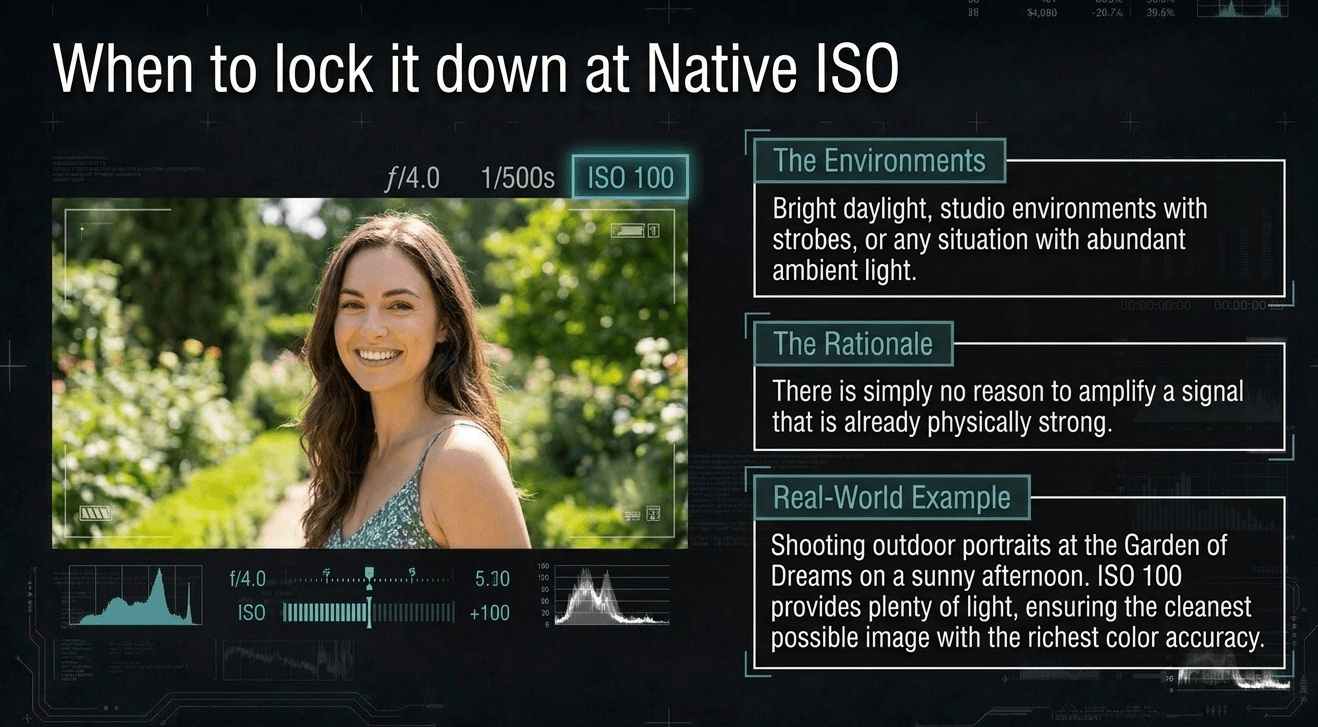
Example: Shooting outdoor portraits at Garden of Dreams on a sunny afternoon, ISO 100 gives you plenty of light to work with — there's no reason to introduce any noise into a shot that has this much available light already.
When to push ISO higher
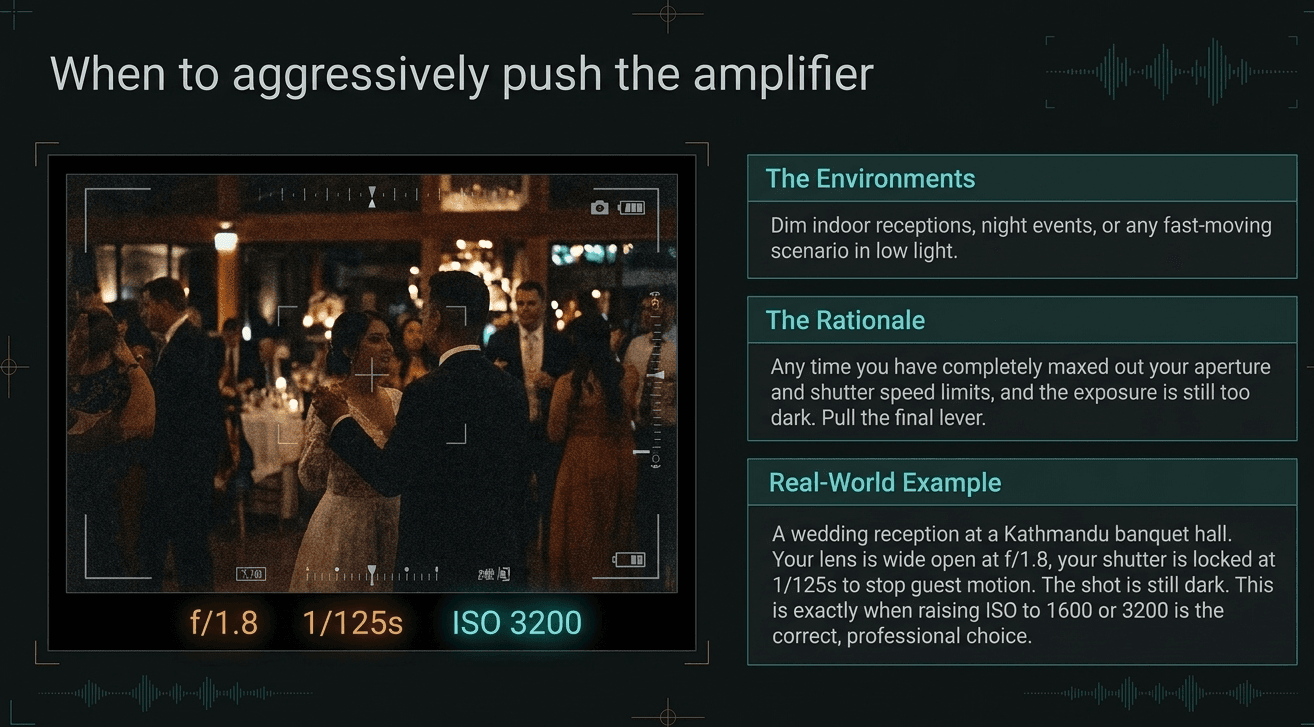
Any time you've maxed out your other two options. If you've already opened your aperture as wide as your creative shot allows, and you've already slowed your shutter speed as much as the motion in your scene tolerates, and the photo is still too dark — ISO is the remaining lever left to pull.
Example: Photographing a wedding reception at a Kathmandu banquet hall under dim ambient lighting, you might already be at your lens's widest aperture (say f/1.8) and a shutter speed just fast enough to avoid blur from moving guests (say 1/125s), and the shot is still underexposed. This is exactly when raising ISO to 1600, 3200, or higher becomes the right call — a slightly grainy but sharp, well-exposed photo is almost always more usable than a clean but dark or blurry one.
The real hierarchy: light first, ISO last
Here's the mental model we teach at Zyamaru: ISO should generally be the last setting you adjust, not the first. Before raising it, ask:
- Can I add more light to the scene? — move closer to a window, turn on a light, add flash or a reflector
- Can I widen my aperture further? — as long as it doesn't compromise the depth of field the shot needs
- Can I slow my shutter speed further? — as long as motion blur or camera shake stays acceptable
Only once those options are exhausted should ISO be the setting that closes the remaining exposure gap. This isn't a rigid rule — video and fast-moving documentary work sometimes demands raising ISO quickly out of necessity — but as a default habit, it keeps image quality as high as the situation allows.
Auto ISO: a genuinely useful tool, not a shortcut for beginners only
Many cameras offer an Auto ISO setting, which lets you manually control aperture and shutter speed while the camera automatically adjusts ISO to maintain correct exposure — often with a customizable maximum ISO limit, so it won't push noise levels higher than you're comfortable with. This isn't a beginner crutch; plenty of working photographers and cinematographers use Auto ISO deliberately in fast-changing light, specifically so they can stay focused on composition and the two settings that matter more creatively — aperture and shutter speed.
A common beginner mistake: fearing ISO entirely
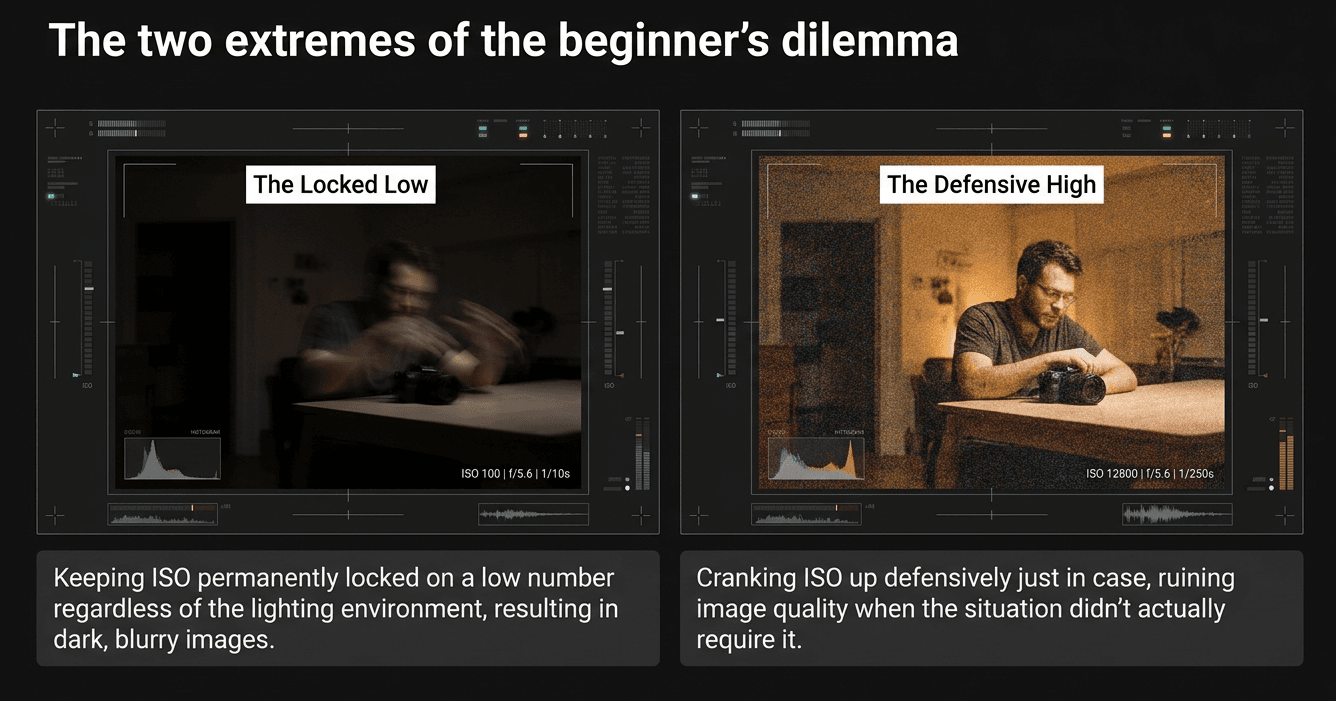
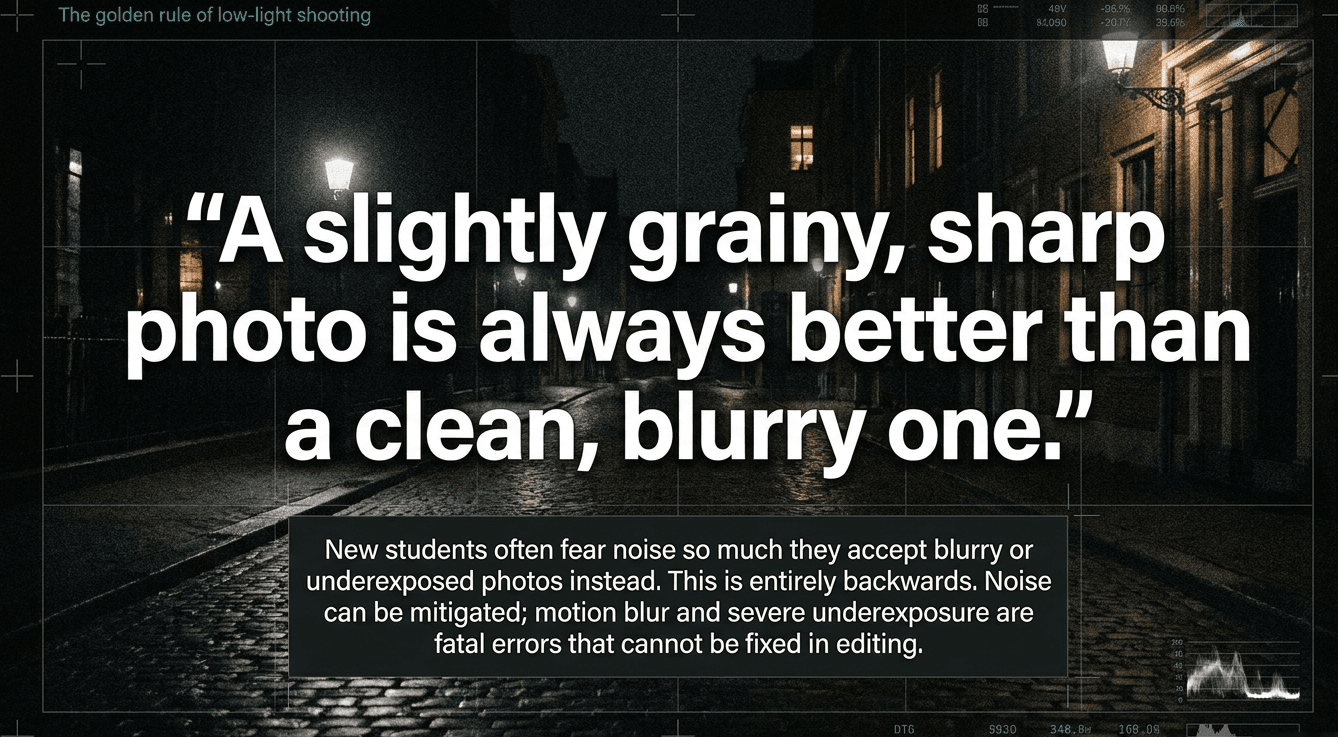
Some new students become so worried about noise that they'd rather come home with a blurry, underexposed photo than raise ISO to fix it. This is backwards. A slightly grainy but sharp, correctly exposed photo is virtually always more usable and more repairable in editing than a photo that's underexposed or blurred from camera shake — those problems are far harder to fix after the fact than noise is.
A quick ISO reference guide
| Situation | Typical ISO range |
|---|---|
| Bright outdoor daylight | 100 – 200 |
| Overcast day, open shade | 200 – 400 |
| Indoors near a window | 400 – 800 |
| Indoor evening, ambient light only | 800 – 3200 |
| Very low light, night, events without flash | 3200 – 6400+ |
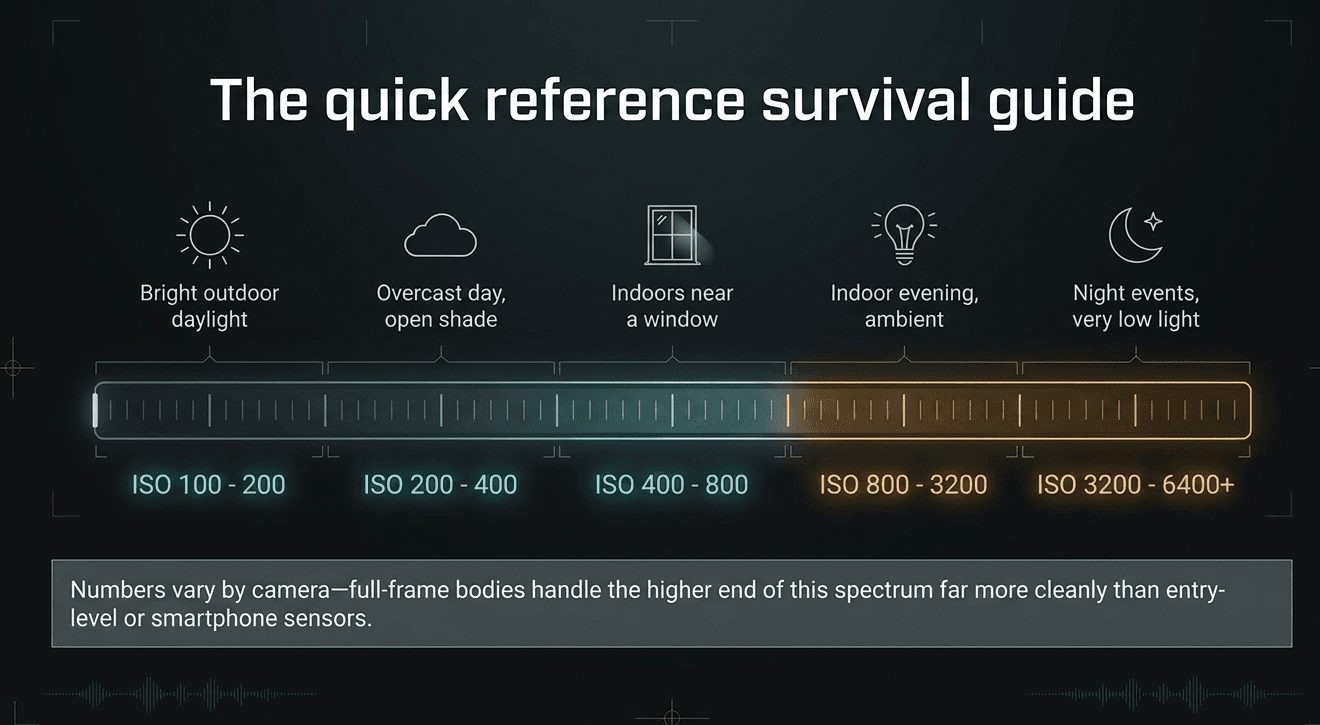
Actual numbers vary by camera — a full-frame body typically handles the higher end of this range far more cleanly than an entry-level APS-C or smartphone sensor.
What comes next in this module
- How to Read a Histogram — a far more reliable way to judge your exposure than trusting your camera's LCD screen
- Common Exposure Mistakes Beginners Make — a closing roundup before Module 3 moves into composition
Learn to judge exposure trade-offs hands-on at Zyamaru Films Academy
Knowing when to raise ISO versus when to widen your aperture or slow your shutter is a judgment call that sharpens fast with real practice, in real low-light situations, with someone experienced reviewing your choices. Our Basic Photography to Cinematography course at Zyamaru Films Academy in Tahachal, Kathmandu includes hands-on low-light shooting sessions specifically to build this instinct, guided by an industry-active cinematographer.
Turn Passion Into Profession.
Frequently asked questions
Is a high ISO always bad?
No. A high ISO is simply a trade-off — more noise in exchange for a usable, correctly exposed photo in low light. A sharp, slightly grainy photo is almost always more valuable than a blurry or too-dark one.
What ISO should I use indoors?
It depends heavily on how much ambient light is available, but ISO 400 to 800 is a common starting range near a window or in a well-lit room, rising to 1600 or higher in dim evening or event lighting.
Should beginners use Auto ISO?
Yes, it's a genuinely useful setting, not just a beginner shortcut. Auto ISO with a set maximum limit lets you focus on controlling aperture and shutter speed — the two settings with the biggest creative impact — while the camera handles exposure balancing in changing light.