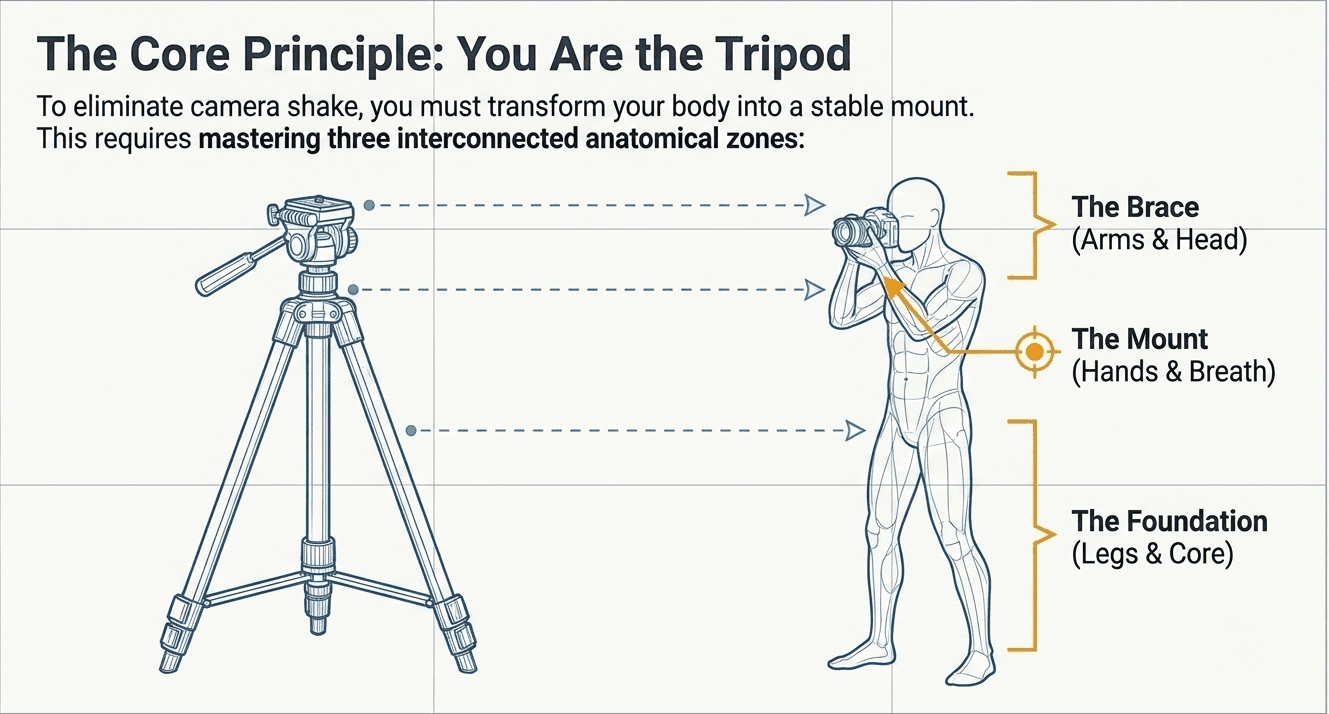
How to Hold a Camera Properly (and Stop Taking Blurry Photos)
This is the final post in Module 1, and honestly, it might be the one that fixes the most photos, the fastest.
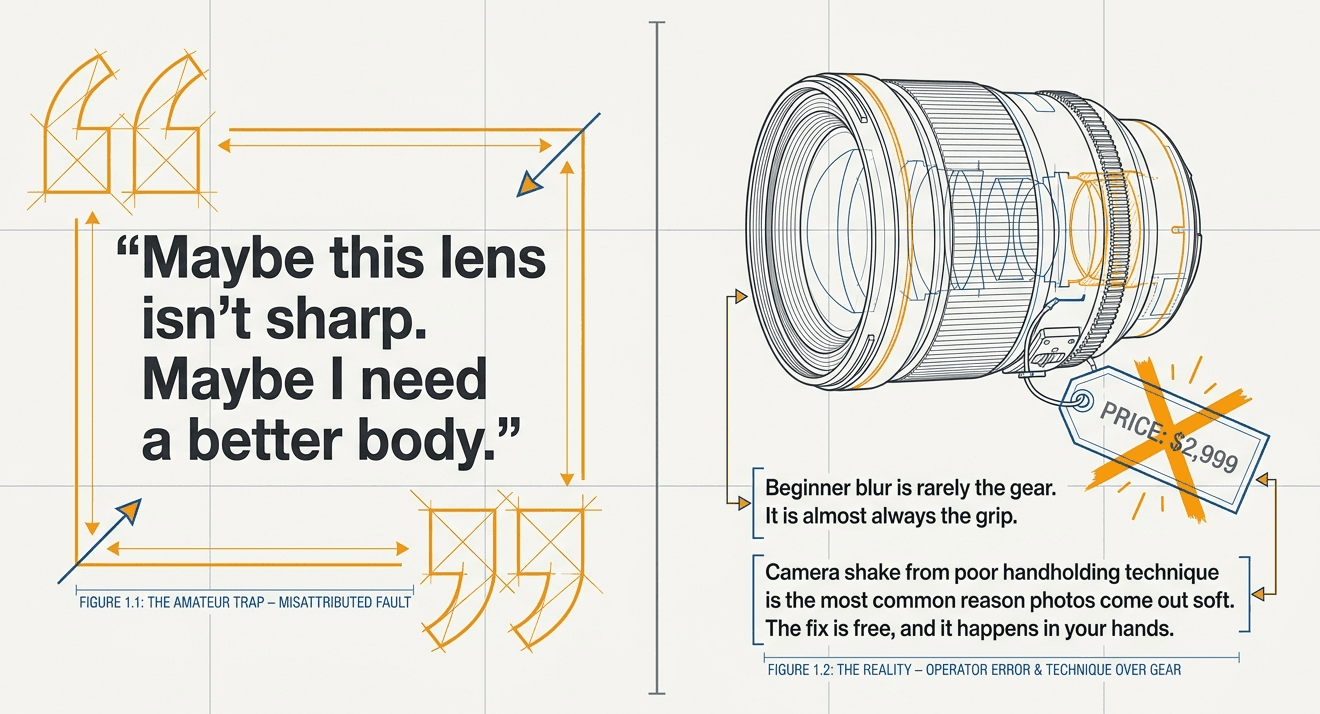
At Zyamaru Films Academy, we've watched dozens of new students blame their camera for soft, blurry images — "maybe this lens isn't sharp," "maybe I need a better body" — when the actual cause was sitting entirely in their hands. Camera shake from poor handholding technique is, by a wide margin, the most common reason beginner photos come out blurry. Not the gear. The grip.
The good news: this is completely fixable in one session, with zero money spent. Why your photos are actually blurry (it's rarely the camera)
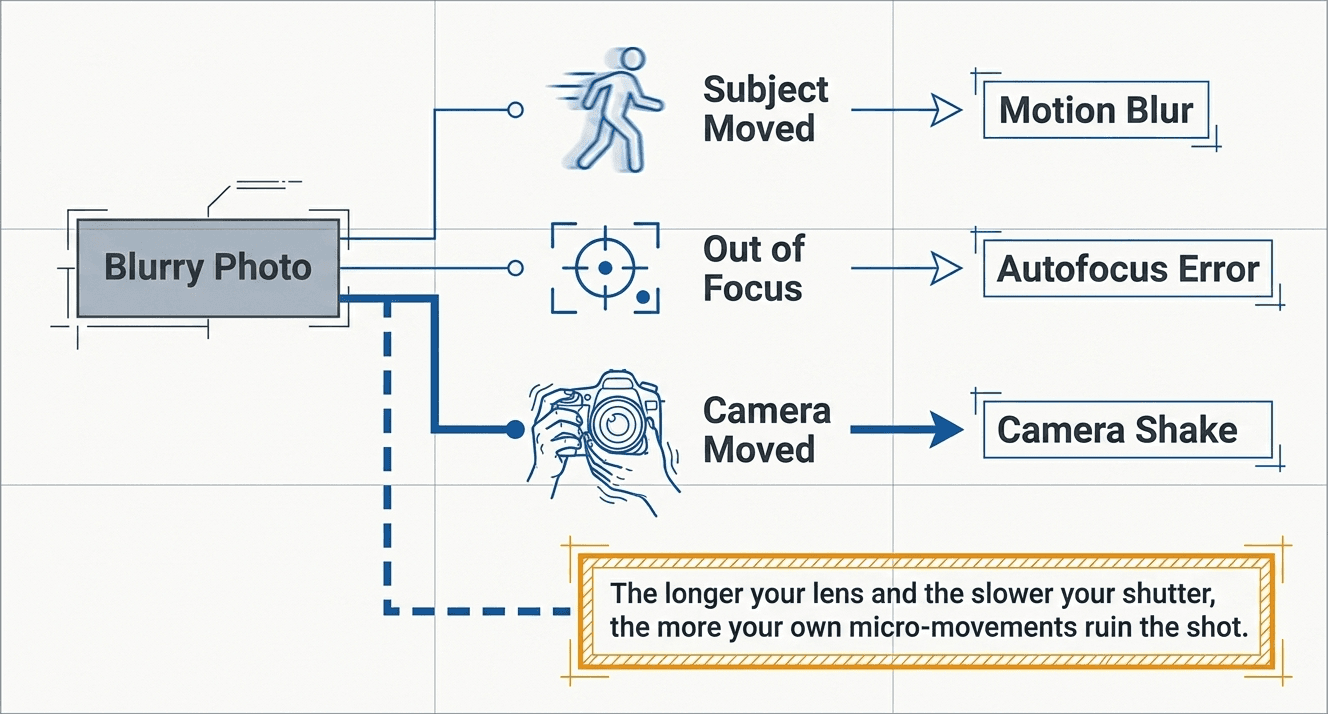
Blur in a photo comes from one of three sources: the subject moved, the camera moved, or the shot was out of focus. Beginners almost always assume it's the third — a focus problem — when it's usually the second: camera shake, tiny involuntary movements of your own hands and body during the exposure, especially noticeable at slower shutter speeds or with longer lenses.
Here's the physics in one sentence:
The longer your shutter stays open, and the longer (more zoomed-in) your lens is, the more even a tiny wobble in your hands shows up as visible blur in the final image. A rock-solid grip and stance directly counteracts this — and it's the single fastest fix available to any beginner, before you even touch a setting.
The correct standing stance, step by step
1. Left hand cradles the lens from underneath Your left palm should sit flat under the lens barrel, supporting the actual weight of the camera. This is the single biggest fix for most beginners, who instinctively hold the camera purely with their right hand on the grip and let the left hand just rest on top or hold the screen edge — which gives the camera almost nothing stopping it from tilting and drifting.
2. Right hand grips the body, index finger ready on the shutter Your right hand wraps around the grip normally, with your index finger resting lightly on the shutter button — not pressing, just resting, ready for that half-press we covered in Camera Anatomy 101.
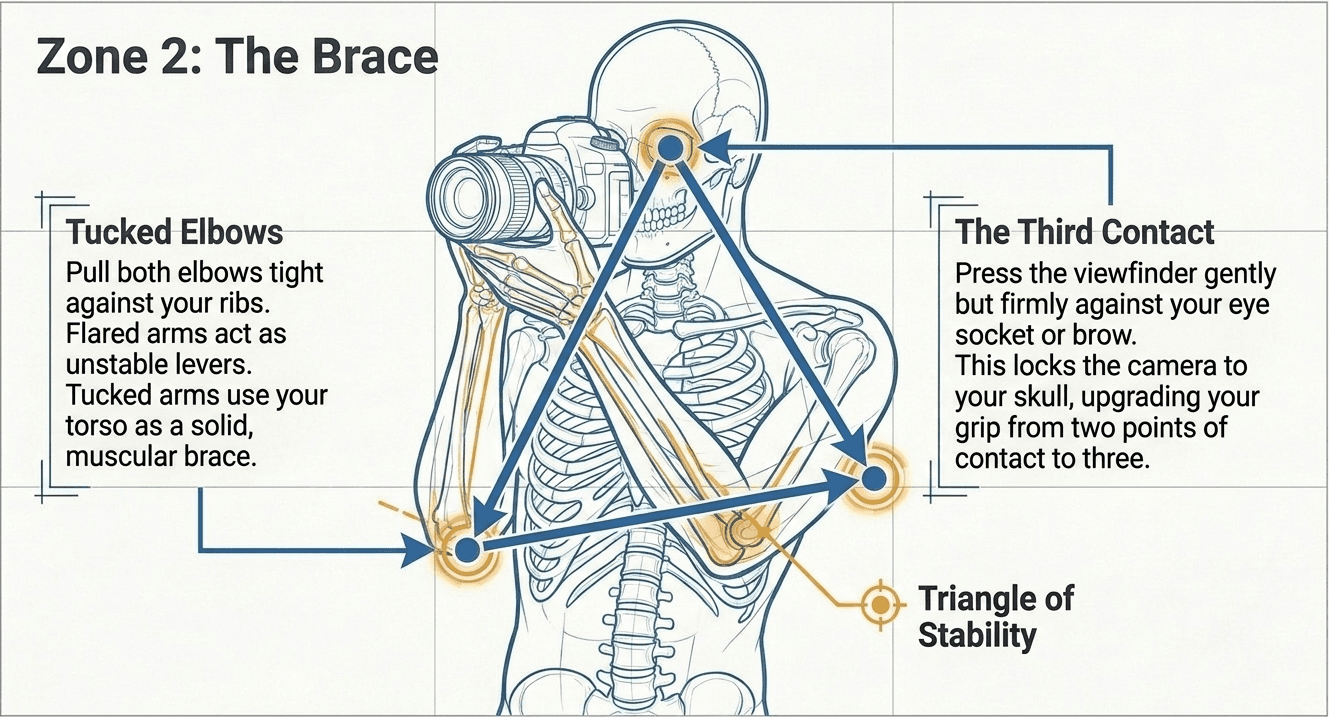
3. Elbows tucked into your body, not out to the sides This is the step almost every beginner skips. Flared-out elbows turn your arms into unsupported levers with no bracing point, which amplifies every small tremor. Pull both elbows in against your ribs, and your arms instantly become far more stable, using your torso as a brace instead of relying purely on arm strength.
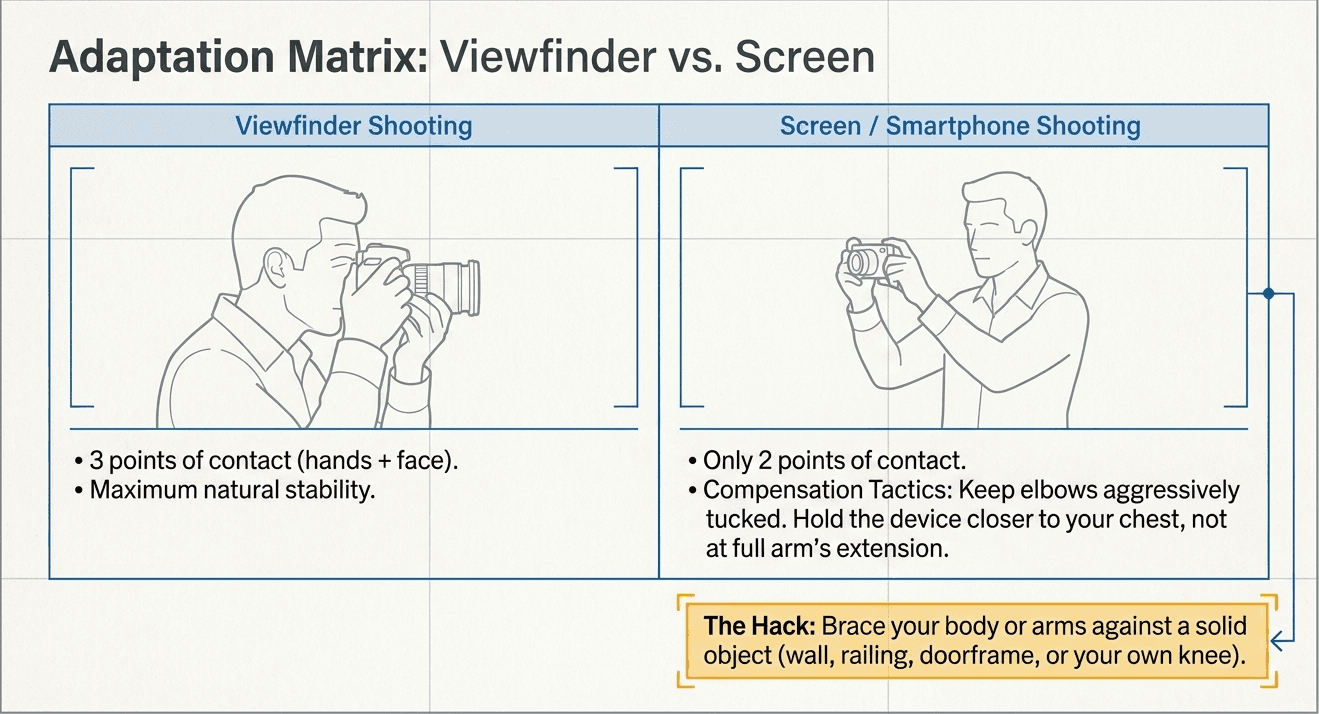
4. Camera braced against your eye or brow If you're using a viewfinder, push the camera gently but firmly against your eye socket or brow. This creates a genuine third point of contact beyond your two hands — and three points of stable contact are dramatically steadier than two.
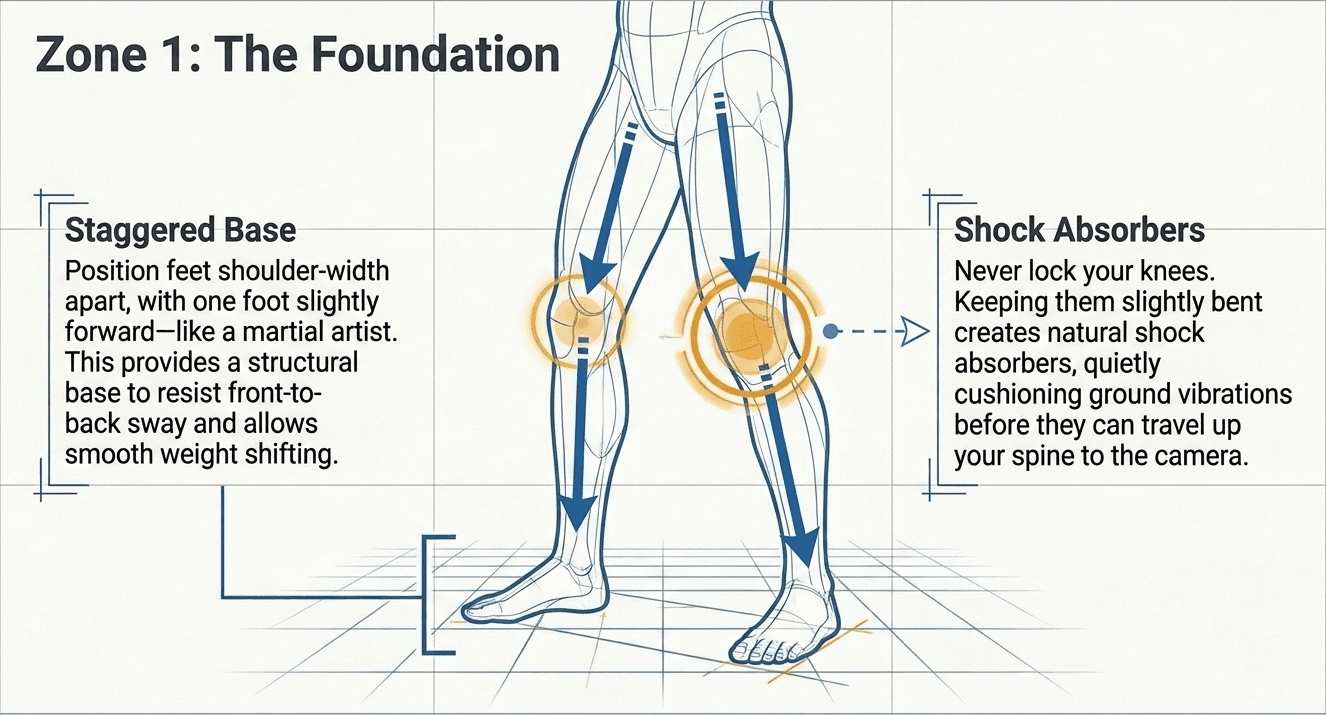
5. Feet shoulder-width apart, one slightly forward Stand the way a boxer or a martial artist would — a stable, slightly staggered base, not feet together. This gives you a stronger foundation to resist sway and lets you shift your weight smoothly if you need to lean into a shot.
6. Knees soft, not locked Slightly bent knees act like natural shock absorbers, quietly cushioning small body movements before they ever reach your hands and the camera.
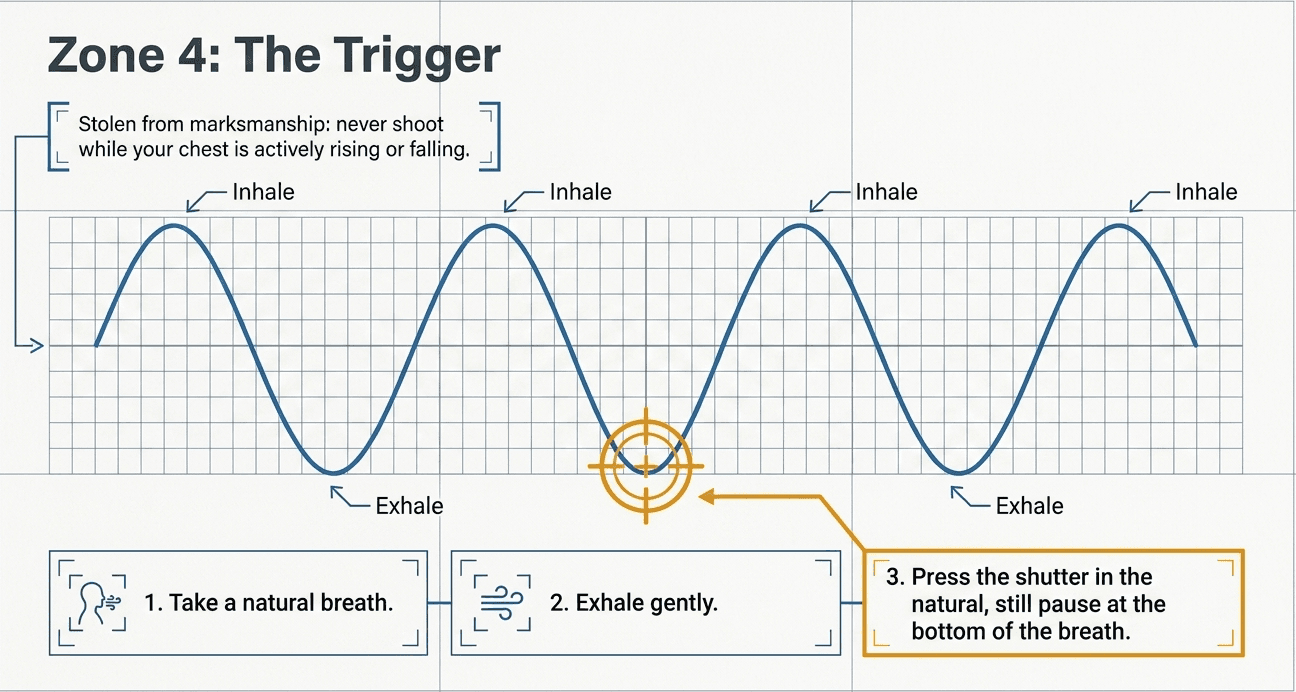
7. Breathe out, then shoot
This one comes straight from marksmanship technique, and it works for the exact same physical reason: take a breath, exhale gently, and press the shutter in that natural pause between breaths, rather than while your chest is actively rising and falling.
When you don't have a viewfinder: shooting from the screen Many mirrorless cameras and most phones get shot from the rear screen rather than an eye-level viewfinder, which removes that third stability point. Compensate with these adjustments:• Pull your elbows in tight against your body regardless, even without the viewfinder brace• Hold the camera closer to your body rather than extending your arms far out• Where possible, brace your arms or the camera itself against something solid — a wall, a railing, a doorframe, even your own knee if you're crouched down
A simple rule of thumb for shutter speed and shake
As a general starting guideline (before you dive deeper into shutter speed in Module 2): your shutter speed should generally be at least as fast as 1 divided by your lens's focal length, to safely handhold without visible shake.
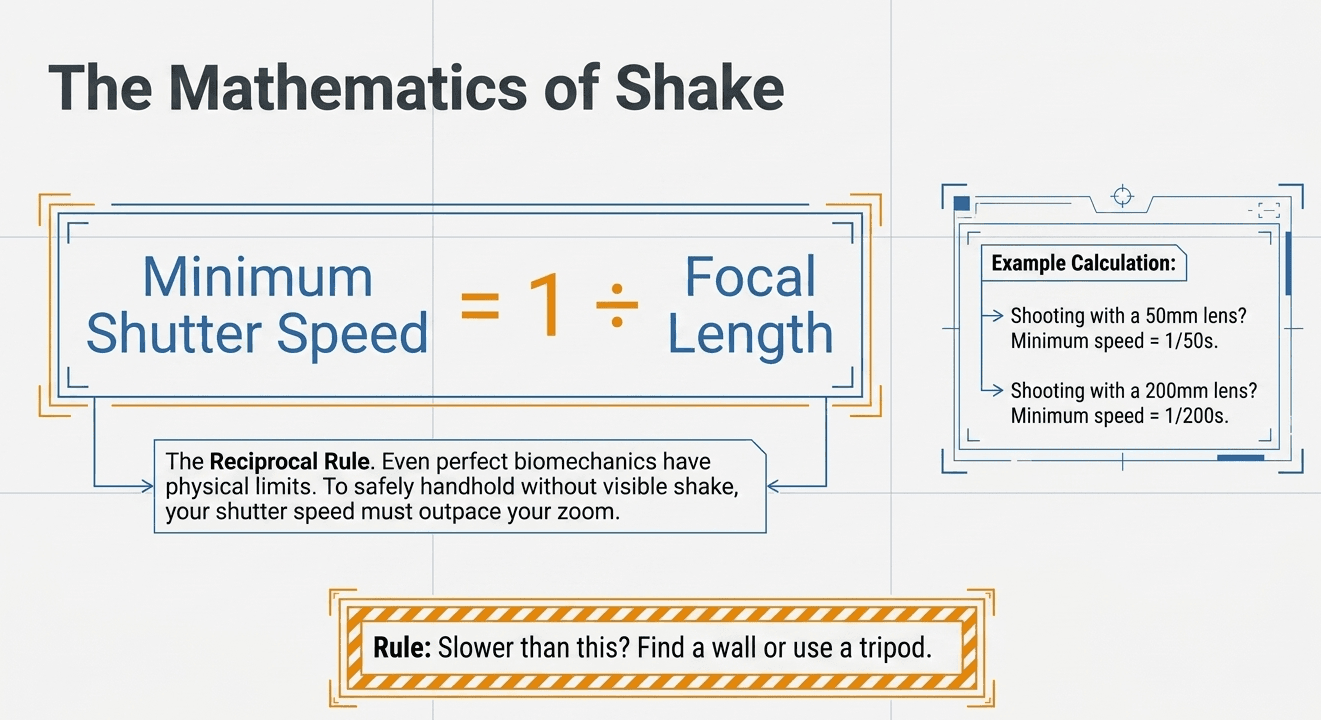
Shooting with a 50mm lens, for example, aim to keep your shutter speed at 1/50s or faster when handholding. Go slower than that, and even good technique may not fully save you — that's when you'll want a tripod, a wall, or some other stable support.
A quick beginner drill: the ten-shot stability test
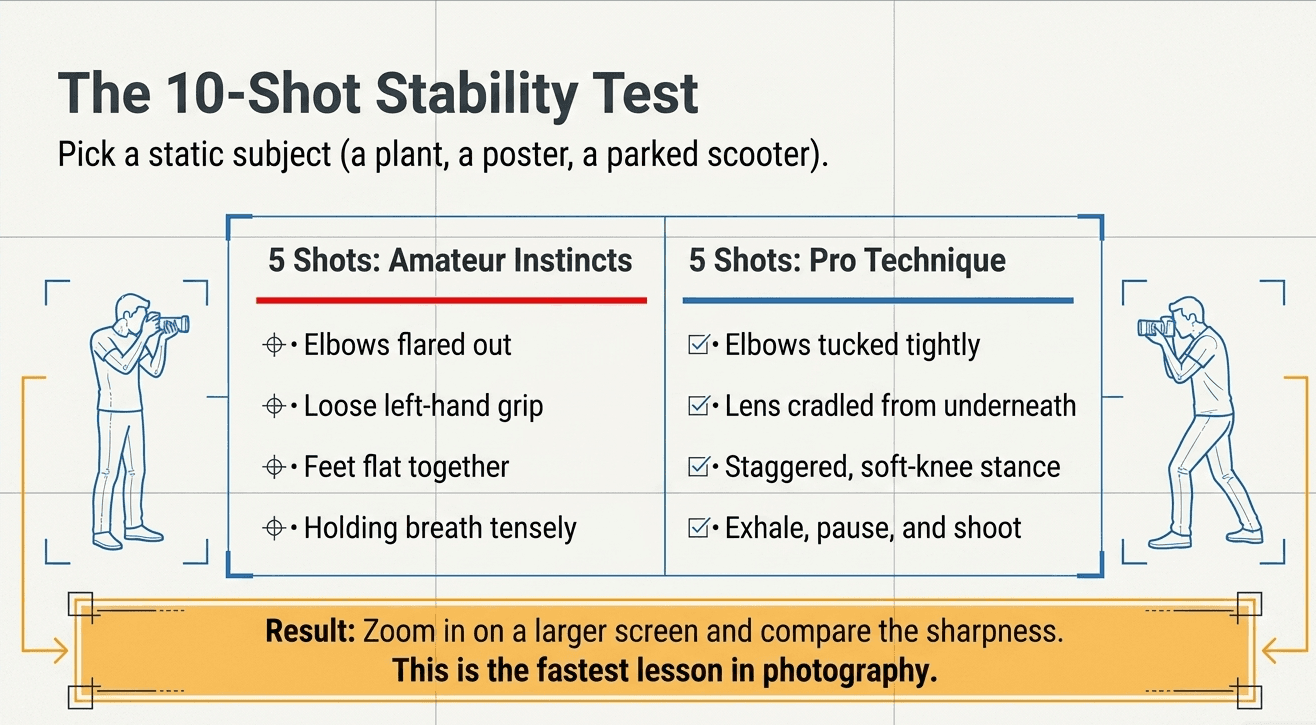
1. Pick any static subject — a plant, a poster, a parked scooter.
2. Take five photos using bad habits on purpose: elbows out, gripping loosely, holding your breath tensely.
3. Now take five more using every technique above: elbows tucked, cradled lens, braced stance, exhale-and-shoot.
4. Zoom into both sets on a larger screen and compare sharpness. Most students are genuinely surprised at how large the difference is — often the clearest, fastest lesson in this entire module.
Module 1 complete — here's what you've built
Across this module, you've gone from "what even is a camera" to a real, usable foundation:• What photography actually is — light traveling through a lens onto a sensor**• Which camera fits you** — DSLR, mirrorless, or smartphone**• Every core button and dial** — and what each one physically does**• The five shooting modes** — and when professionals actually use each one**• RAW vs JPEG** — and what happens to your image data after the shutter fires**• How to physically hold the camera** — so the sharpness you're capable of actually shows up in your photos
Next up: Module 2, The Exposure Triangle — where aperture, shutter speed, and ISO stop being abstract dial positions and become tools you deliberately control for every single shot. Build this into muscle memory at Zyamaru Films Academy
Technique like this is genuinely hard to fully absorb from a blog post alone — it needs a trained eye watching your grip, your stance, and your breathing in real time, correcting small habits before they become permanent ones. That's exactly what happens from day one in our Basic Photography to Cinematography course at Zyamaru Films Academy in Tahachal, Kathmandu — one month, six days a week, hands-on with real cameras, under the direct guidance of an industry-active cinematographer. 10 days basic photography course, Drone cinematography and Cinema Color grading.
Turn Passion Into Profession.
Frequently asked questions
Why are my photos blurry even though my camera has autofocus?
Autofocus solves whether your subject is in focus — it does nothing to prevent camera shake from an unstable grip or stance, which is a completely separate and far more common cause of blur in beginner photos.
Do I need a tripod to take sharp photos as a beginner?
Not for most everyday shooting. A tripod becomes important at very slow shutter speeds, in low light, or for long exposures — but proper handholding technique alone eliminates the vast majority of blur beginners experience.
Does holding a phone the same way help reduce blur too?
Yes. Bracing your elbows against your body, holding the phone with both hands, and gently exhaling before tapping the shutter all reduce shake on a smartphone exactly the same way they do on a dedicated camera.