
Foreground, Midground, Background: Creating Depth in a 2D Image
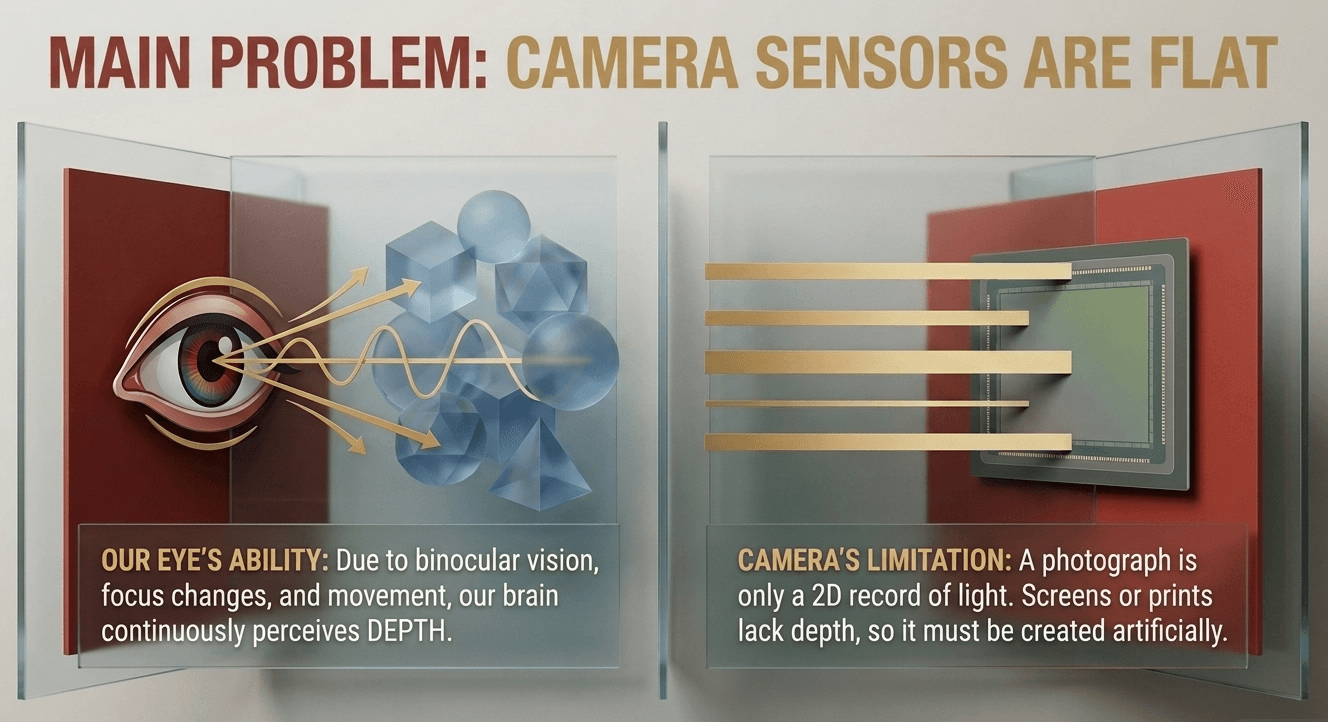
Here's a problem every photographer eventually runs into: a photo is fundamentally flat. It's light recorded onto a two-dimensional sensor, viewed on a two-dimensional screen or print — and yet the best photographs somehow feel like you could step into them. This post is about the technique that creates that illusion: layering a scene into foreground, midground, and background.
Why a flat image needs deliberate depth cues
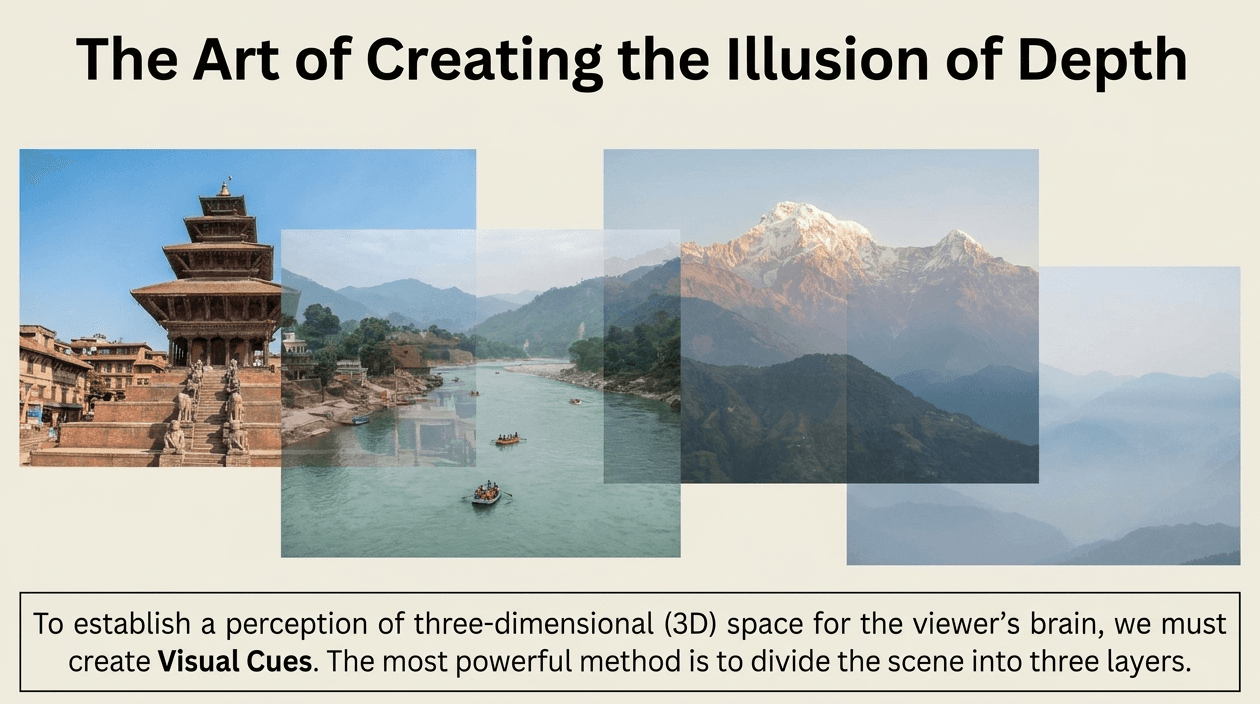
Your eyes perceive real-world depth constantly, through binocular vision, focus shifts, and motion — none of which a still photograph has access to. A photographer has to fake that sense of depth using visual cues alone. Layering is the most powerful of those cues: when a viewer's eye can identify something close, something in the middle distance, and something far away within the same frame, the brain reconstructs a sense of three-dimensional space, even though the image itself is completely flat.
Main photo lied here
The three layers, and what each one is doing
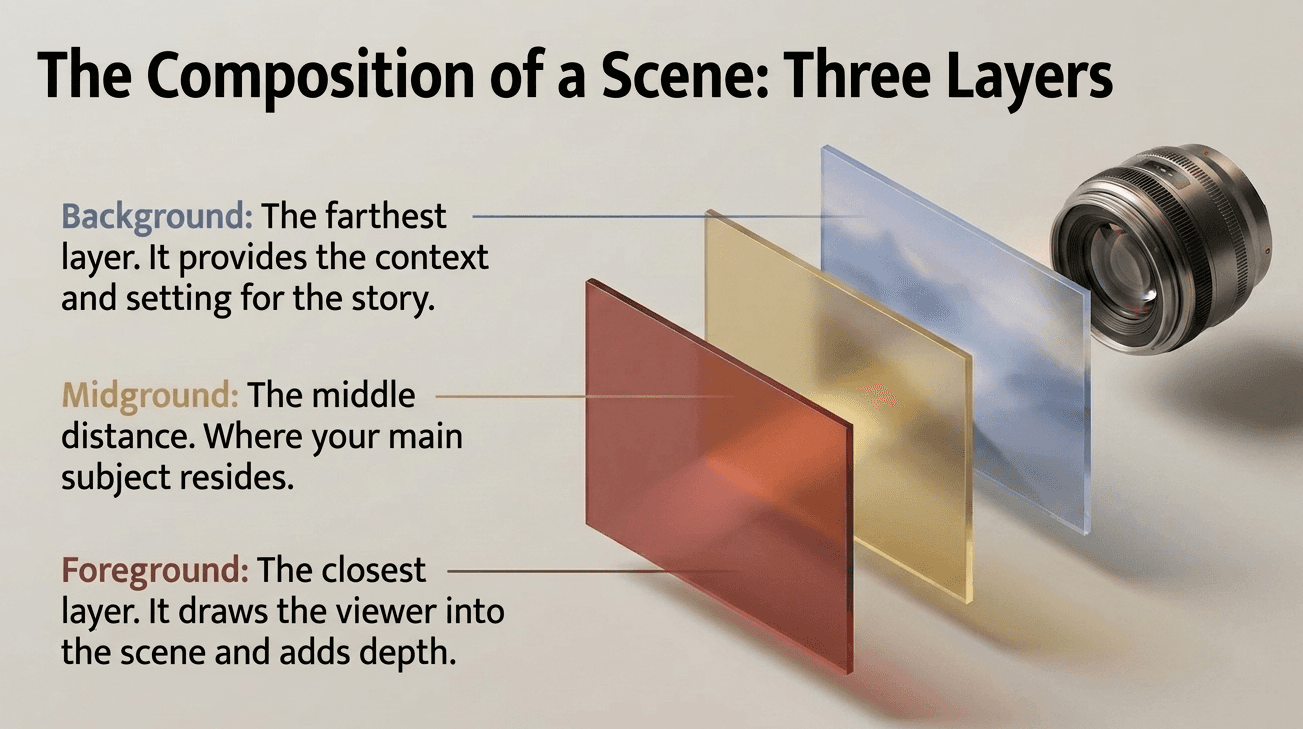
Foreground is whatever sits closest to the camera — often the largest, sharpest, and most detailed element in the frame, sometimes even slightly out of focus if it's very close. Its job is to anchor the viewer at the "entrance" of the scene.
Midground sits in the middle distance, usually where your actual subject lives — a person, a building, the main point of interest the whole photo is built around.
Background is the farthest layer, often softer, paler, and less detailed than the other two — either from natural atmospheric haze, shallow depth of field, or simply distance itself.
Real examples: layering in Kathmandu locations
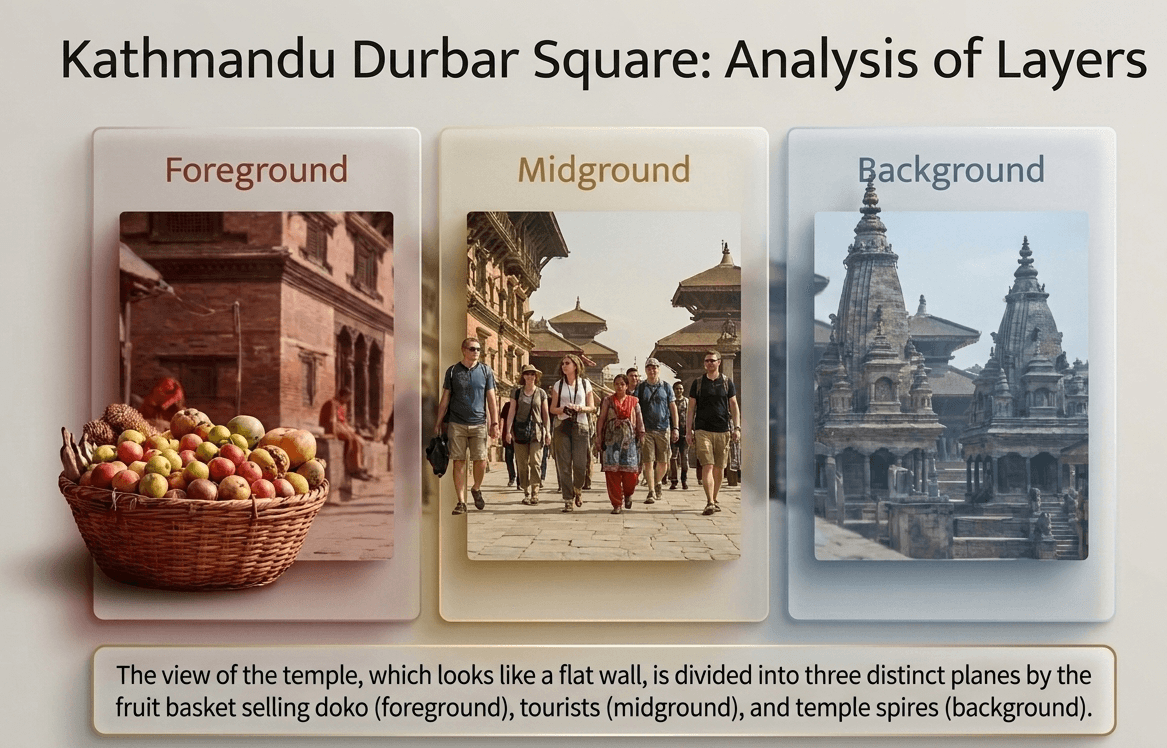
Example 1 — Kathmandu Durbar Square with a foreground vendor: Photographing the square's temples with a fruit vendor's basket positioned in the immediate foreground, slightly out of frame at the bottom edge, a group of tourists in the midground, and the temple spires rising in the background creates a photo with genuine layered depth — three distinct planes the eye can travel through, rather than one flat wall of "square and temple."
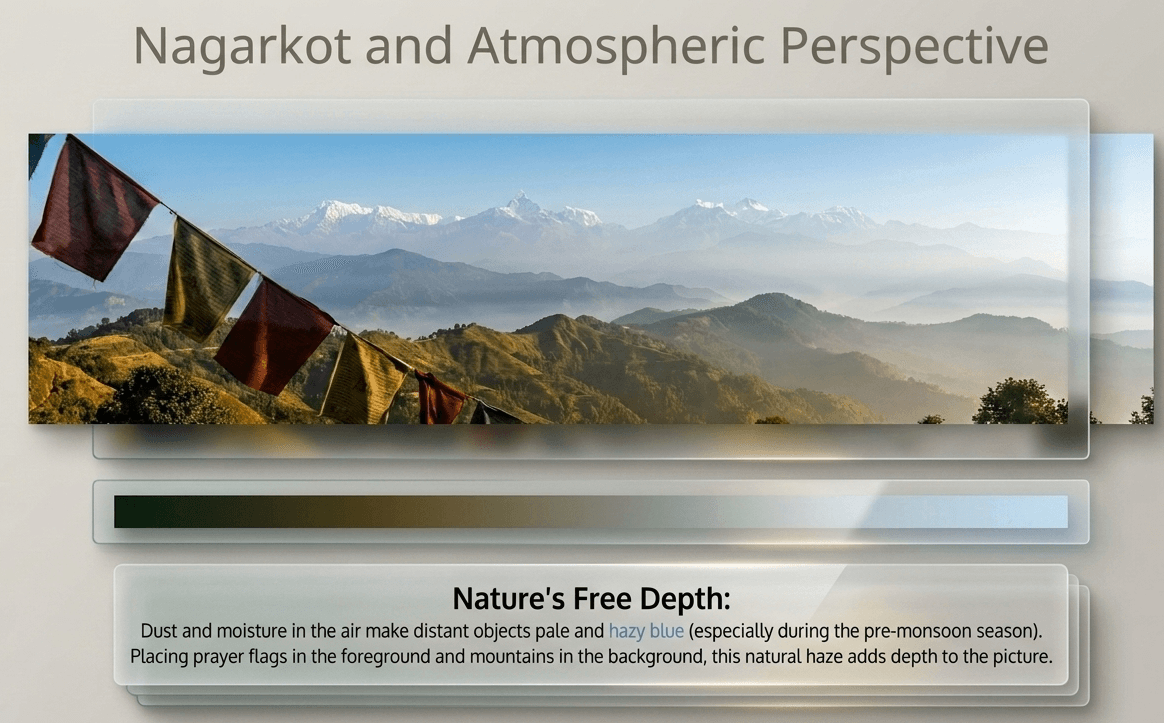
Example 2 — The Himalayan range from Nagarkot at dawn: A foreground of prayer flags and pine branches, a midground of terraced hillsides, and a background of snow-capped peaks fading into pale, hazy blue creates a classic layered landscape. Remove the foreground flags and shoot only the hills and peaks, and the photo instantly loses a sense of scale and depth — it starts to feel more like a flat postcard than a place you could actually stand in.
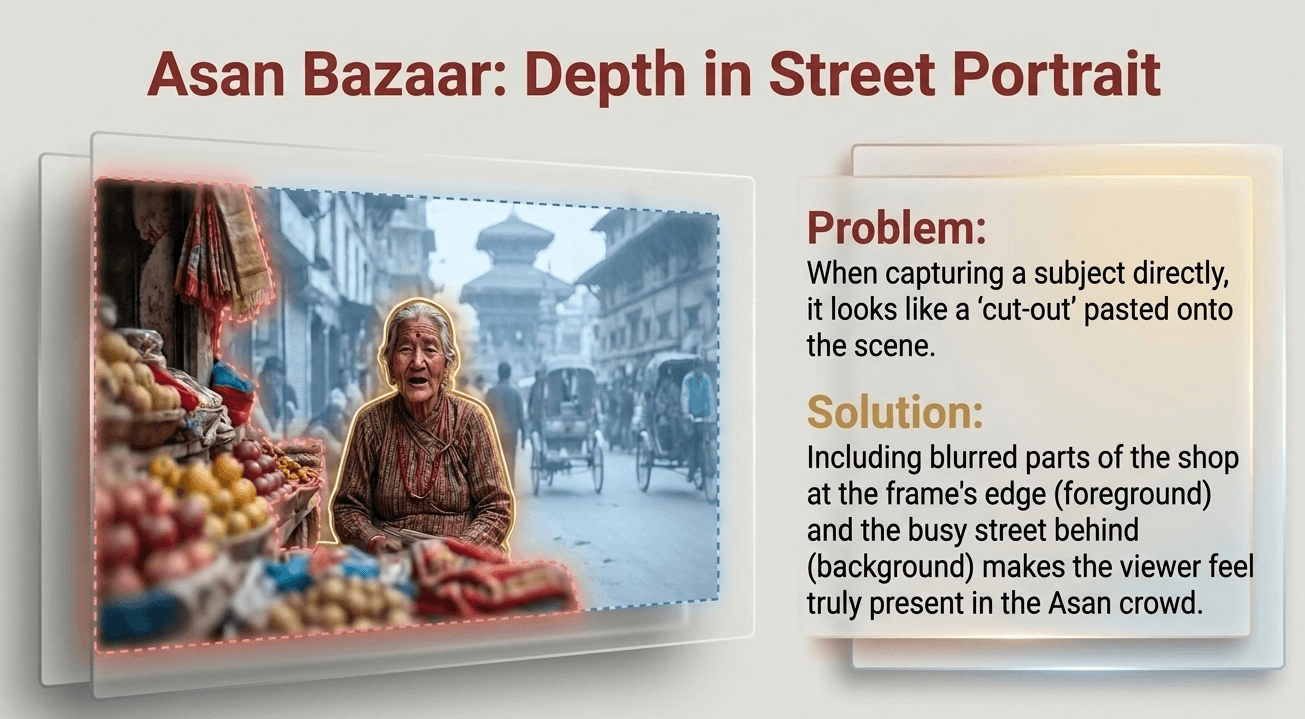
Example 3 — A street portrait in Ason Bazaar: Shooting a portrait with out-of-focus market stalls and shoppers softly blurred in the foreground at the very edge of frame, a sharp subject in the midground, and the bustling street life continuing softly in the background gives the photo a genuine sense of being embedded within a real, busy place — rather than feeling like the subject was cut out and placed against a random backdrop.
Atmospheric perspective: depth through haze and tone
In real outdoor scenes, distant elements naturally appear paler, hazier, and lower in contrast than close ones — this is called atmospheric perspective, caused by light scattering through the air and any dust, moisture, or pollution between your camera and the distant subject. This is especially visible in Kathmandu Valley, where distant hills often take on a soft blue-grey haze, particularly in the dry pre-monsoon months. Rather than fighting this effect, strong landscape photographers use it deliberately — it's a genuinely free depth cue that requires no extra editing, just the right foreground-to-background composition to take advantage of it.
Aperture and depth of field control how strongly layers separate
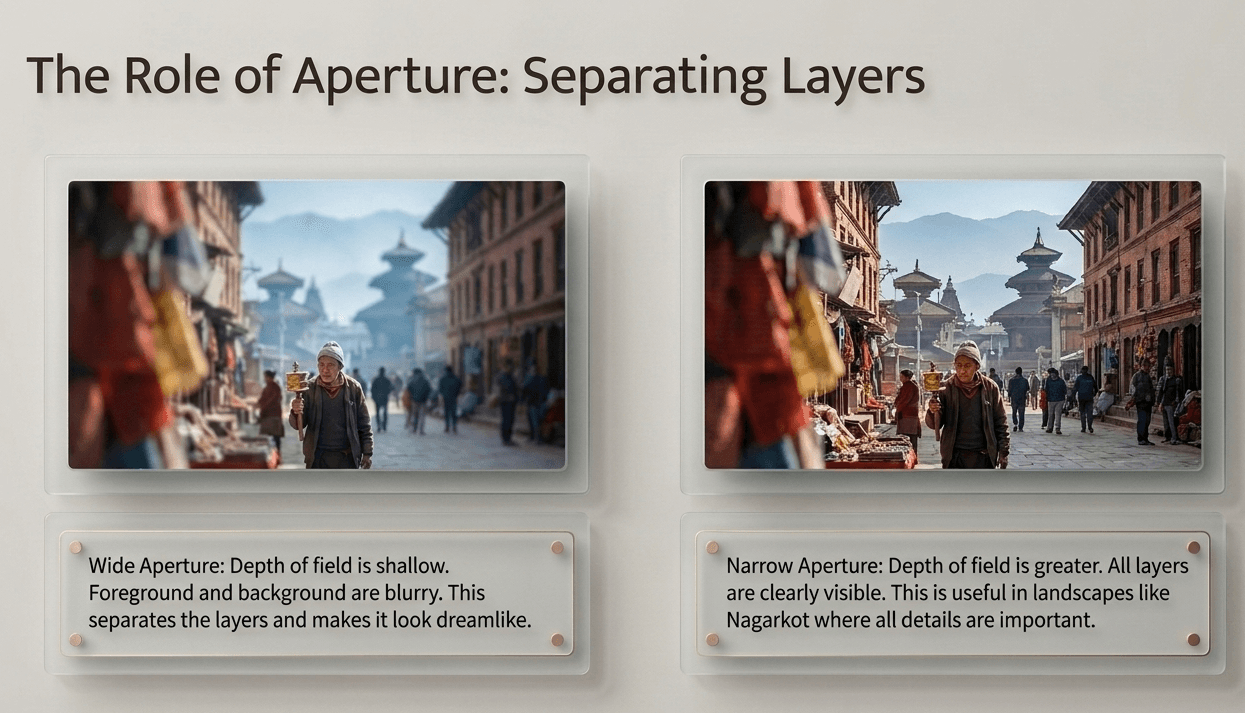
This connects directly back to Module 2's aperture post: a wide aperture, with its shallow depth of field, can blur your foreground and background into soft, simplified shapes while keeping your midground subject sharp — exaggerating the sense of separation between layers. A narrow aperture, by contrast, keeps all three layers sharp and detailed, which works well for landscapes where you want the viewer to explore detail across the whole depth of the scene, from the Nagarkot example above.
Neither approach is "correct" — it depends on whether you want the layers to feel separated and dreamlike, or unified and fully detailed.
A practical technique: get low, get close
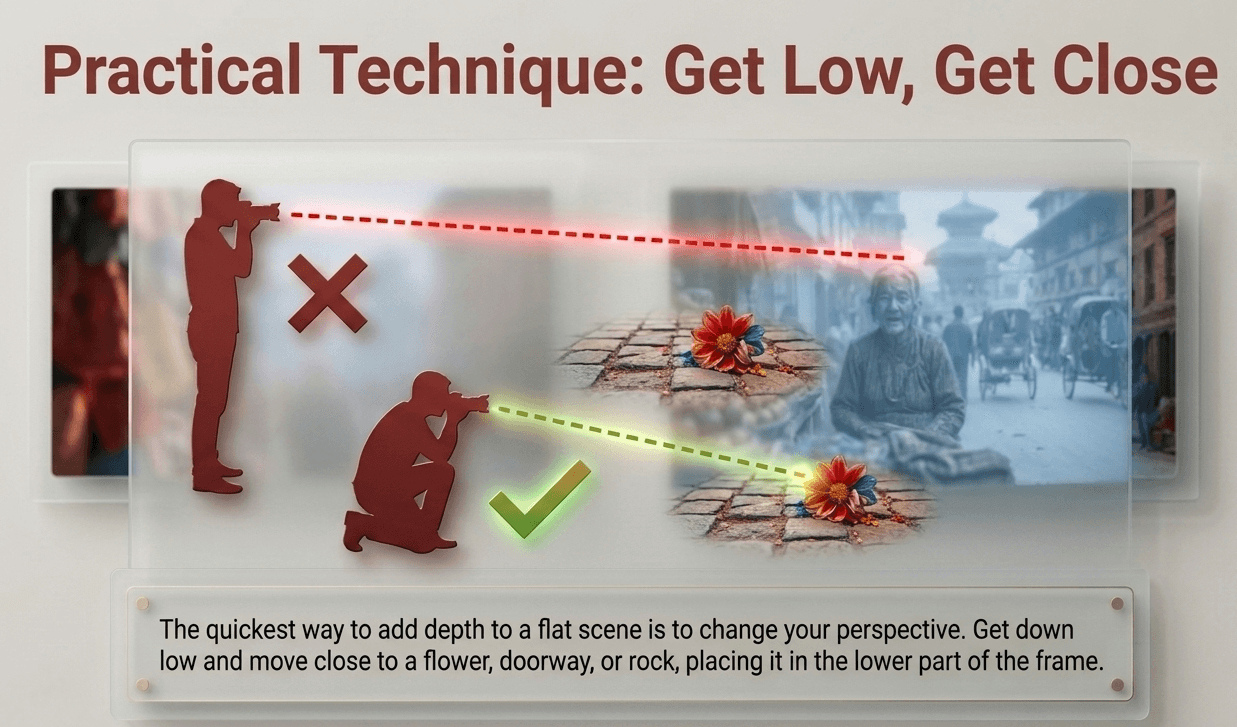
One of the fastest ways to add a strong foreground layer to an otherwise flat shot is simply changing your own position: crouch down, get physically closer to something in the scene — a flower, a doorway, a patch of cobblestone — and let it fill the bottom or edge of the frame while your actual subject sits further back. This single habit alone is one of the most reliable ways to instantly add depth to a composition that would otherwise feel flat.
A common beginner mistake: a foreground that competes with the subject
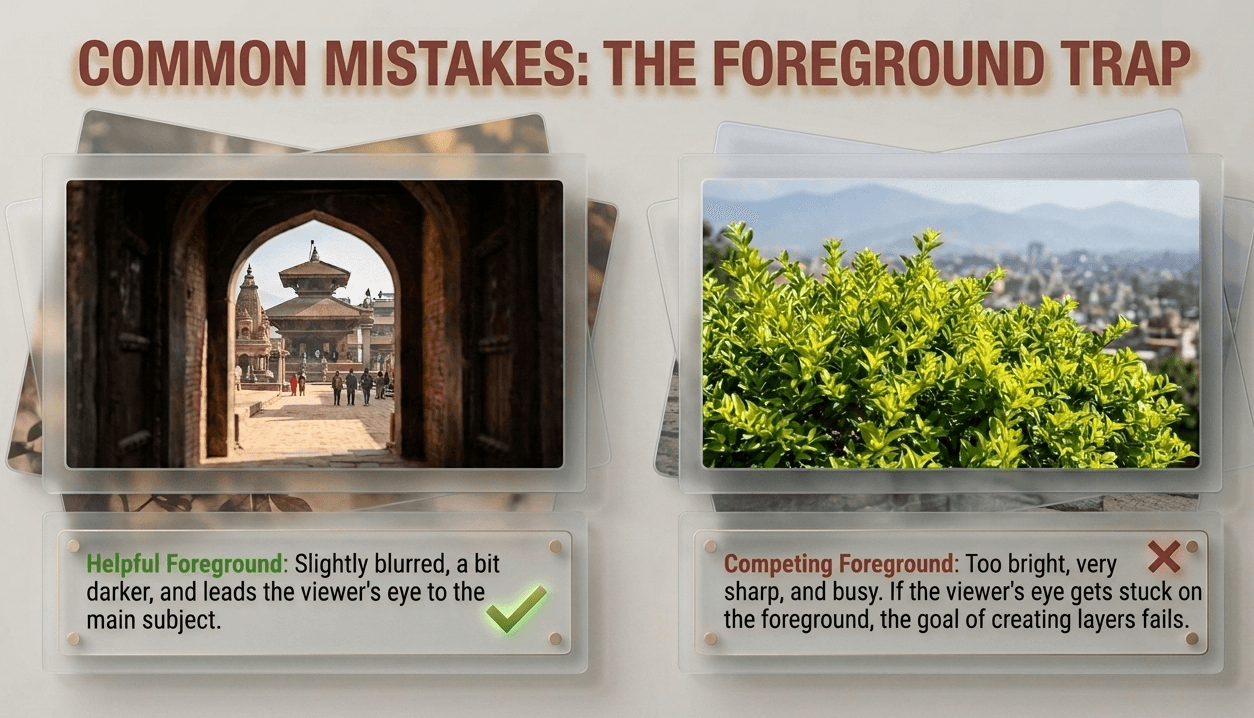
Some new students, once they learn this technique, start cramming busy, distracting foreground elements into every shot without considering whether it helps or hurts the actual subject. A strong foreground supports the scene — it shouldn't be so detailed, bright, or sharp that it pulls attention away from your actual midground subject. If someone's eye gets stuck on the foreground and never makes it to the subject, the layering has gone too far.
A practice drill: shoot the same scene with and without foreground
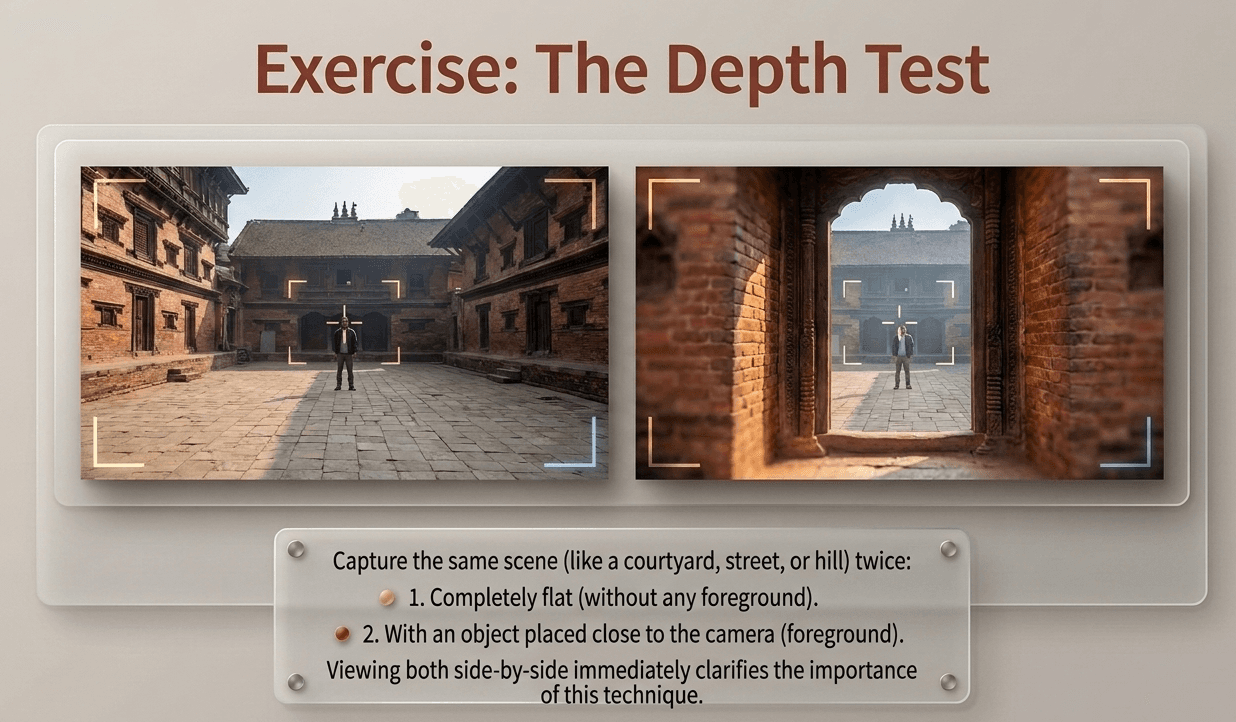
Find a scene with some natural depth available — a courtyard, a street, a hillside view — and shoot it twice: once completely flat, framing only the main subject with nothing close to the camera, and once with a deliberate foreground element included at the bottom or edge of frame. Comparing the two side by side usually makes the value of this technique immediately obvious.
What comes next in this module
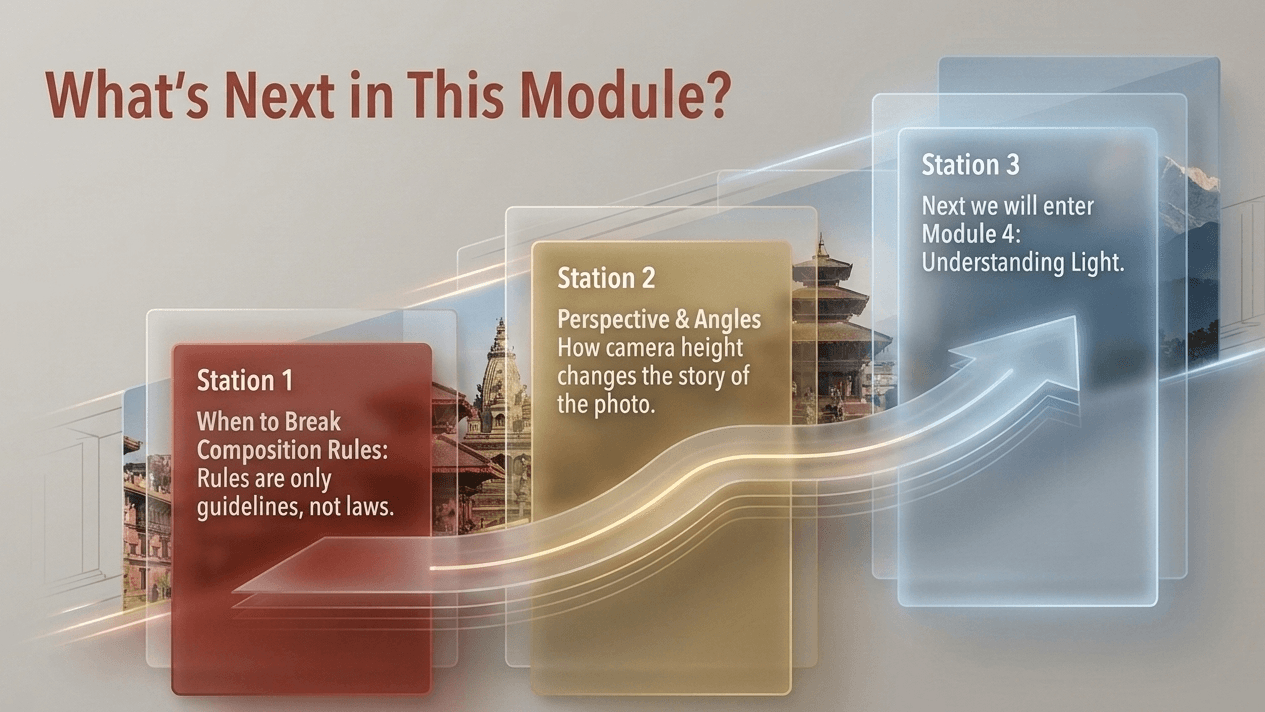
- When to Break Composition Rules — and why rules are guidelines, not laws
- Perspective & Angles — how camera height changes the entire story of a photo, closing out Module 3 before we move into Module 4: Understanding Light
Learn to see depth in the field at Zyamaru Films Academy
Spotting a strong foreground element in the moment — and knowing how far to push it before it competes with your subject — is a skill that develops fast with real shooting practice and direct feedback. Our Basic Photography to Cinematography course at Zyamaru Films Academy in Tahachal, Kathmandu builds this instinct through location-based composition sessions across Kathmandu's temples, streets, and courtyards, guided by an industry-active cinematographer.
Turn Passion Into Profession.
Frequently asked questions
How do I make my photos look less flat?
Include distinct foreground, midground, and background elements within the same frame. This layering gives the viewer's eye depth cues to reconstruct a three-dimensional sense of space from a two-dimensional image.
What is atmospheric perspective in photography?
Atmospheric perspective is the natural effect where distant elements in a scene appear paler, hazier, and lower in contrast than closer ones, caused by light scattering through air, dust, and moisture. It's a useful, free depth cue in landscape photography.
Should my foreground always be in sharp focus?
Not necessarily. A slightly out-of-focus foreground, especially when shot with a wide aperture, can still add a strong sense of depth and layering without competing for attention with your sharp midground subject.