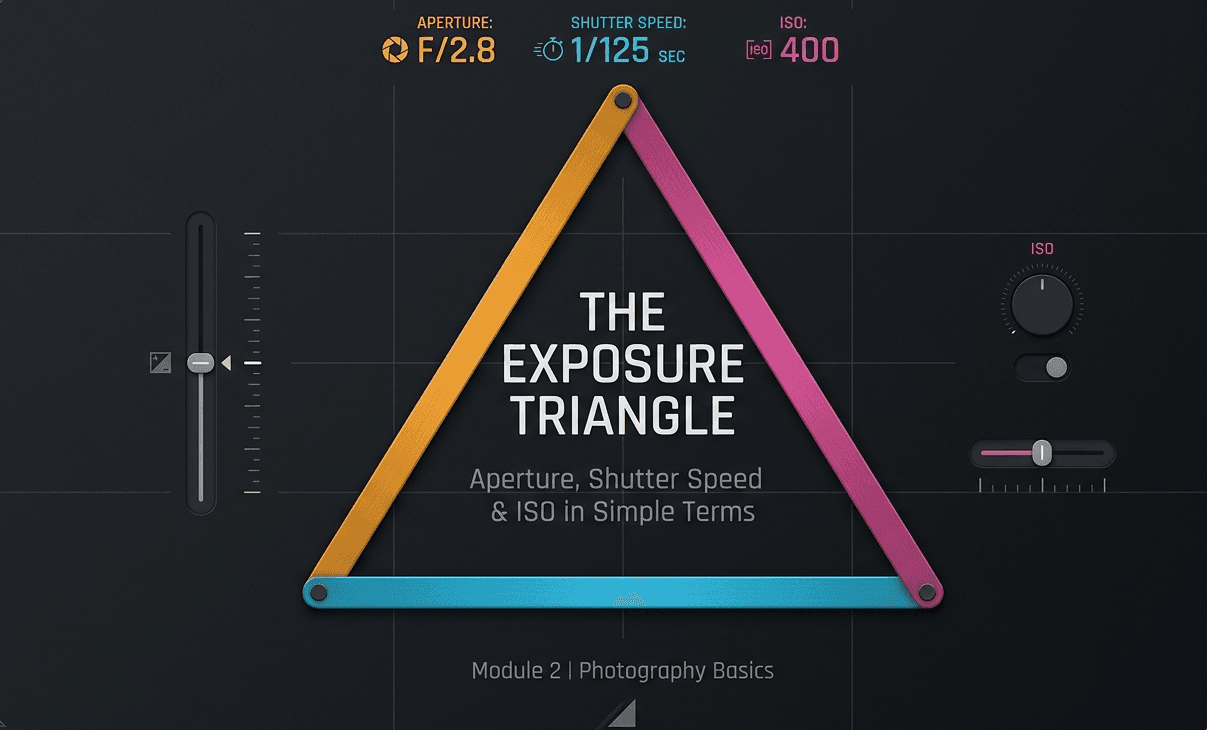
The Exposure Triangle Explained: Aperture, Shutter Speed & ISO in Simple Terms
Welcome to Module 2. If Module 1 was about understanding what a camera is and getting physically comfortable holding one, this module is where photography actually starts feeling like a craft you control — starting with the concept that sits underneath every single exposure decision you'll ever make: the exposure triangle.
Every photo you've ever seen — correctly exposed, too bright, too dark — comes down to just three settings working together. Once this triangle genuinely clicks, "getting the exposure right" stops being trial and error and starts being a decision you make on purpose.
What "exposure" actually means
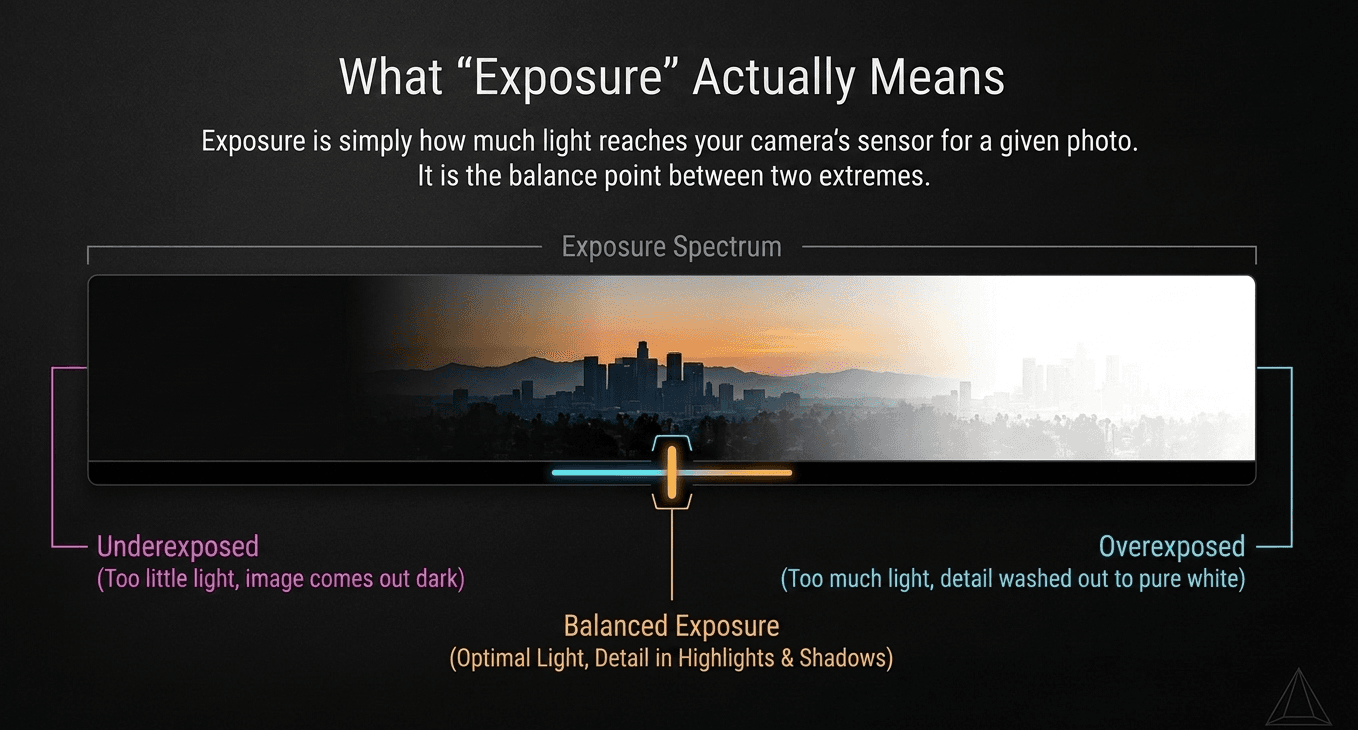
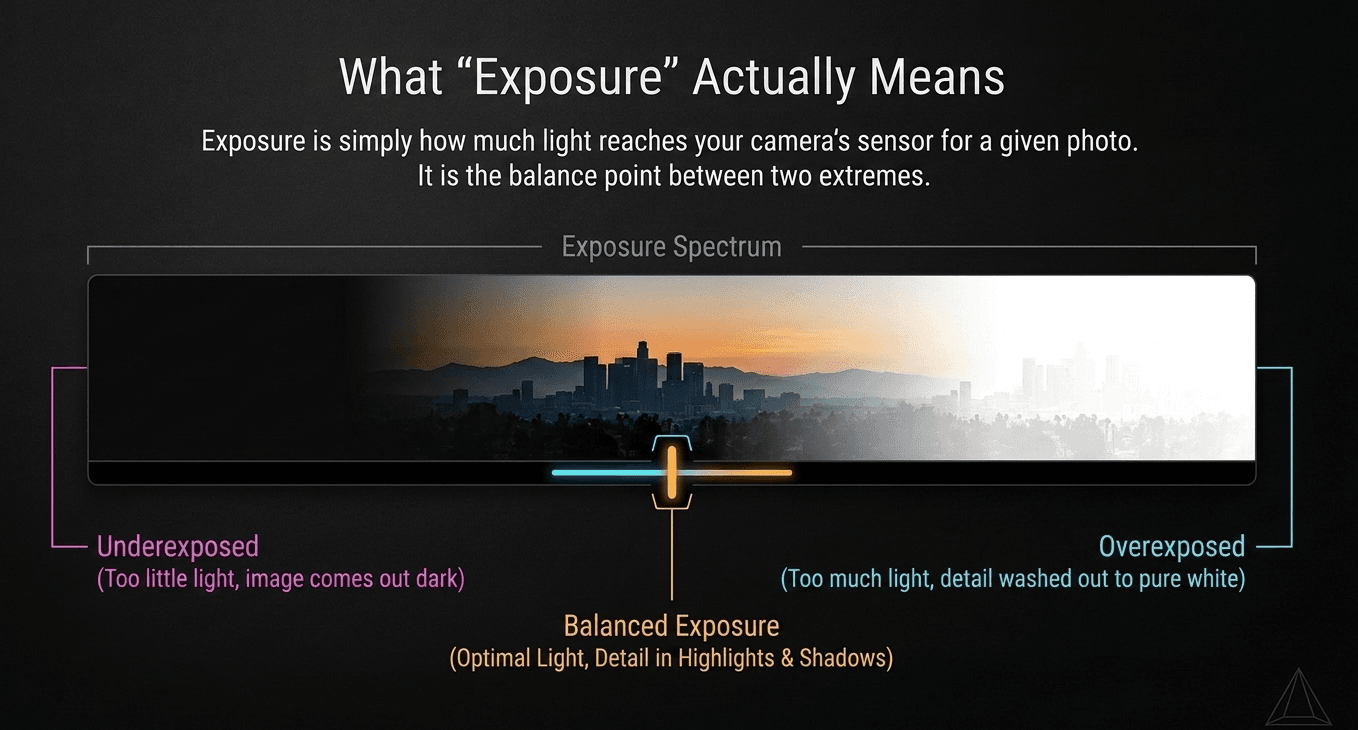
Exposure is simply how much light reaches your camera's sensor for a given photo. Too little light, and the image comes out dark — underexposed. Too much light, and detail gets washed out into pure white — overexposed. Exposure is the balance point between those two extremes.
Three settings control that balance, and — as we touched on briefly in Module 1's post on shooting modes — each one does double duty: it changes exposure, but it also changes something else about the photo creatively.
The three corners, in plain terms
Aperture — the size of the opening letting light in
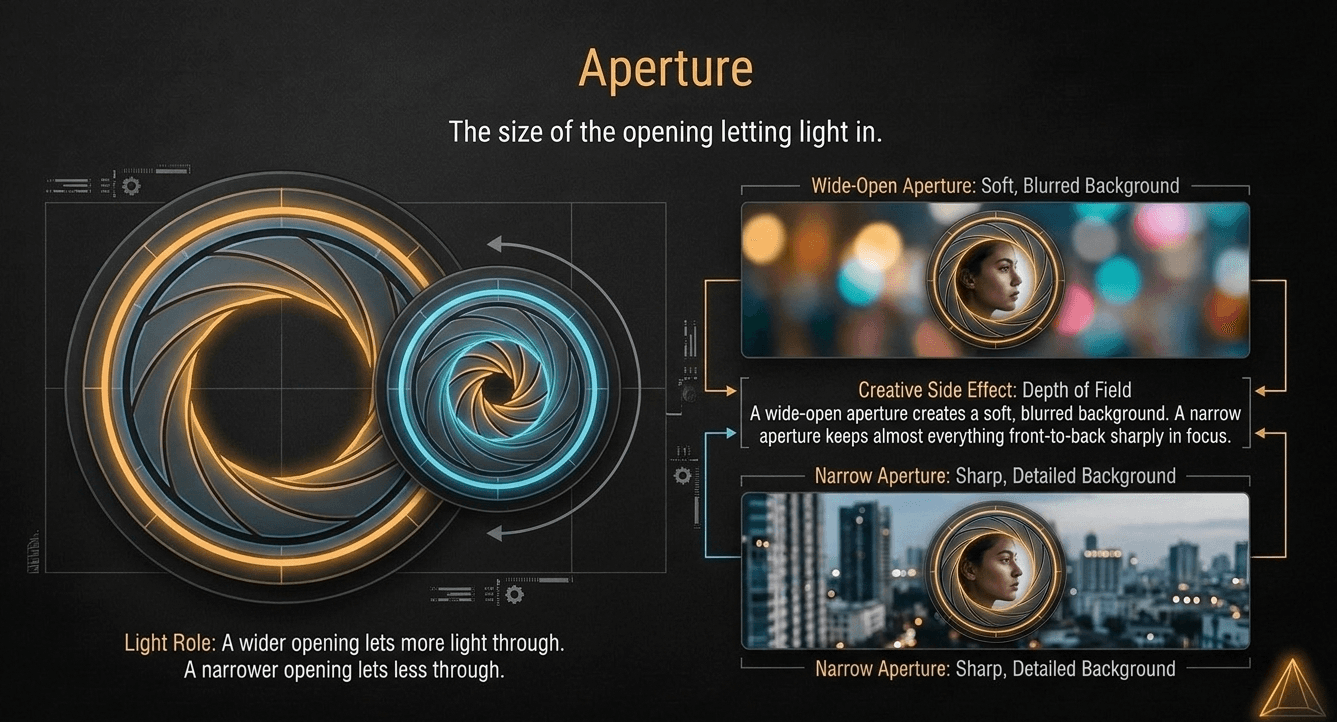
We first mentioned aperture back in Module 1's post on how a camera forms an image — it's the adjustable opening inside the lens. A wider opening lets more light through; a narrower opening lets less through. Its creative side effect: aperture also controls depth of field — how much of your photo, front to back, appears sharply in focus. A wide-open aperture gives you that soft, blurred-background look; a narrow aperture keeps almost everything sharp.
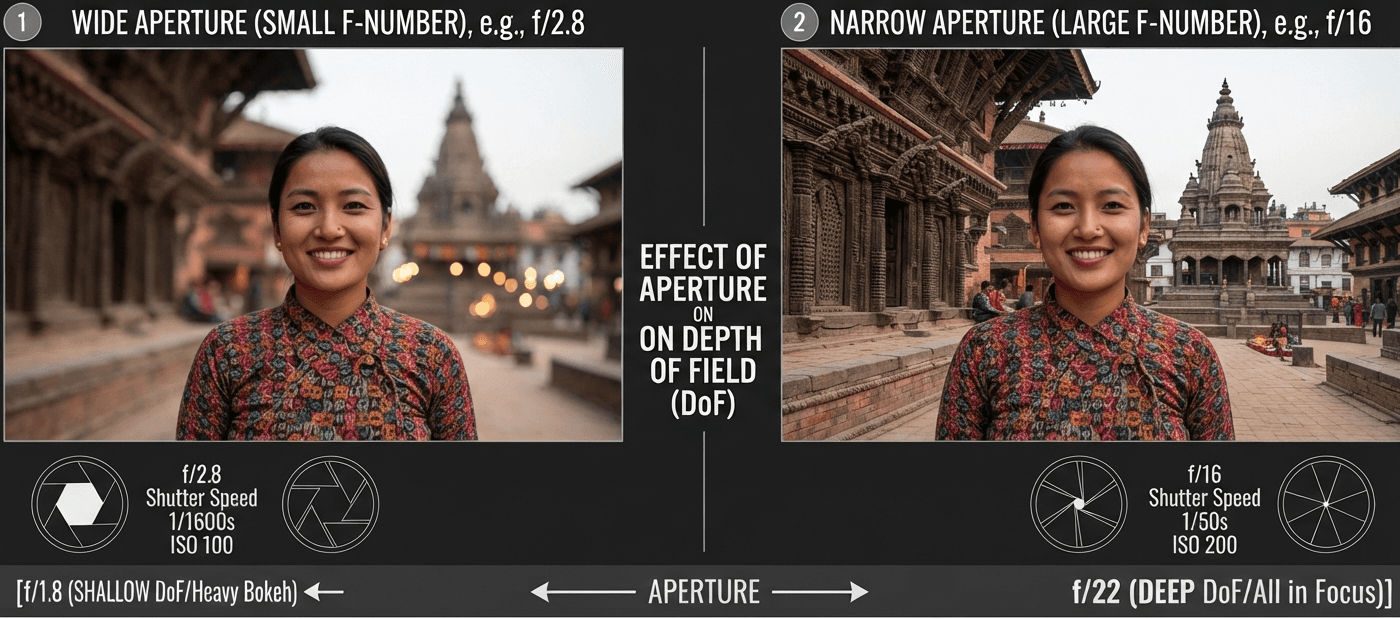
We'll go much deeper on this — including how f-stop numbers actually work — in the next post in this module.
Shutter speed — how long that opening stays open
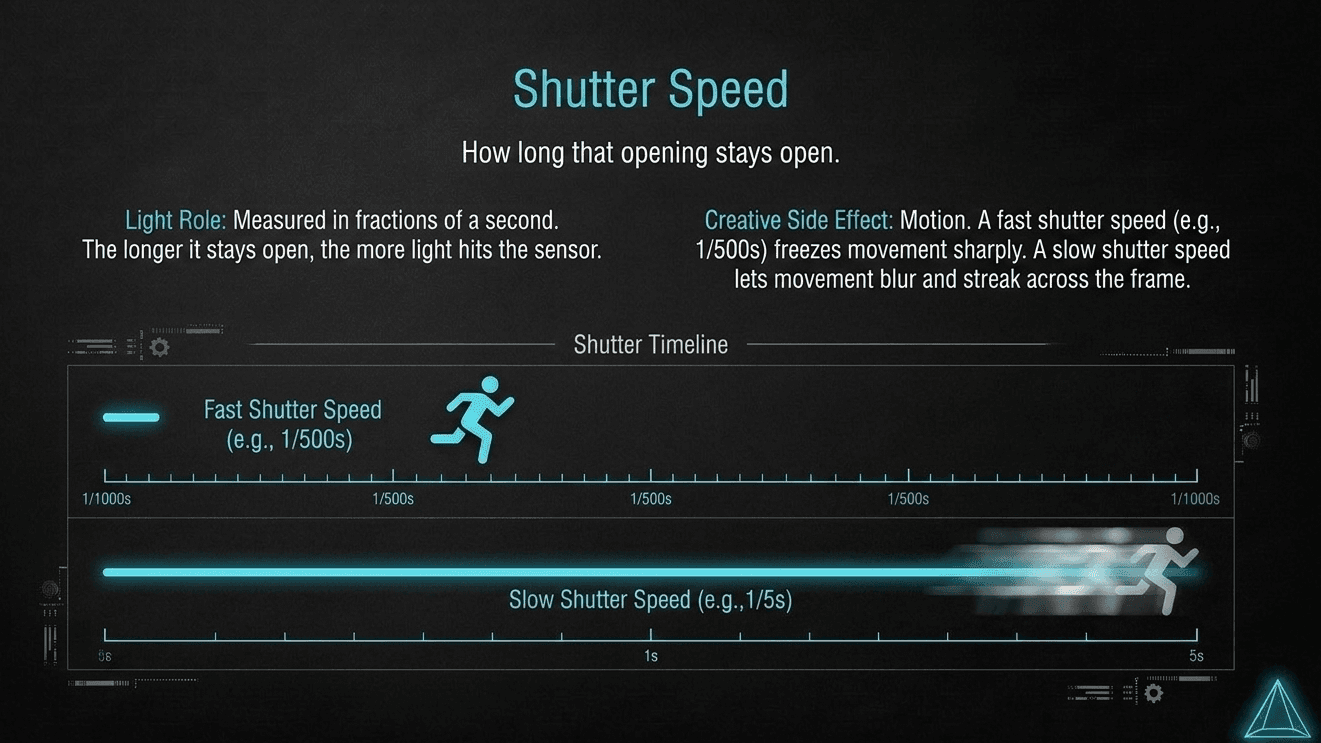
Shutter speed is how long the sensor is exposed to light for each photo, measured in fractions of a second (like 1/500s) for fast shutter speeds, or full seconds for slow ones. Its creative side effect: shutter speed controls motion — a fast shutter speed freezes movement sharply, while a slow shutter speed lets movement blur and streak across the frame.
ISO — how sensitive the sensor is to the light it receives
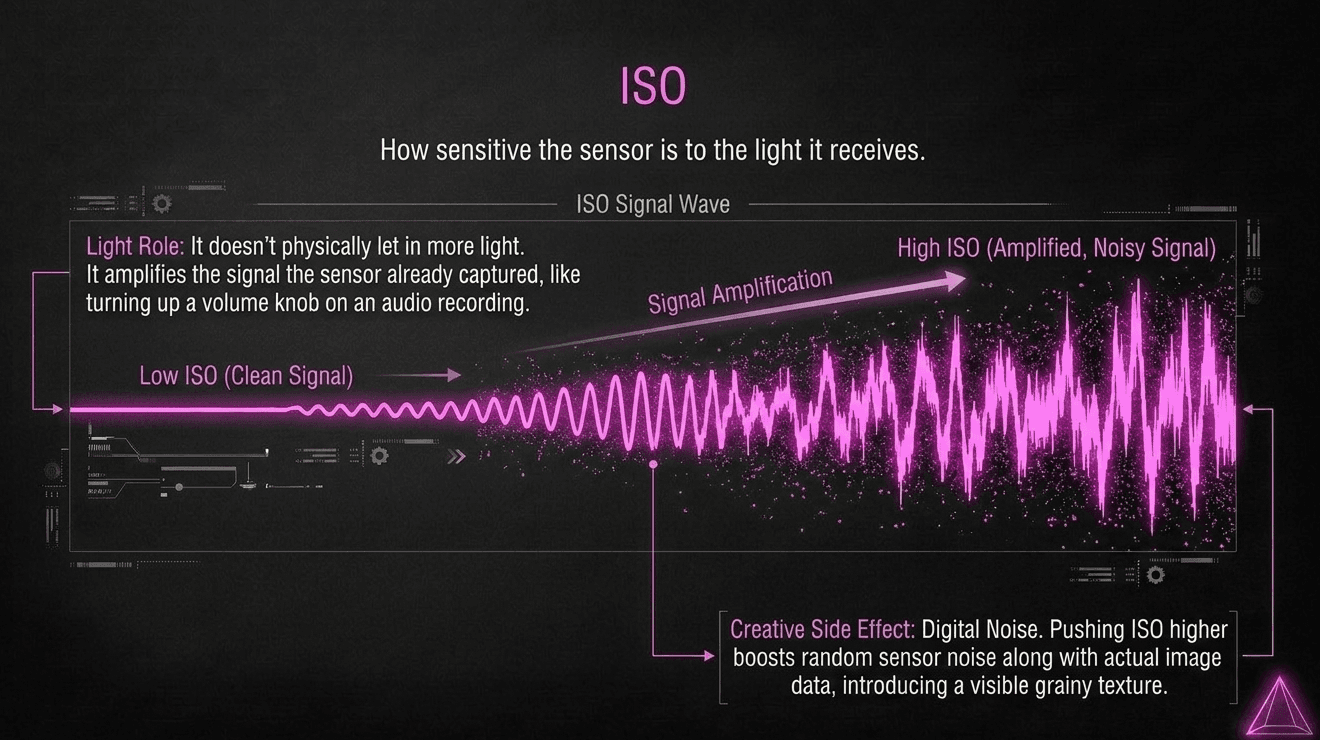
ISO is different from the other two — it doesn't physically let in more or less light. Instead, it amplifies the signal the sensor already captured, the way turning up a volume knob amplifies an audio signal that's already playing. Its creative side effect: pushing ISO higher introduces digital noise — a grainy, speckled texture that becomes more visible as ISO increases, especially in shadow areas.
Why it's called a "triangle" and not just a checklist
Here's the part that actually makes this concept powerful: these three settings are connected. Change one, and to keep the same overall exposure, one or both of the others usually need to shift to compensate.
A concrete example, shot at Basantapur Durbar Square at dusk:
Say you're photographing a street performer, and your camera's light meter tells you this combination gives a correctly exposed photo:
- Aperture: f/4
- Shutter speed: 1/125s
- ISO: 400
Now imagine the performer starts spinning quickly, and you want to freeze that motion sharply, so you increase your shutter speed to 1/500s — four times faster, letting in four times less light. To keep the same overall exposure, you now need to let in four times more light somewhere else. You could open your aperture wider (to f/2), or raise your ISO higher (to 1600), or split the difference between both. There's no single "correct" answer — it depends on which trade-off you're more willing to accept: a shallower depth of field, or more visible noise.
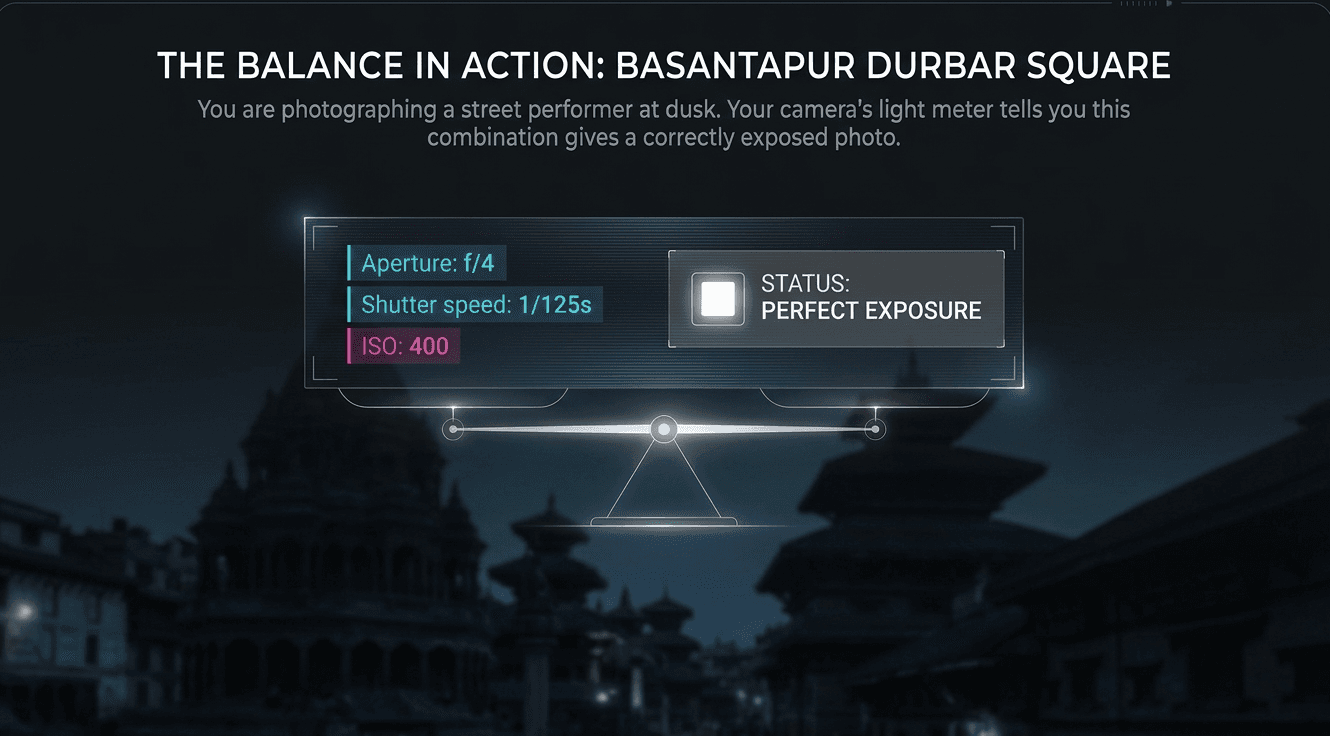
This is the entire exposure triangle in one real scenario: three dials, one balance, and creative trade-offs at every adjustment.
The trade-off each setting brings with it
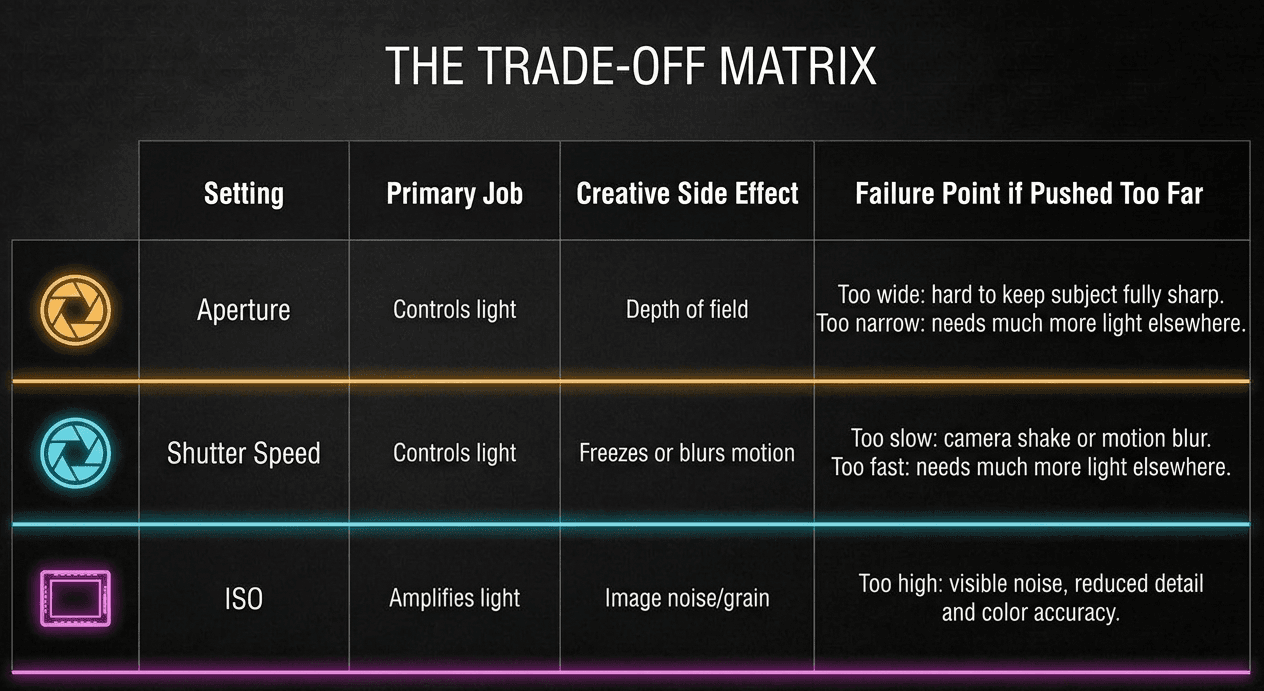
Notice that "too much light" and "too little light" aren't the only failure points — each setting has its own separate creative cost even when exposure is technically correct.
A simple way to think about priorities
When you're deciding how to expose a shot, ask yourself which creative effect matters most for this specific photo:
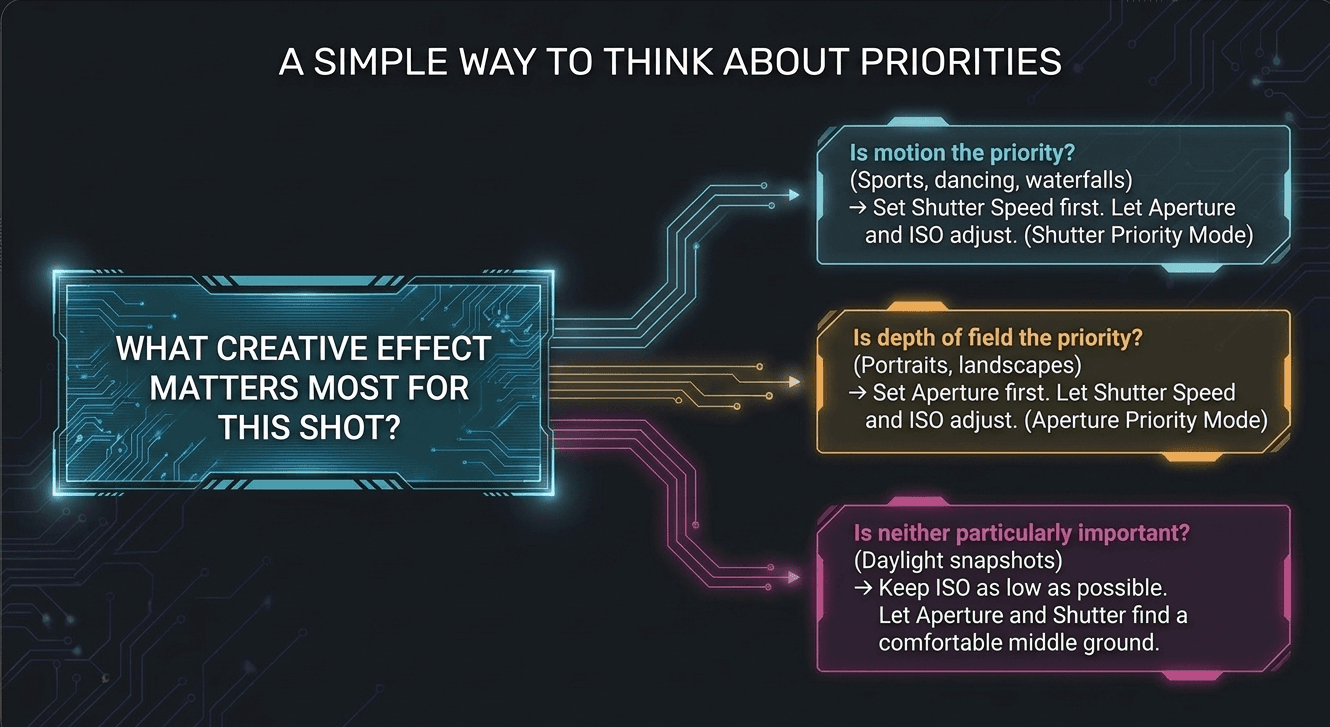
- Is motion the priority? (sports, dancing, waterfalls) → Set shutter speed first, let aperture and ISO adjust
- Is depth of field the priority? (portraits, landscapes) → Set aperture first, let shutter speed and ISO adjust
- Is neither particularly important right now? (general daylight snapshots) → Keep ISO as low as possible, and let aperture and shutter speed find a comfortable middle ground
This is exactly the thinking behind Aperture Priority and Shutter Priority modes, which we covered in Module 1 — those modes exist specifically so you can lock in whichever setting matters most for the shot, and let the camera handle the rest of the balancing act.
What comes next in this module
Now that the concept of the triangle is in place, we're going to spend one full post on each corner, in depth:
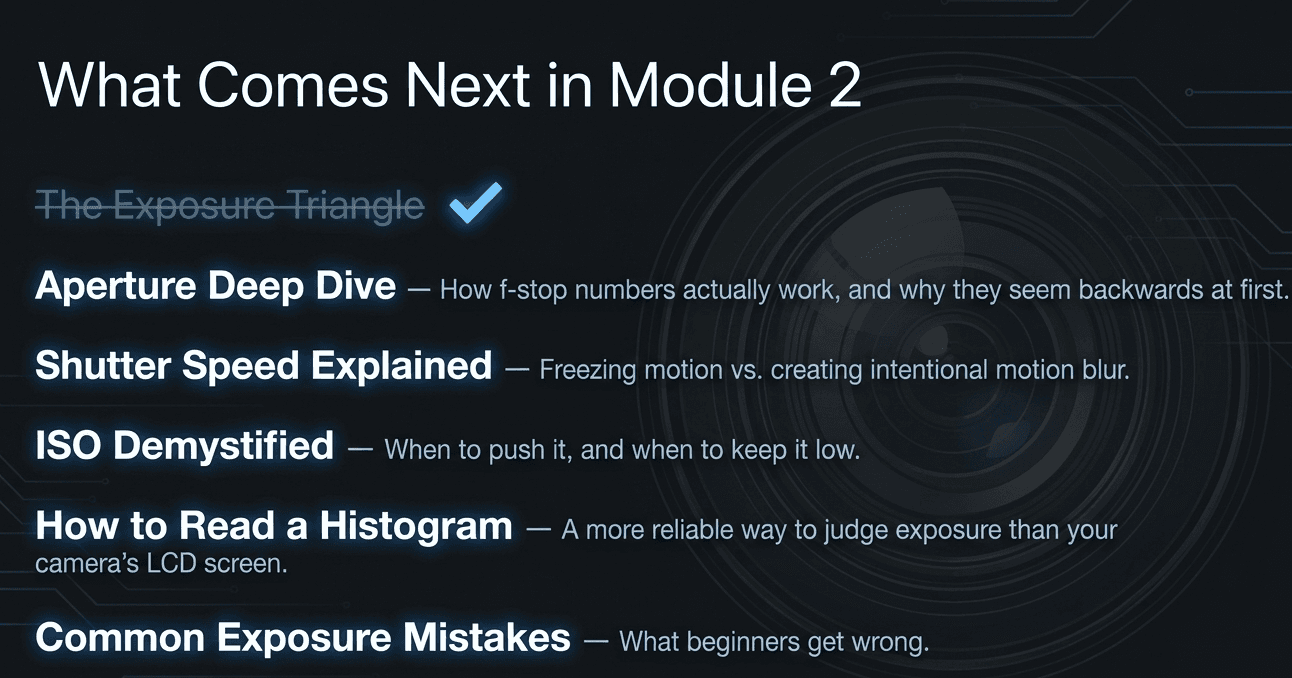
- Aperture Deep Dive — how f-stop numbers actually work, and why they seem backwards at first
- Shutter Speed Explained — freezing motion vs creating intentional motion blur
- ISO Demystified — when to push it, and when to keep it low
- How to Read a Histogram — a more reliable way to judge exposure than your camera's LCD screen
- Common Exposure Mistakes Beginners Make
Practice the exposure triangle hands-on at Zyamaru Films Academy
Understanding the triangle conceptually is one thing — developing the instinct to adjust it quickly, mid-shoot, as light and motion change around you, is a different skill entirely, and it only comes from repetition under guidance. At Zyamaru Films Academy in Tahachal, Kathmandu, our Basic Photography to Cinematography course builds this instinct through real shooting exercises, with direct, real-time feedback from an industry-active cinematographer.
Turn Passion Into Profession.
Frequently asked questions
Which is more important: aperture, shutter speed, or ISO?
None of the three is inherently more important — the right priority depends entirely on what the specific photo needs. A portrait prioritizes aperture for depth of field; a sports shot prioritizes shutter speed for freezing motion.
Can I just leave my camera on Auto and let it handle the exposure triangle for me?
You can, but you lose creative control over depth of field and motion — Auto mode picks settings purely to get a "correctly exposed" image, with no awareness of what look you're actually going for.
Why does raising ISO make my photos look grainy?
ISO doesn't add more real light information — it amplifies the signal the sensor already captured, similar to turning up volume on a quiet audio recording. That amplification boosts random sensor noise along with the actual image data, which shows up as visible grain.