Common Exposure Mistakes Beginners Make (And How to Fix Them)
This is the closing post of Module 2, and it's the one built entirely from watching real beginners make real mistakes — the same handful of exposure errors show up again and again in almost every new batch at Zyamaru Films Academy. Naming them clearly, with real fixes, usually saves students weeks of confused trial and error.
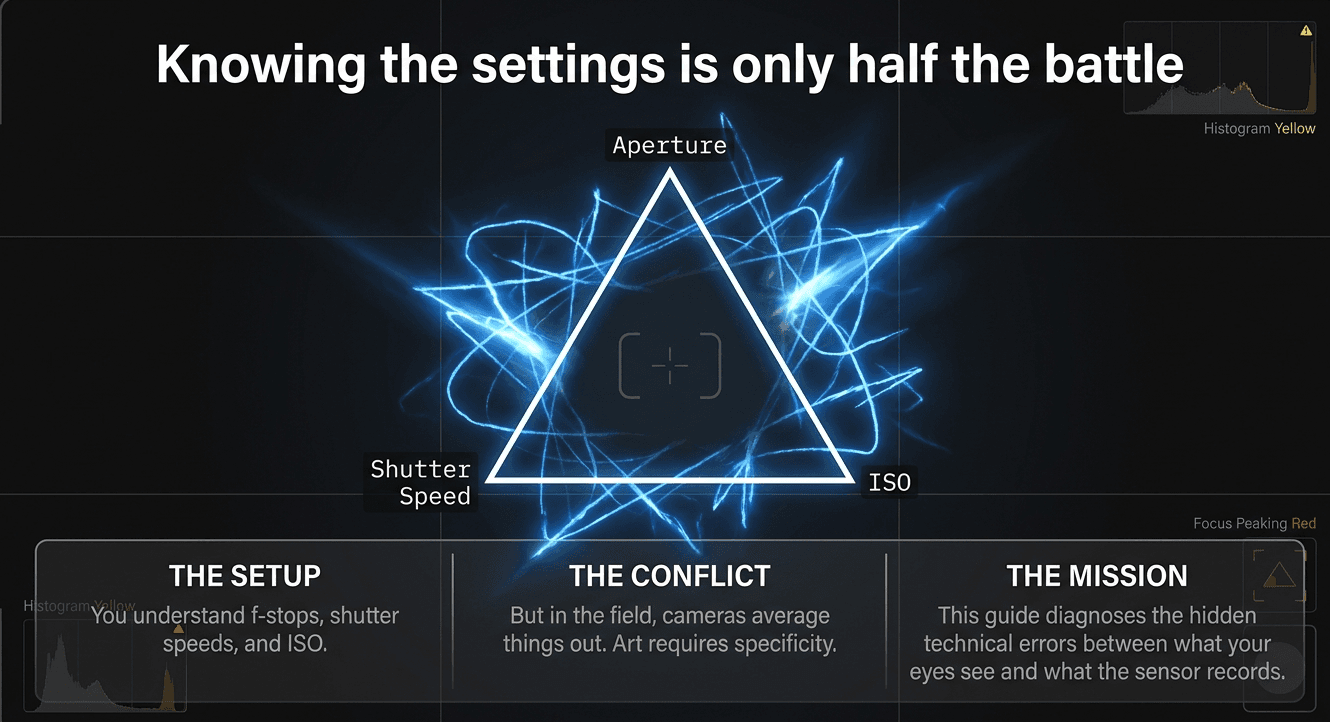
Everything here builds directly on the exposure triangle, aperture, shutter speed, ISO, and histogram posts earlier in this module — so if any of the terms below feel unfamiliar, those are worth a quick revisit first.
1. Trusting the LCD screen instead of the histogram
We covered this in depth in the last post: your camera's screen brightness, combined with ambient light around you, can make a genuinely overexposed or clipped photo look perfectly fine in the moment. Students who trust their eyes over the histogram consistently come home with more blown-out skies and crushed shadows than students who make checking the histogram a habit after every meaningfully different shot.
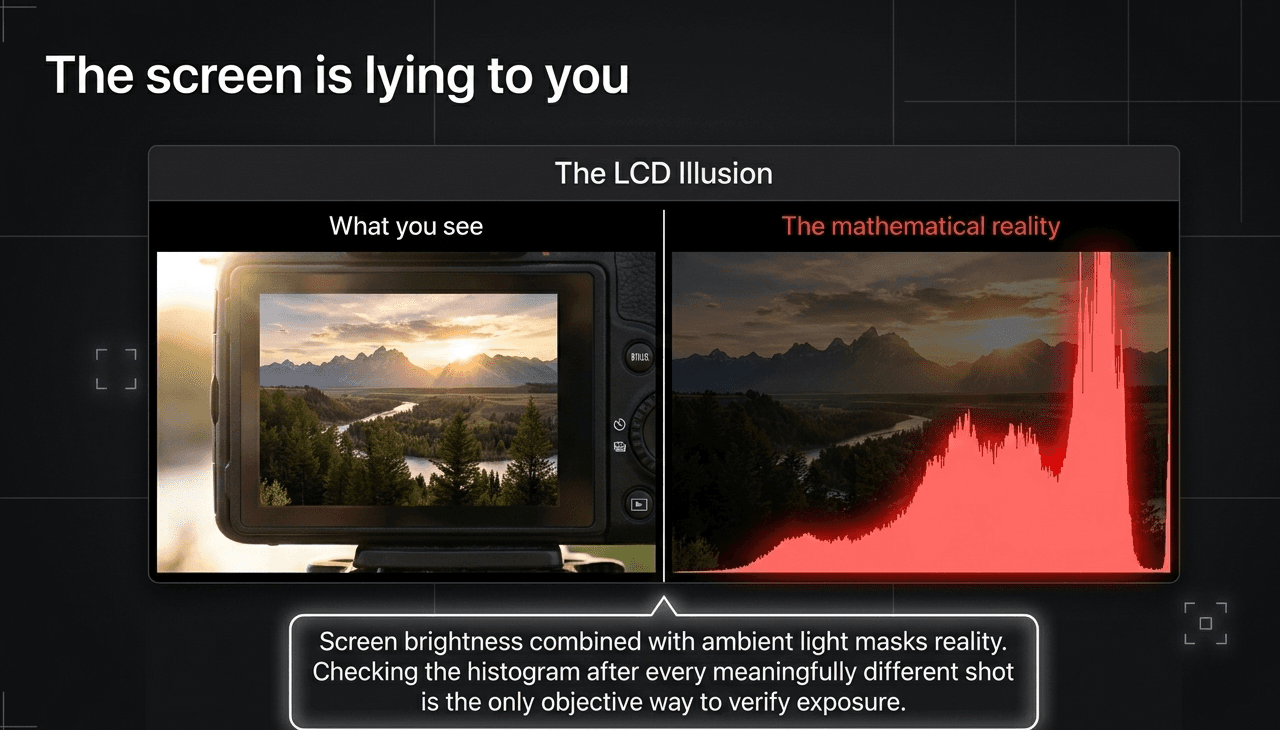
The fix: glance at the histogram, not just the preview image, especially in bright outdoor light where screen glare is at its worst.
2. Ignoring backlighting
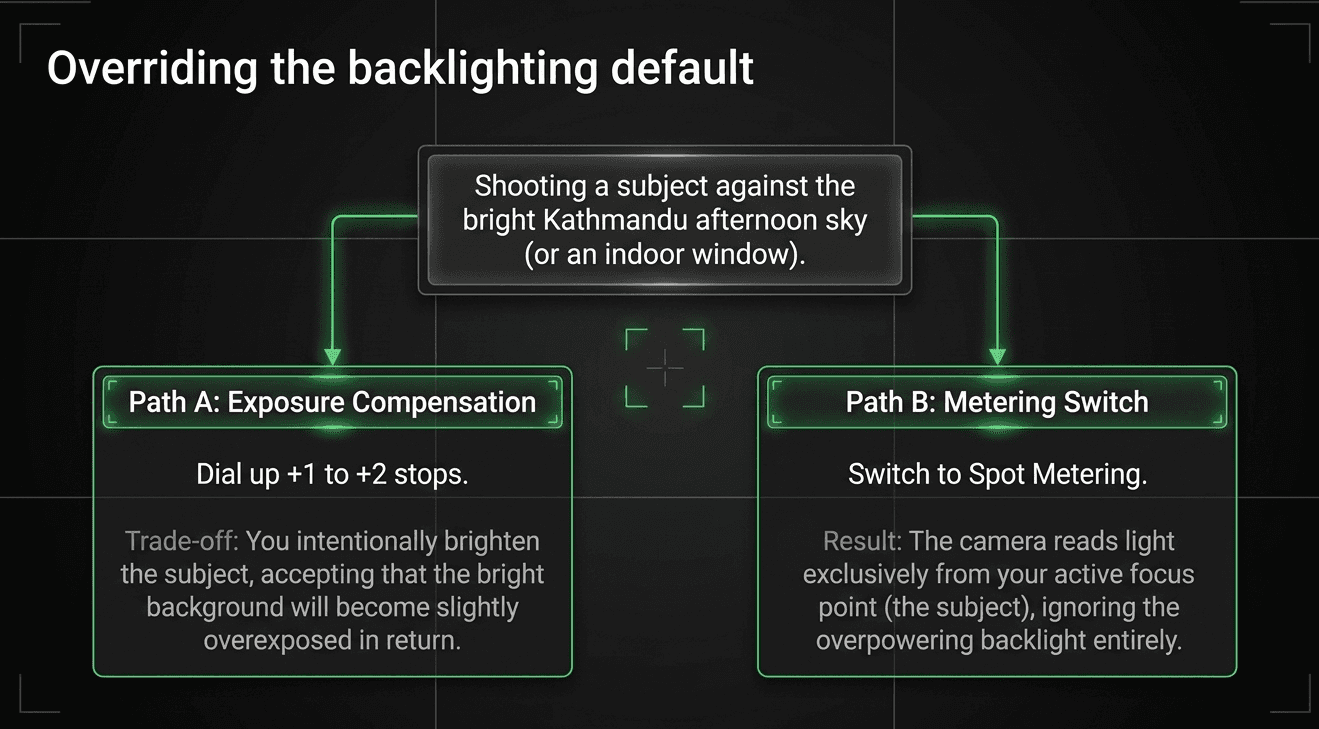
Point your camera at a subject standing in front of a bright window or a sunlit sky, and your camera's light meter — trying to correctly expose the whole scene on average — will often render your actual subject as a dark, underexposed silhouette. This happens constantly photographing people in front of Kathmandu's bright afternoon sky, or backlit near a window indoors.
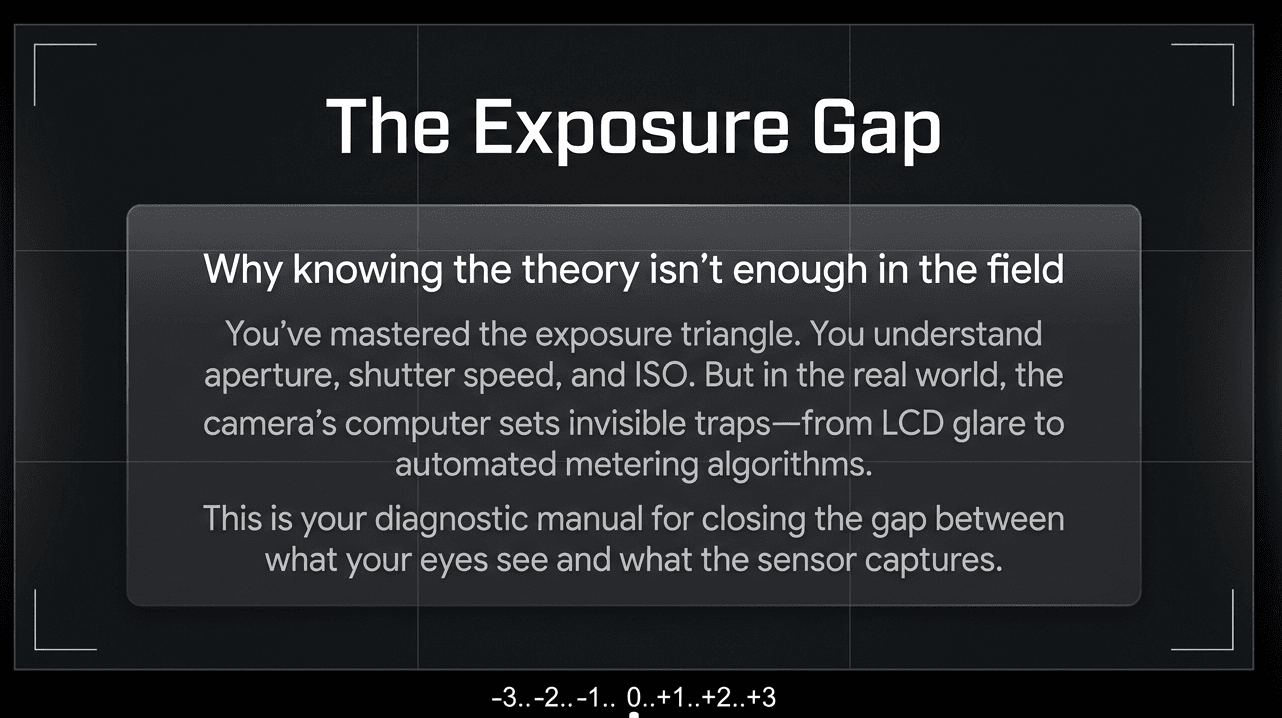
The fix: use positive exposure compensation (dial it up, often +1 to +2 stops) to intentionally brighten the subject, accepting that the bright background may become slightly overexposed in return — or switch to spot metering (reading light from just your subject rather than the whole frame) if your camera supports it.
3. Forgetting that exposure compensation was left set from a previous shot
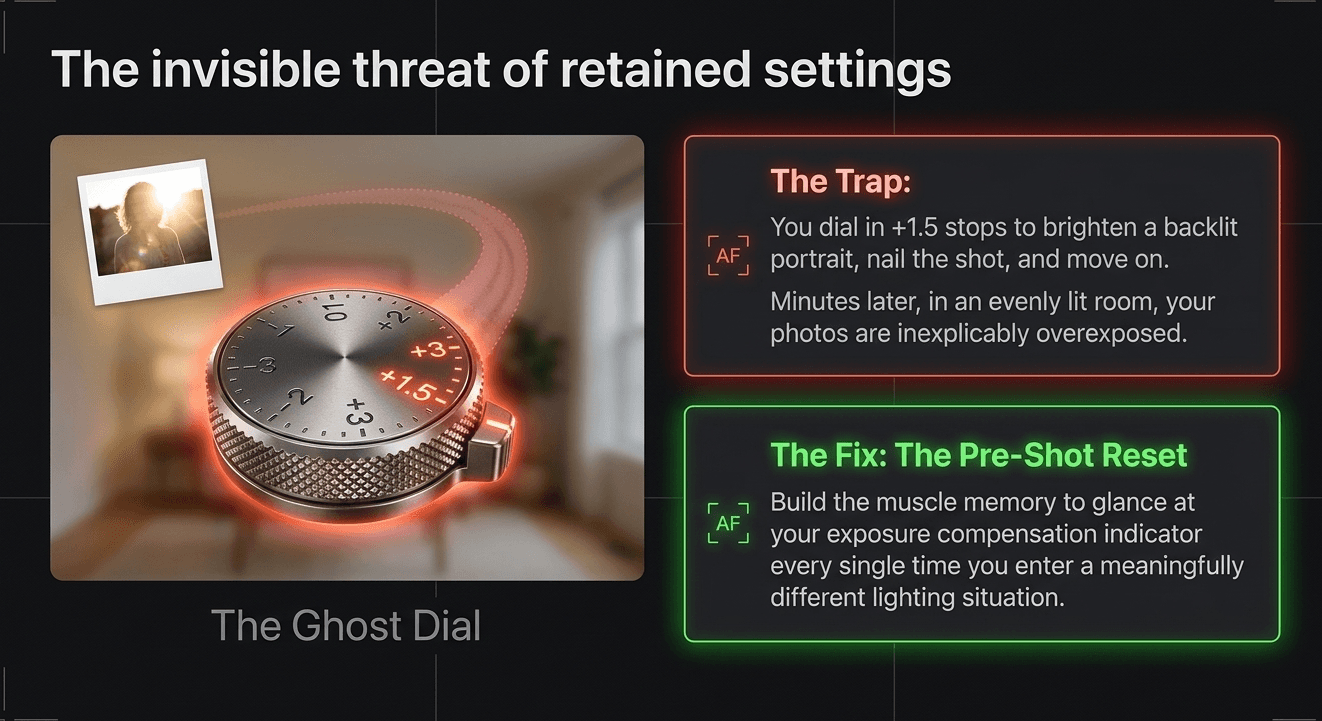
This one is almost purely a habit problem, and it catches even experienced photographers occasionally. You dial in +1.5 stops of exposure compensation to brighten a backlit portrait, finish that shot, move to a completely different, evenly-lit scene, and forget to reset the dial back to zero — resulting in an unexpectedly overexposed photo with no obvious cause.
The fix: build the habit of glancing at your exposure compensation indicator every time you switch to a meaningfully different lighting situation, not just when something looks obviously wrong.
4. Deliberately underexposing "to protect highlights" more than necessary
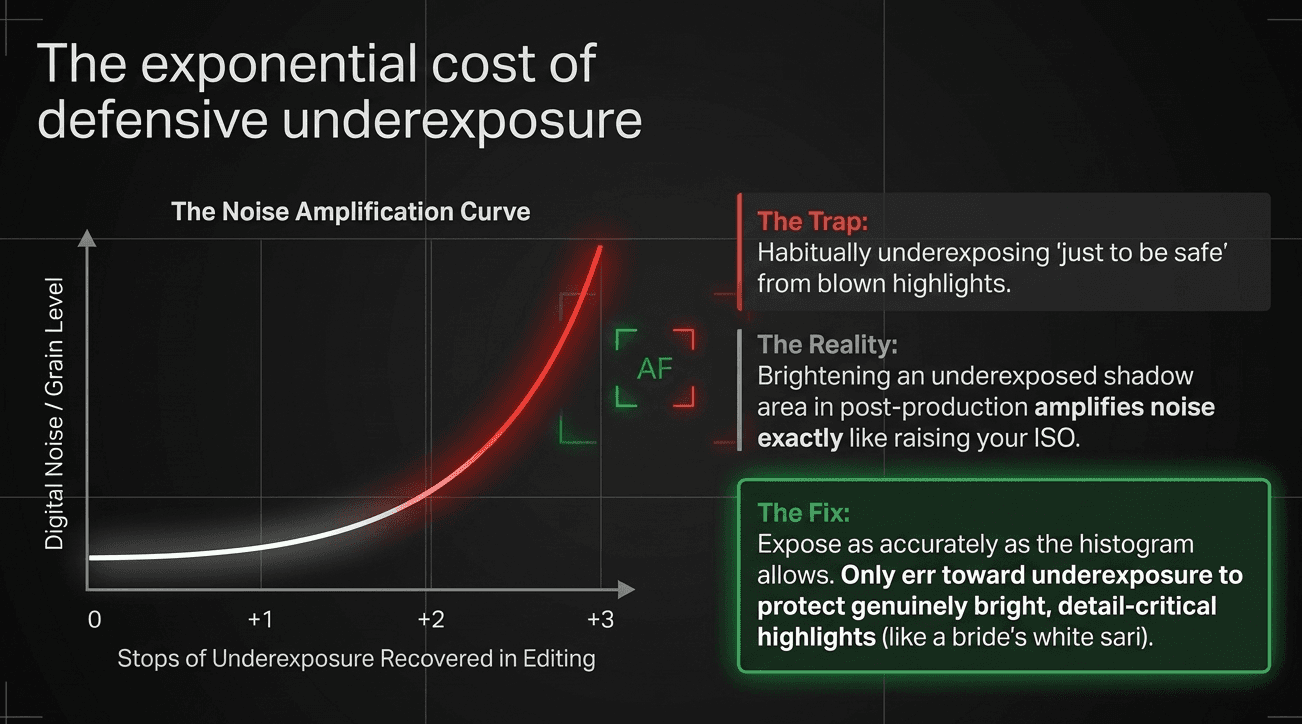
Some students, having learned that blown highlights can't be recovered, overcorrect and habitually underexpose every shot by a stop or two "just to be safe." The problem: as covered in the ISO post, brightening an underexposed shadow area in editing amplifies noise, the same way raising ISO does. A photo exposed correctly to begin with almost always produces a cleaner final result than one that's deliberately underexposed and brightened afterward.
The fix: expose as close to correctly as the histogram allows, erring only slightly toward protecting genuinely bright, detail-important highlights (like a bride's white sari at a wedding) — not defensively underexposing every single shot regardless of the scene.
5. Blaming ISO noise for what's actually motion or shake blur
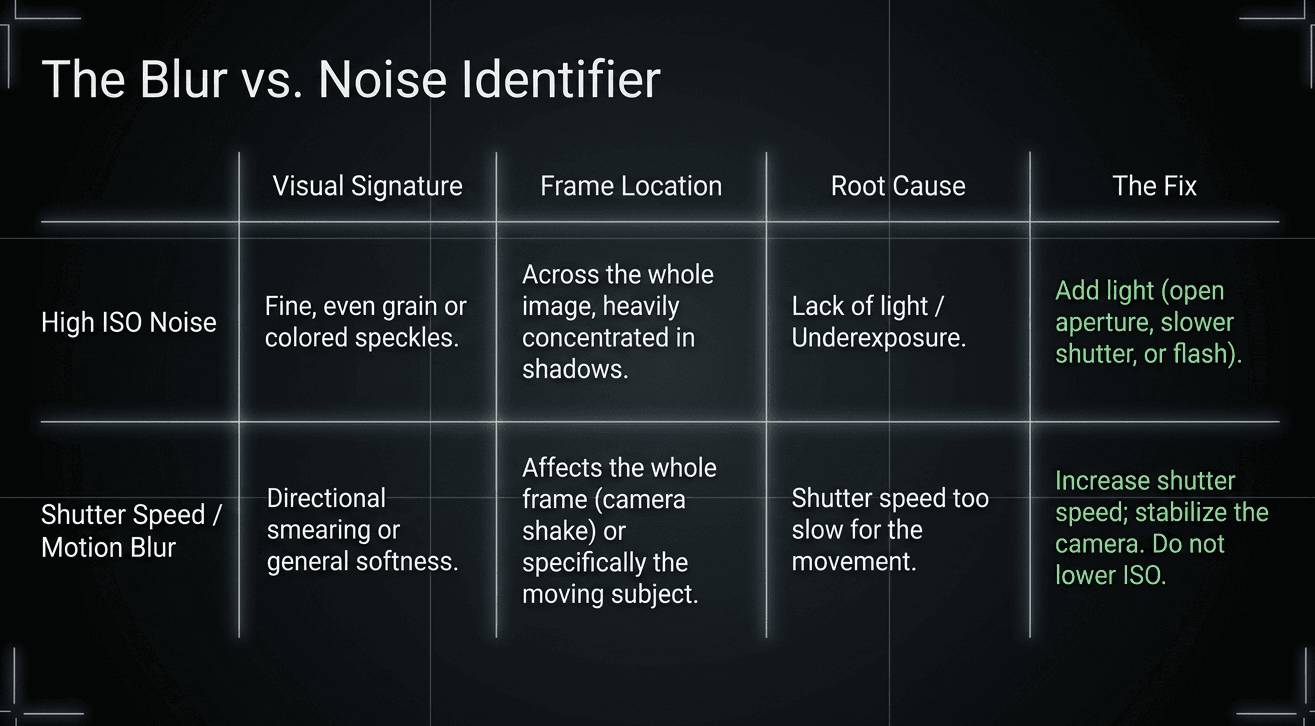
We touched on this directly in the shutter speed post: a photo can be sharp in terms of focus but still look "off" because of camera shake or subject motion at a shutter speed that was too slow for the situation. Students sometimes misdiagnose this as "my ISO was too high" and lower it further next time — which doesn't fix the actual cause and just makes the exposure darker or forces an even slower shutter speed.
The fix: learn to tell noise and blur apart. Noise looks like fine, even grain across the whole image, especially visible in shadows. Blur looks like a directional smear or a general softness, often worse in one direction, and it's a shutter speed or handholding problem, not an ISO one.
6. Using the wrong metering mode for a tricky scene
Most cameras default to an evaluative or matrix metering mode, which reads light across the entire frame and averages it — generally reliable, but easily fooled by scenes with strong contrast, like a small subject against a very bright or very dark background. Students who never explore their camera's other metering modes often struggle repeatedly with the exact same type of tricky lighting.
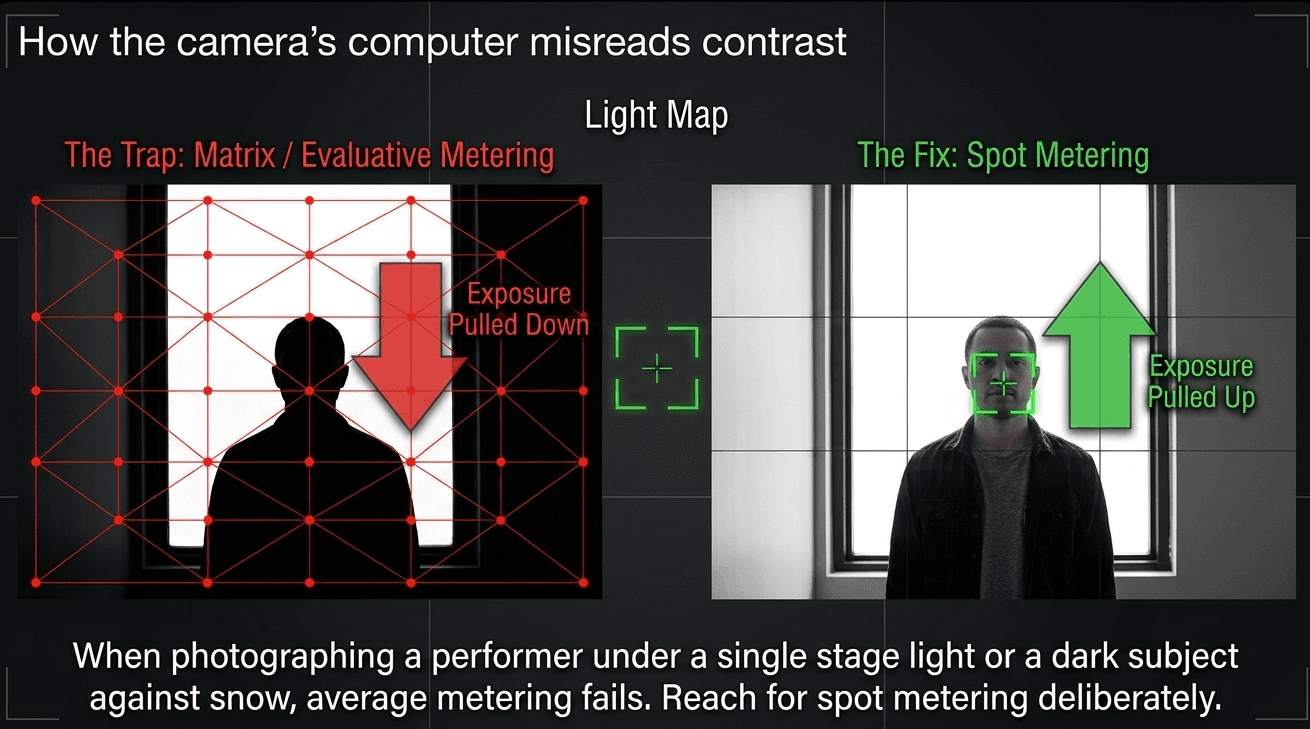
The fix: learn your camera's spot metering mode (reads light from a small, specific area, usually the center or your active focus point) and reach for it deliberately in high-contrast situations — a performer under a single stage light, a subject against a bright window, a dark subject against snow.
Module 2 complete — here's what you've built
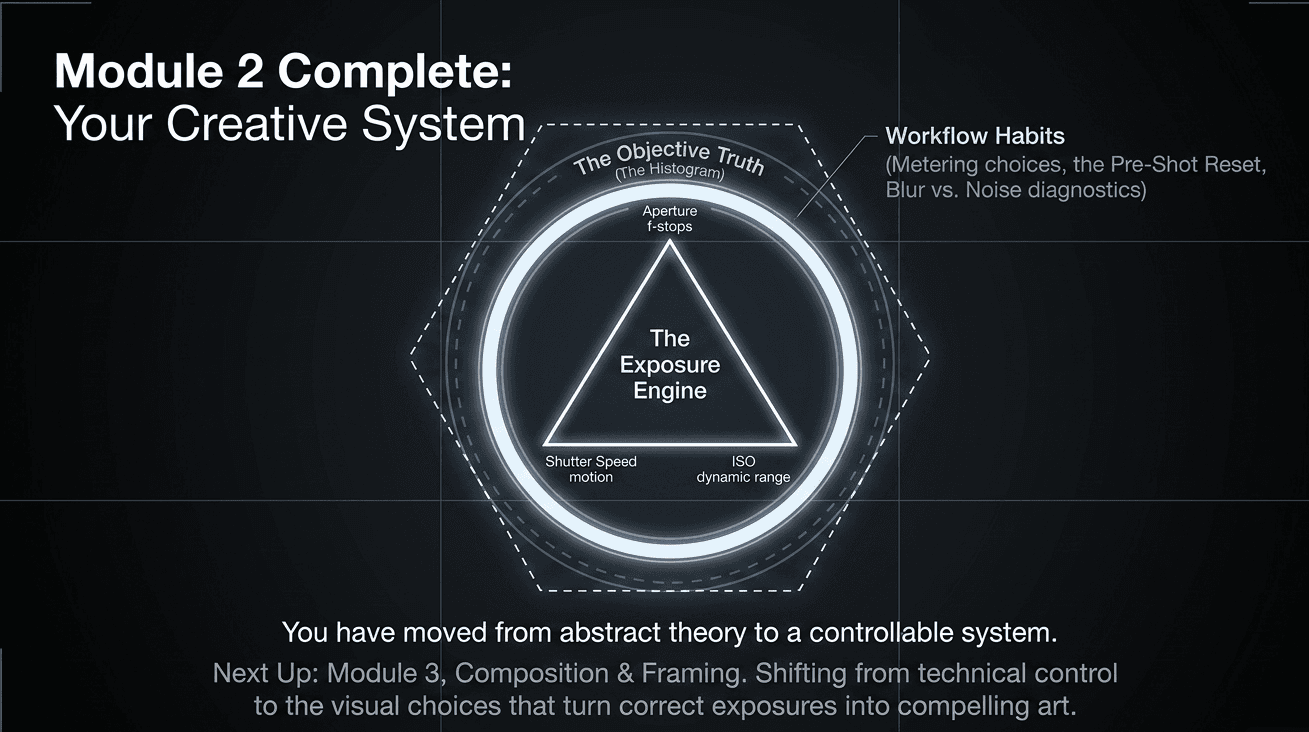
Across this module, you've moved from an abstract idea of "correct exposure" to a genuinely controllable creative system:
-
The exposure triangle — how aperture, shutter speed, and ISO work together, and trade off against each other
-
Aperture — controlling light and depth of field through f-stops
-
Shutter speed — freezing motion sharply, or blurring it intentionally
-
ISO — when to raise it, when to hold back, and what native ISO and dynamic range actually mean
-
The histogram — a genuinely reliable way to judge exposure, independent of your screen
-
Common mistakes — the specific, recurring errors that trip up nearly every beginner, and how to catch each one
Next up: Module 3, Composition & Framing — where we shift from technical exposure control to the visual choices that turn a correctly-exposed photo into a genuinely compelling one.
Build clean exposure habits hands-on at Zyamaru Films Academy
Every mistake in this post is one our instructors watch for and correct in real time during hands-on sessions — catching a forgotten exposure compensation dial or a misread backlit scene the moment it happens is worth far more than reading about it afterward. Our Basic Photography to Cinematography course at Zyamaru Films Academy in Tahachal, Kathmandu is built around exactly this kind of direct, real-time feedback from an industry-active cinematographer.
Turn Passion Into Profession.
Frequently asked questions
Why do my backlit photos always come out too dark?
Your camera's light meter is likely averaging exposure across the whole frame, which underexposes a subject standing in front of a bright background. Using positive exposure compensation or spot metering on your subject usually fixes this.
How can I tell if a blurry photo is a focus problem or a shutter speed problem?
Focus blur tends to be selective — some areas sharp, others soft, based on where you focused. Shutter speed or shake blur tends to affect the whole frame or show directional streaking, and is unrelated to where your focus point was set.
Is it better to slightly underexpose or slightly overexpose a photo?
Neither is a universal rule — the safer choice depends on the scene. As a general habit though, exposing as accurately as the histogram allows, without deliberately underexposing "just in case," usually produces the cleanest final result.