Manual, Aperture Priority, Shutter Priority, Auto: Which Mode Should You Actually Use?
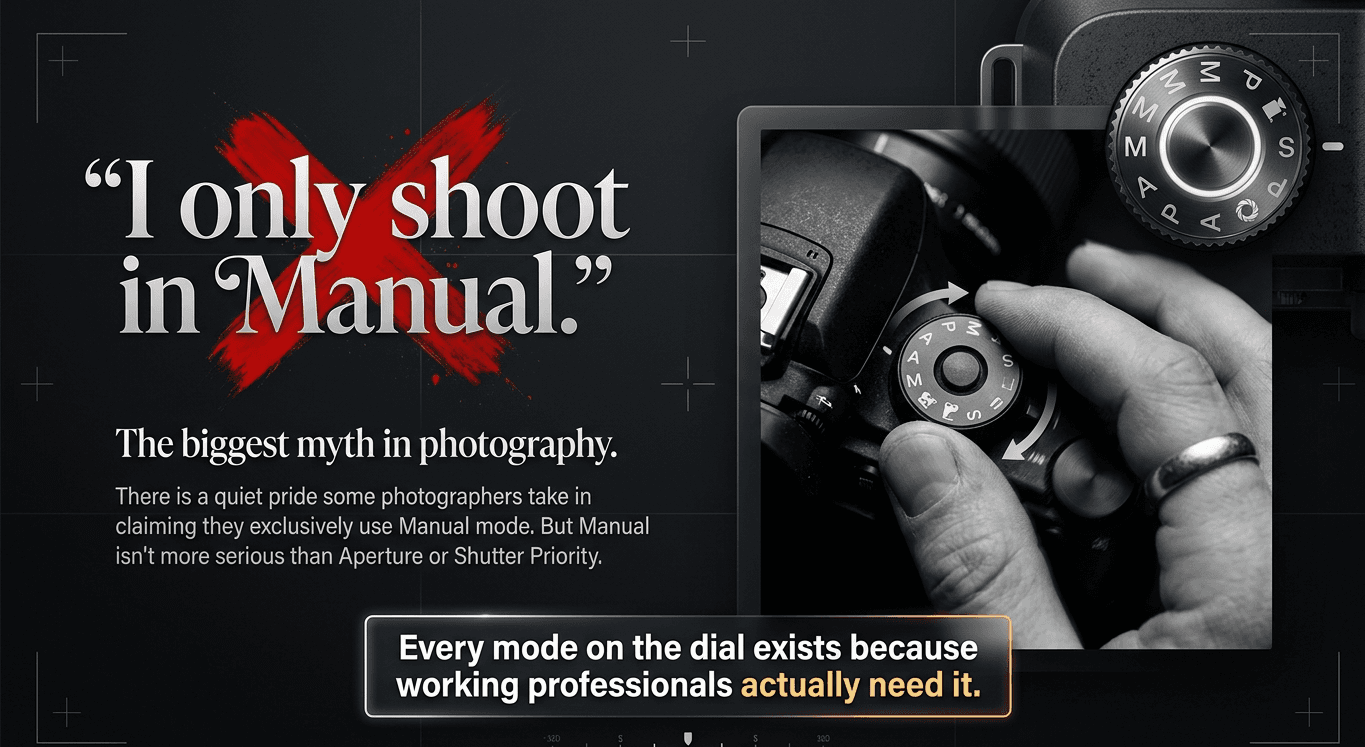
There's a quiet kind of pride some photographers take in saying "I only shoot in Manual." At Zyamaru Films Academy, we teach our students something more useful than pride: every mode on that dial exists because working professionals actually need it, in different situations. Manual isn't more "serious" than Aperture Priority — it's just a different tool for a different job.
This post picks up exactly where Camera Anatomy 101 left off, at the mode dial, and answers the question every beginner eventually asks: which one do I actually shoot in?
What every mode is really doing: managing the exposure triangle
Every shooting mode is just a different way of dividing responsibility for three settings — aperture, shutter speed, and ISO — between you and the camera's built-in light meter. (We'll go deep on what each of these three settings actually does in Module 2 — this post is about who's in charge of them.)
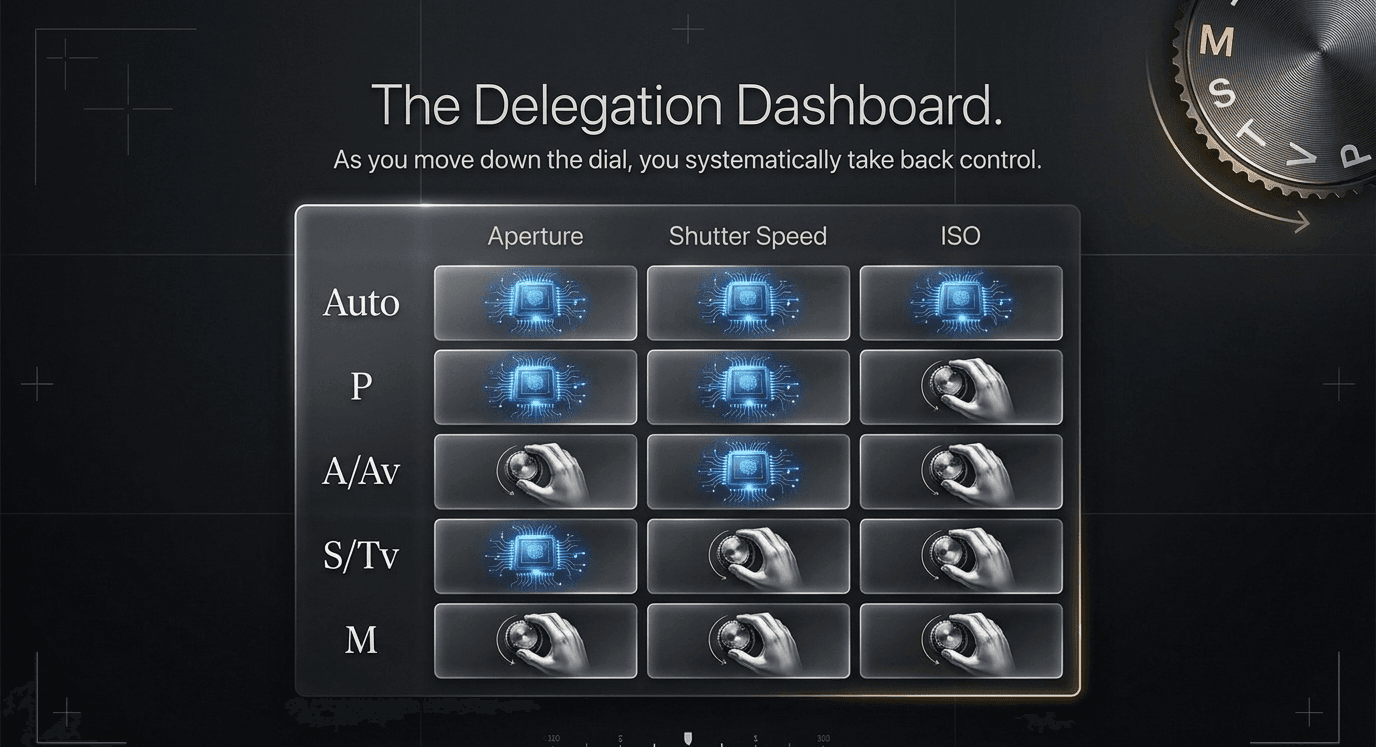
As you move down that grid, you're handed more control, one setting at a time. That progression is exactly the order we recommend learning in.
Auto mode: the camera decides everything
In Auto, the camera's light meter picks aperture, shutter speed, and ISO, and often decides whether to fire the flash too. It's genuinely fine for the very first day you pick up a camera — but staying here is where growth stops.
Use it for: literally your first hour with a new camera, or handing the camera to someone else to snap a quick photo of you.
Its limitation: it has no idea what you're trying to achieve creatively. It doesn't know you wanted a blurred background, or that you wanted to freeze a moving subject — it just tries to get a "correctly exposed" photo.
P (Program) mode: Auto's slightly smarter cousin
Program mode still picks aperture and shutter speed for you, but hands ISO control back to you, and usually lets you access other settings Auto locks away, like white balance and flash behavior.
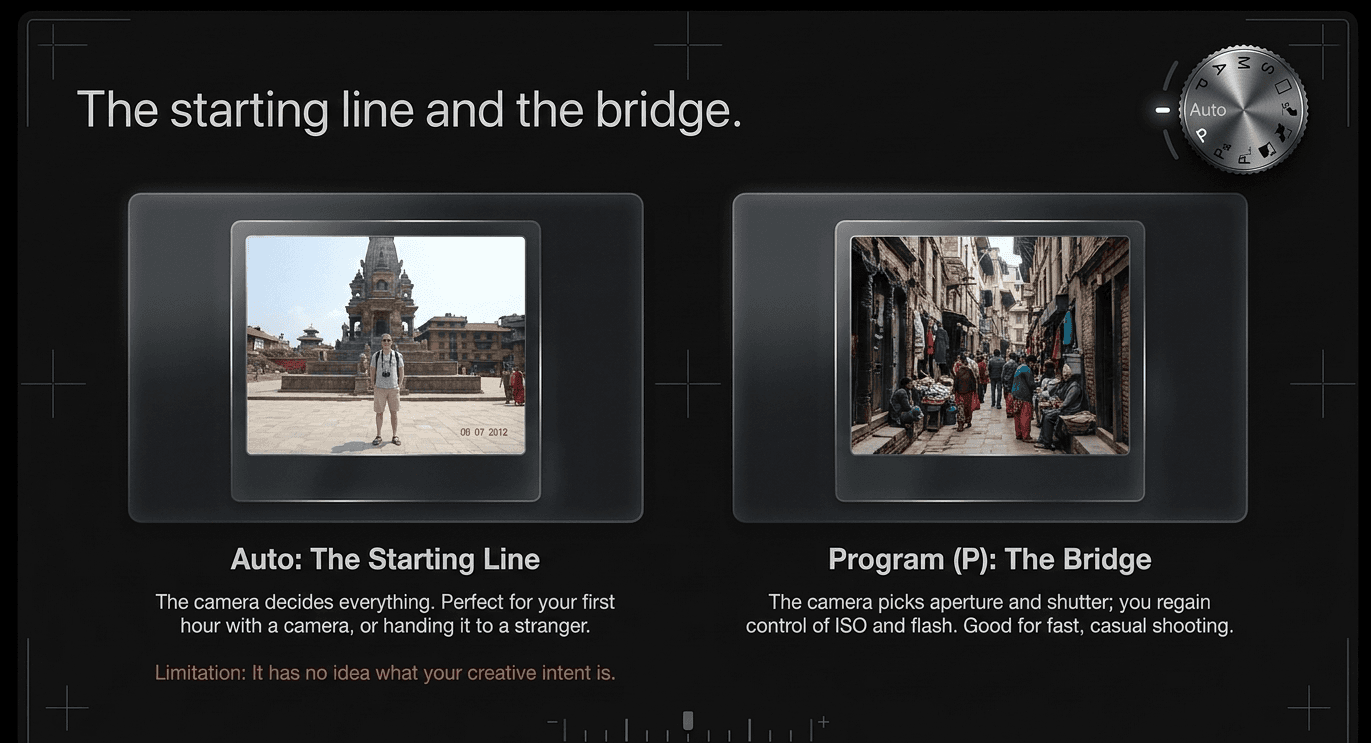
Use it for: fast, casual shooting — a family event, a walk through Basantapur — where you want more say than Auto gives you, but don't need full manual control.
Most beginners skip past P entirely and never look back, and that's fine. It's a bridge mode, not a destination.
Aperture Priority (A / Av): the mode most photographers actually live in
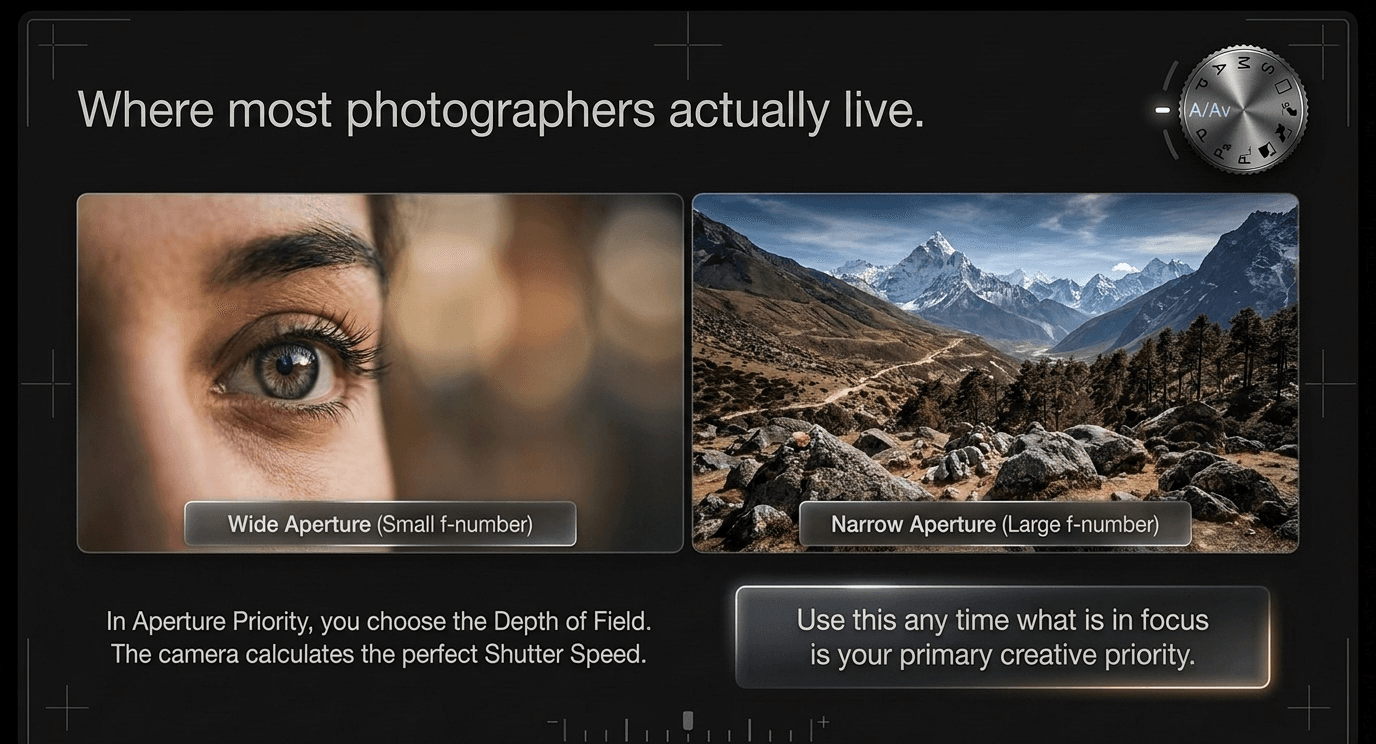
You choose the aperture (which controls how much of your photo is in sharp focus — more on this in Module 2), and the camera automatically calculates the matching shutter speed for correct exposure.
Use it for:
- Portraits, where you want a wide aperture (small f-number) for that soft, blurred background
- Landscapes, where you want a narrow aperture (large f-number) so everything from foreground to background stays sharp
- Any situation where depth of field is your creative priority, and exact shutter speed doesn't matter much
This is the mode we recommend most beginners spend the most time in after they're comfortable with the basics — it teaches you to think in terms of depth of field, which is one of the biggest visual tools a photographer has.
Shutter Priority (S / Tv): control the motion, let the camera handle the rest
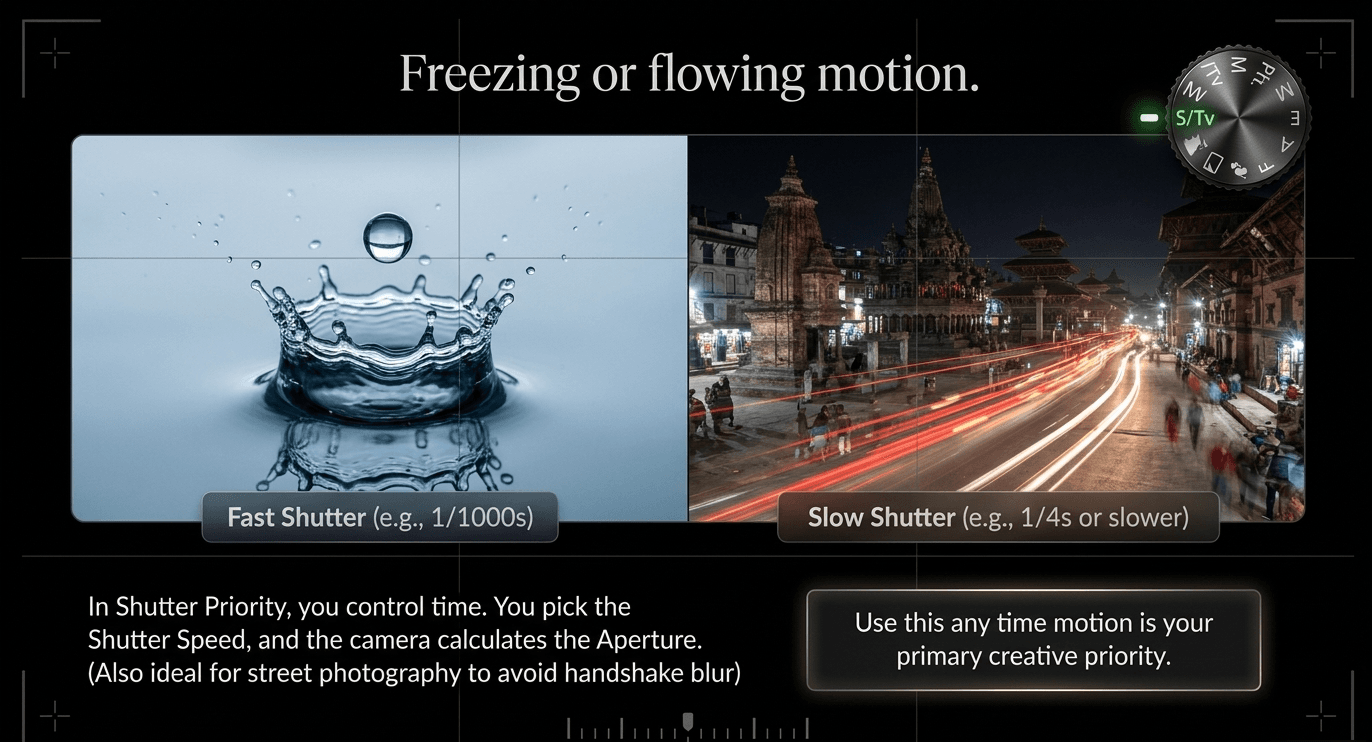
You choose the shutter speed (which controls whether motion is frozen or blurred), and the camera calculates the matching aperture.
Use it for:
- Sports and action — a fast shutter speed (like 1/1000s) to freeze a moving subject sharply
- Waterfalls and traffic light trails — a slow shutter speed (like 1/4s or slower, on a tripod) to create smooth motion blur
- Street photography — a shutter speed fast enough to avoid your own handshake blurring the shot
If Aperture Priority is about controlling what's in focus,
Shutter Priority is about controlling what's frozen versus flowing.
Manual (M): full control, full responsibility
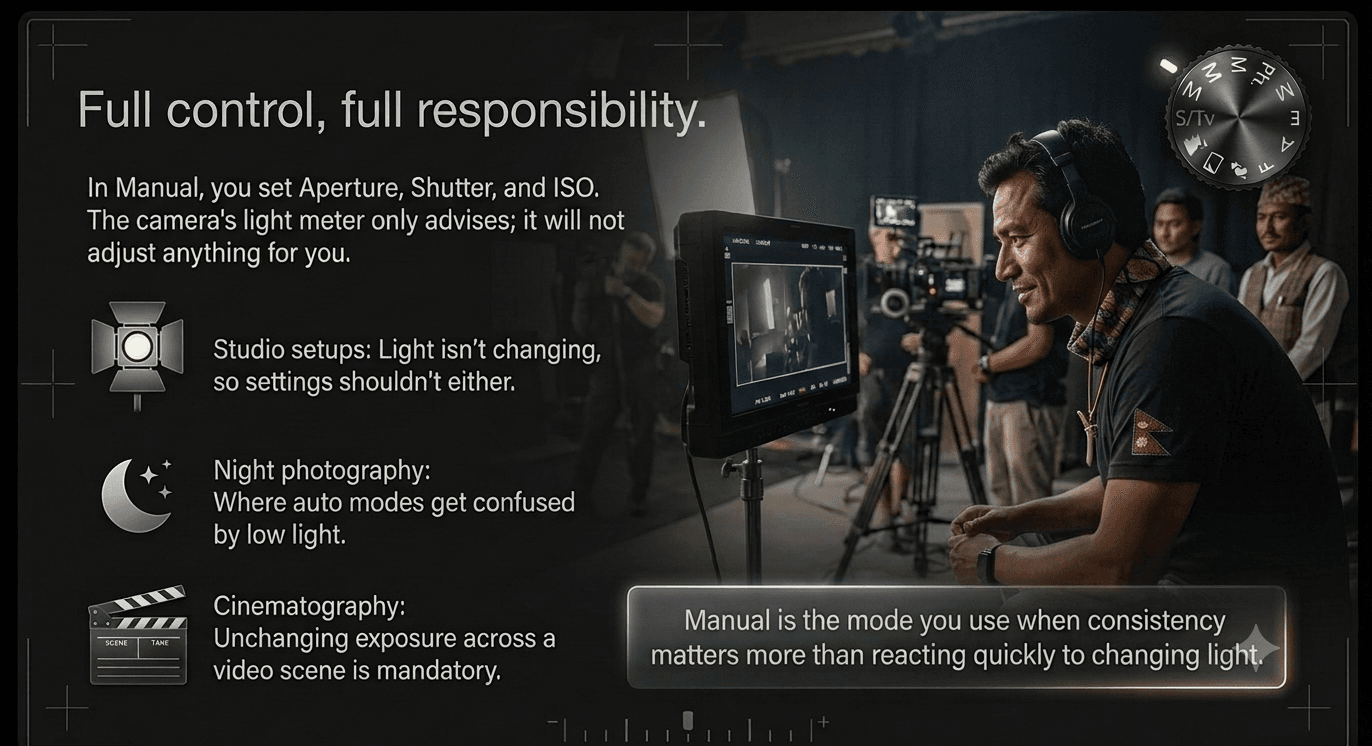
You set aperture, shutter speed, and ISO yourself. The camera's light meter still shows you whether the current combination will be under- or over-exposed, but it won't adjust anything for you.
Use it for:
- Studio and controlled lighting, where the light isn't changing shot to shot, so your settings shouldn't need to change either
- Night and long-exposure photography, where auto modes get confused by very low light
- Cinematography and video, where consistent, unchanging exposure across a scene is essential — you don't want your background to suddenly brighten mid-shot because a semi-automatic mode decided to "correct" for something
- Any time you want a specific, deliberate creative look and don't want the camera second-guessing you
Manual is not "the professional mode" in some universal sense — it's the mode you use when consistency and full creative control matter more than speed.
So which mode should you actually use as a beginner?
Here's the honest, practical order we teach at the academy:
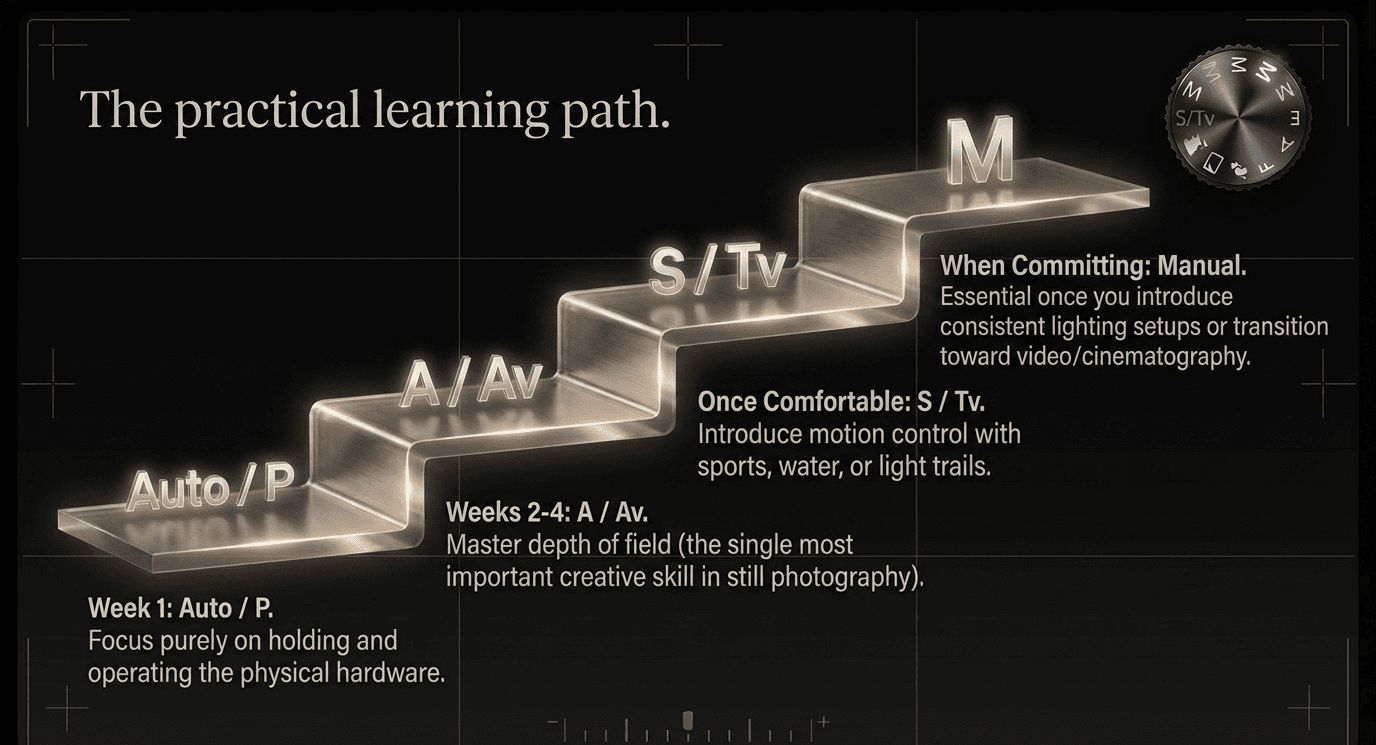
- Week one: Auto or Program, purely to get comfortable holding and operating the camera (see Camera Anatomy 101).
- Weeks two through four: Aperture Priority, almost exclusively. This is where you'll learn to see and control depth of field — arguably the single most important creative skill in still photography.
- Once comfortable: bring in Shutter Priority specifically for movement — sports, water, light trails — so you understand how shutter speed shapes a photograph.
- When you're ready to commit: Manual mode, especially once you start working with consistent lighting setups or move toward video and cinematography, where Manual becomes closer to a requirement than a choice.
Working photographers and cinematographers move between all of these modes constantly, based on what the shot demands — not out of habit, and not out of ego.
What comes next in this series
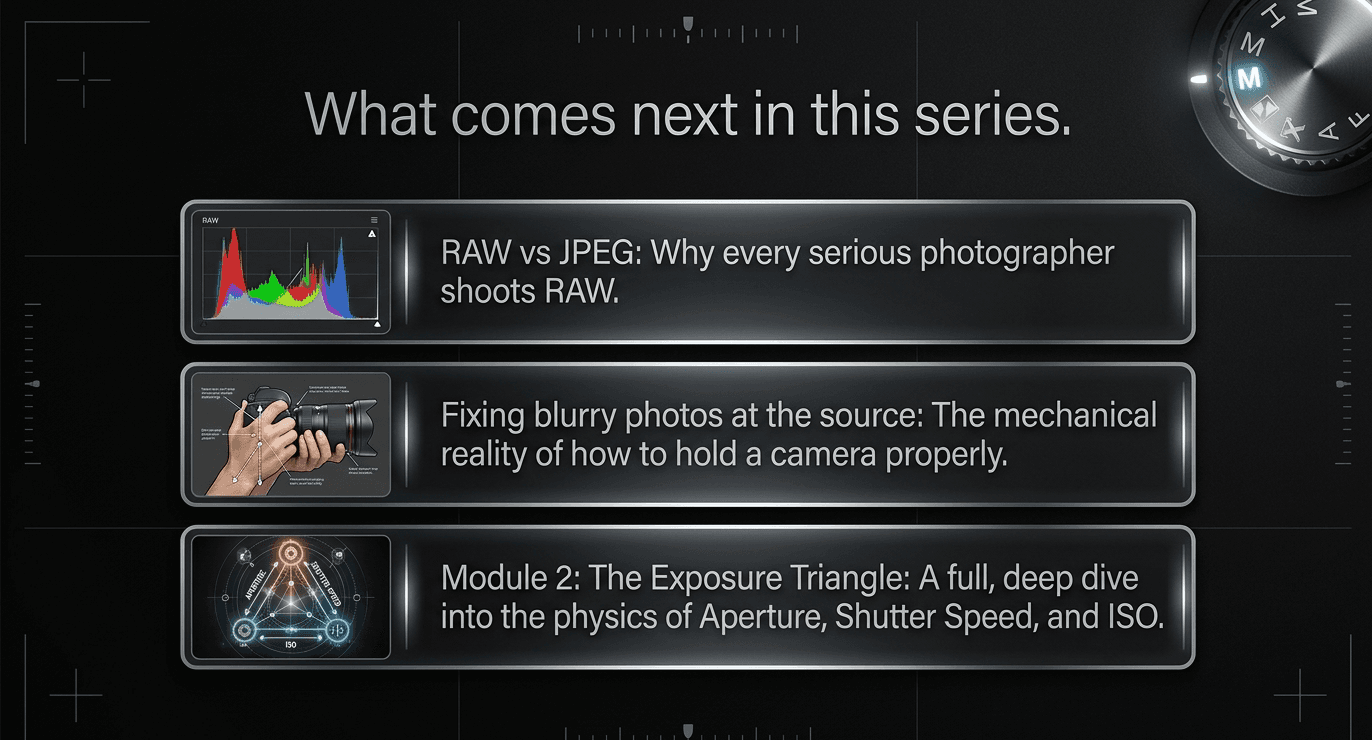
- RAW vs JPEG — why every serious photographer shoots RAW
- How to Hold a Camera Properly — fixing blurry photos at the source
- From there, we move into Module 2: The Exposure Triangle, where aperture, shutter speed, and ISO get explained in full depth
Practice all five modes hands-on at Zyamaru Films Academy
Reading about these modes is useful, but the real learning happens when you're switching between Aperture Priority and Manual mid-shoot, reacting to changing light — exactly the kind of muscle memory we build into every session at Zyamaru Films Academy in Tahachal, Kathmandu. Our Basic Photography to Cinematography course walks you through all five modes with real cameras, real light, and direct correction from an industry-active cinematographer.
Turn Passion Into Profession.
Frequently asked questions
Is Manual mode better than Aperture Priority?
Neither is objectively better — they serve different purposes. Aperture Priority is faster and more forgiving in changing light, while Manual gives you full, consistent control, which matters most in controlled lighting or video work.
What shooting mode do professional photographers use most?
Many professional photographers shoot primarily in Aperture Priority for stills, switching to Manual for studio work, night photography, or video, and to Shutter Priority when freezing or blurring motion is the main creative goal.
Should a complete beginner start in Manual mode?
It's not necessary, and can be discouraging early on. Starting in Aperture Priority lets you focus on learning one creative control — depth of field — at a time, before adding the extra complexity of Manual mode.