Aperture Deep Dive: How f-stops Control Light and Depth of Field
Of the three corners of the exposure triangle we introduced in the last post, aperture is the one that trips up beginners first — not because the concept is hard, but because the numbering system feels genuinely backwards the first time you see it. A smaller number means a bigger opening. A bigger number means a smaller opening.
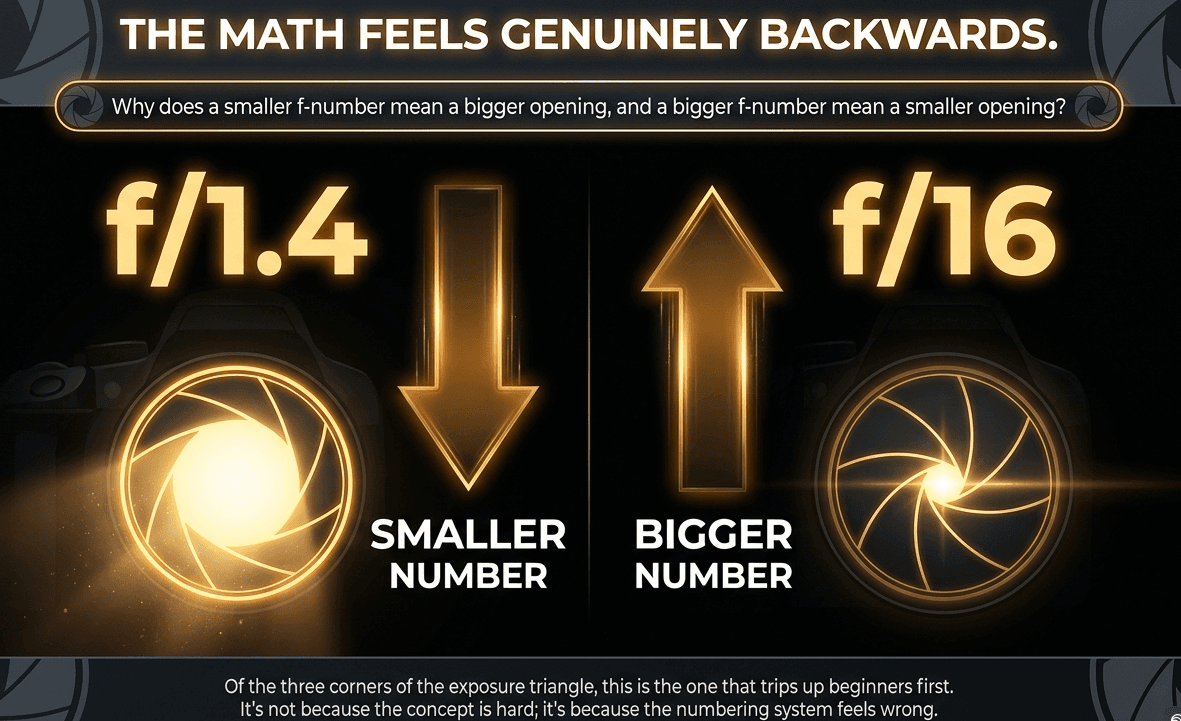
Once that clicks, though, aperture becomes the most creatively powerful control on your camera — the setting most responsible for that soft, professional-looking blurred background you've probably admired in other people's photos.
What aperture physically is
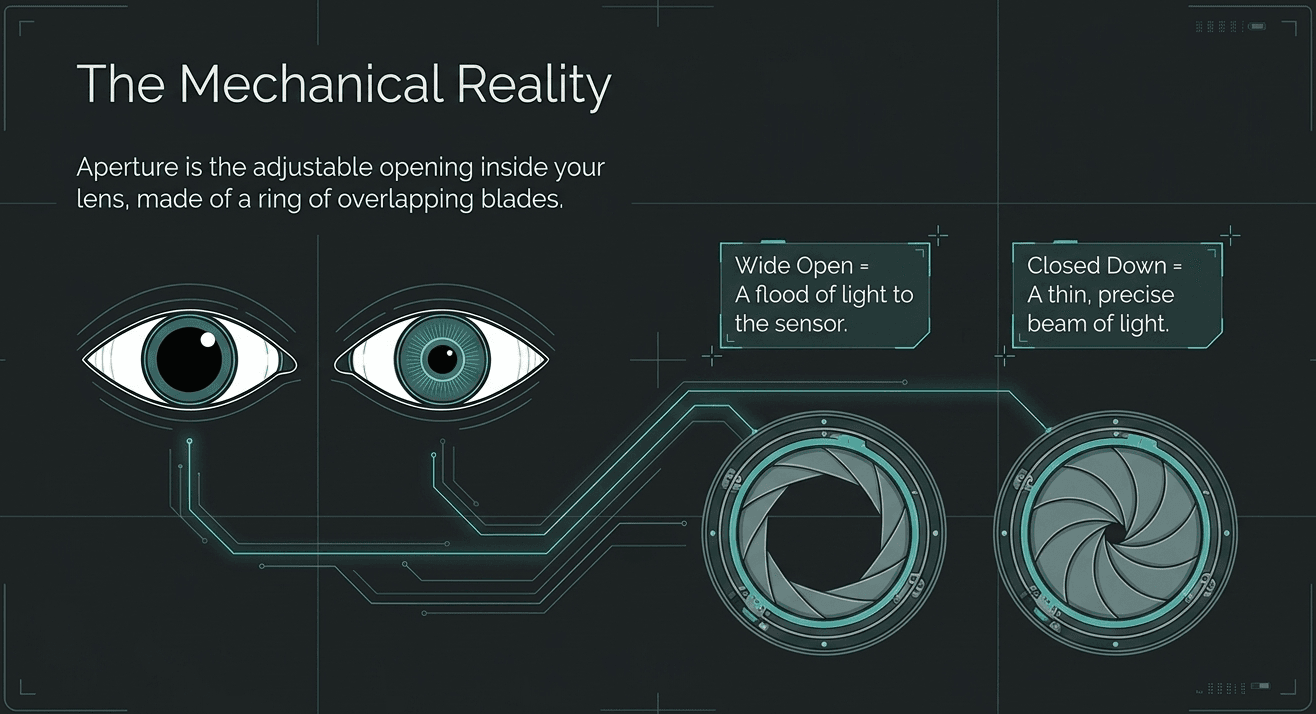
We introduced this back in Module 1: aperture is the adjustable opening inside your lens, made of a ring of thin blades that overlap to form a roughly circular hole. Open it wide, and a large opening lets a flood of light through to the sensor. Close it down, and a narrow opening lets only a thin beam through — the same way your eye's pupil dilates in a dark room and constricts in bright sun.
Why f/1.4 is a bigger opening than f/16 (the part that seems backwards)
Here's the piece that confuses almost every beginner at first: f-stop numbers are fractions. An f-stop is actually shorthand for a ratio — the focal length of the lens divided by the diameter of the aperture opening. So f/1.4 literally means "the opening's diameter is the focal length divided by 1.4" — a fairly large fraction of the lens's width. f/16 means "the opening's diameter is the focal length divided by 16" — a much smaller sliver.
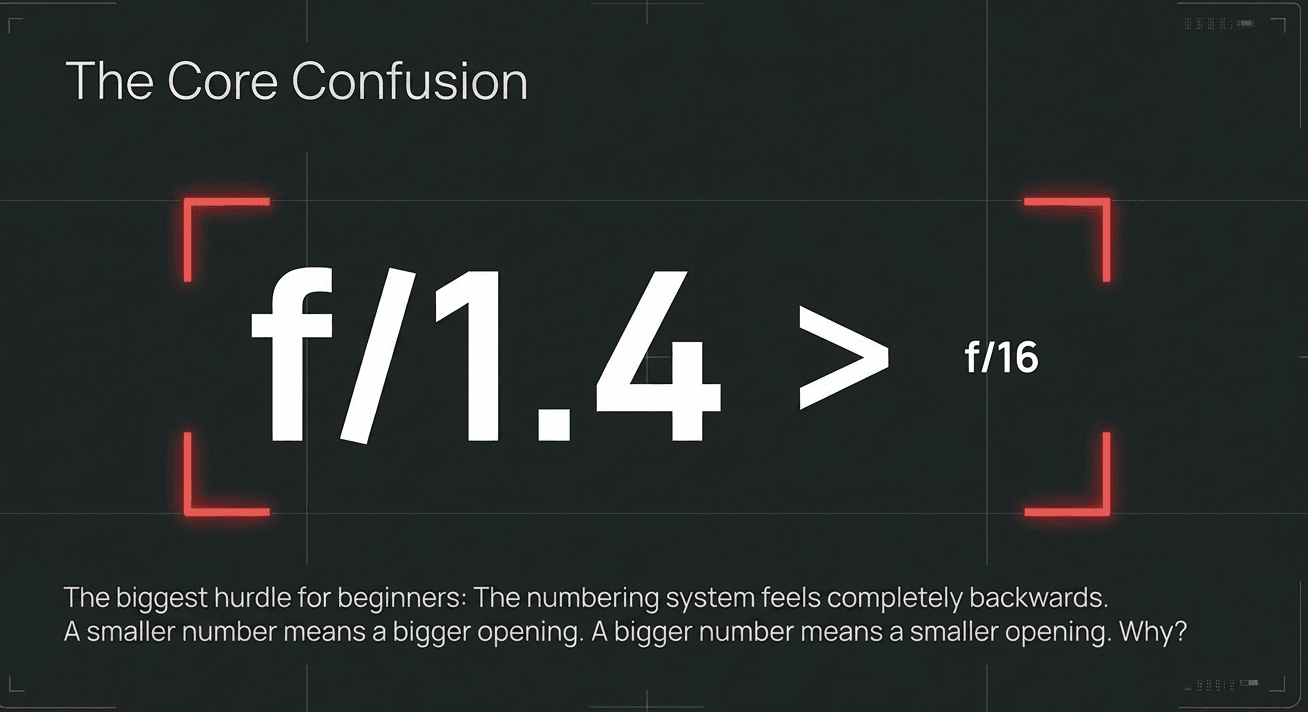
Think of it the same way you'd think about fractions of a rupee: 1/2 of something is a bigger portion than 1/16 of the same thing. f/1.4 is a "bigger fraction" of the lens opening than f/16, exactly the same logic.
The rule of thumb once this clicks: small f-number = wide open = lots of light. Large f-number = closed down = less light.
What aperture does to exposure
This part is straightforward, and it's the same principle we covered in the last post: a wider aperture (small f-number) lets in more light, brightening your exposure. A narrower aperture (large f-number) lets in less light, darkening your exposure — which is why, if you widen your aperture without changing anything else, your shutter speed or ISO usually needs to compensate to keep the same overall brightness.
What aperture does to depth of field (the more interesting part)
This is where aperture becomes a genuine creative tool rather than just an exposure setting. Depth of field is the zone of your photo, from front to back, that appears acceptably sharp and in focus.
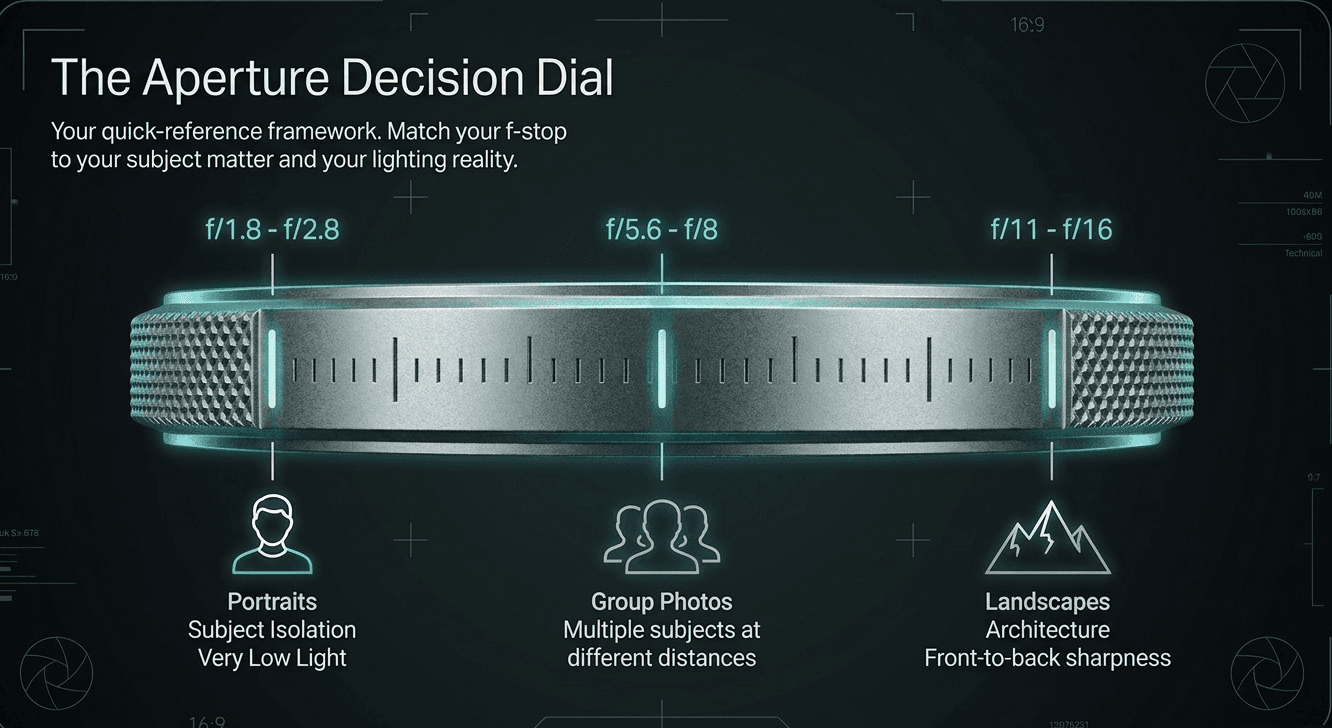
- Wide aperture (f/1.4 to f/2.8): shallow depth of field. Only a thin slice of the scene is sharp — your subject's eyes might be crisp while their ears and the background fall into soft blur. This is what creates that creamy, out-of-focus background photographers call bokeh.
- Narrow aperture (f/11 to f/16): deep depth of field. Almost everything from a few feet away to the far horizon appears sharp, which is exactly why landscape photographers favor narrow apertures.
- Middle apertures (f/4 to f/8): a comfortable middle ground — enough separation from the background to feel intentional, without losing so much depth that context disappears entirely.
Real examples: same subject, different aperture

Example 1 — Portrait at Zyamaru's studio in Tahachal: Shooting a student headshot at f/1.8 with a 50mm lens throws the background completely out of focus — a plain wall behind them dissolves into smooth color and light, putting all visual attention on the subject's face. Shoot the exact same setup at f/11, and suddenly the wall's texture, any props, and background clutter all become distractingly sharp and competing for attention.
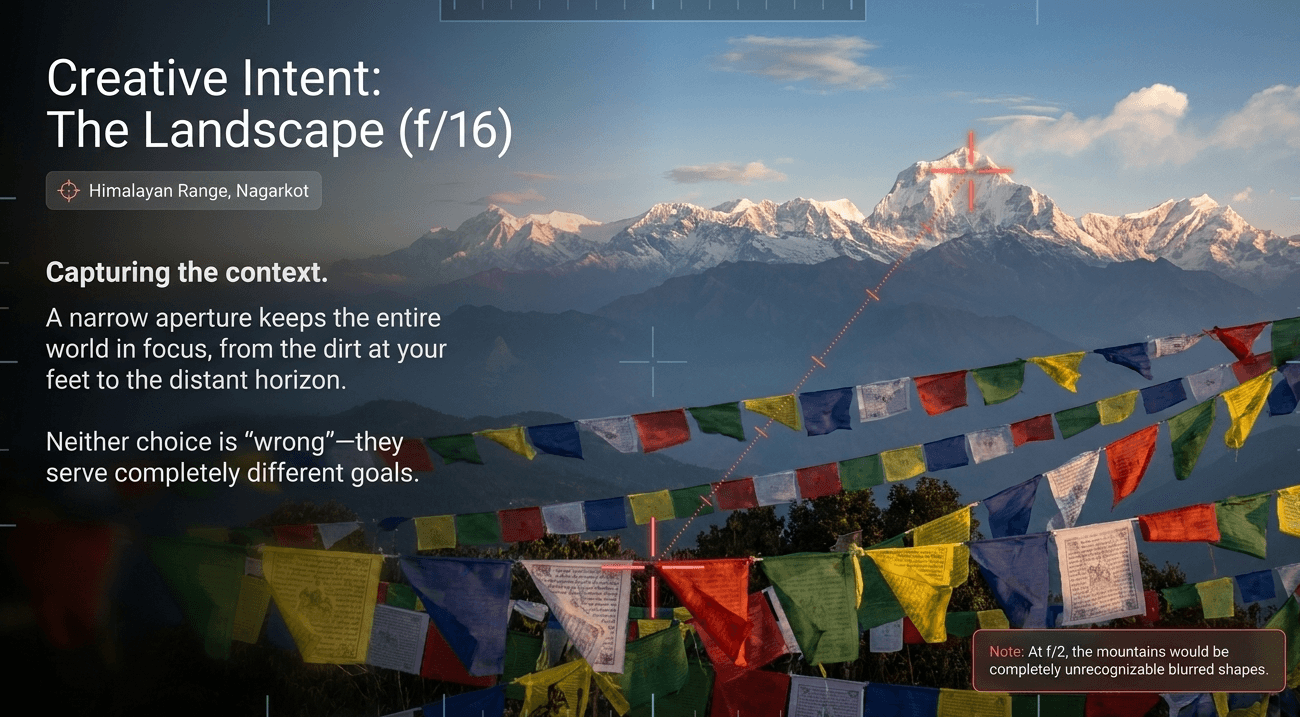
Example 2 — Landscape at Nagarkot at sunrise: Photographing the Himalayan range with a foreground of prayer flags at f/16 keeps both the flags in the foreground and the distant mountains sharp and detailed — exactly what a landscape shot needs. Shoot that same view at f/2, and only the prayer flags stay sharp while the mountains behind them blur into soft, unrecognizable shapes.
Neither aperture is "wrong" — they're simply suited to completely different creative goals.
Aperture also affects lens sharpness (a subtler effect)
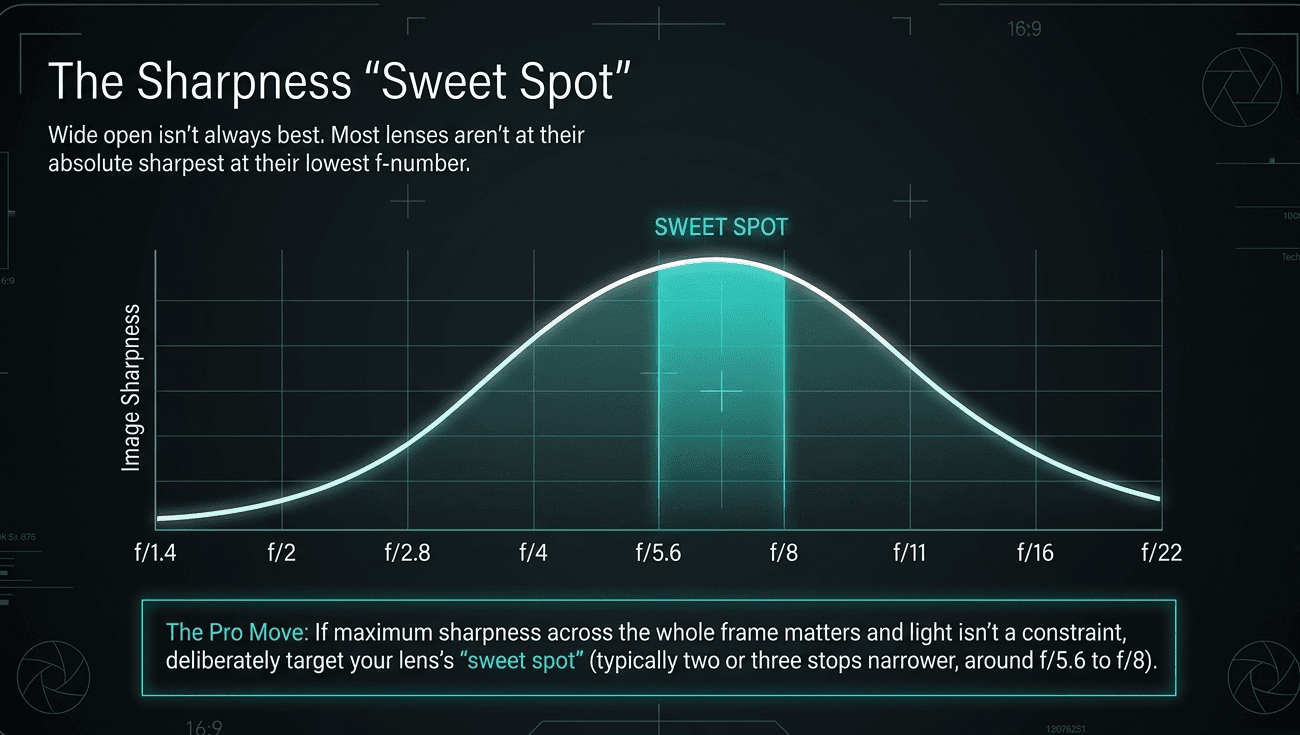
Most lenses aren't at their absolute sharpest wide open at their lowest f-number — there's typically a "sweet spot," often two or three stops narrower (for example, f/5.6 to f/8 on a lens whose widest aperture is f/1.8), where the lens produces its crispest image quality. This is a more advanced consideration, but worth knowing: if you're ever shooting something where maximum sharpness across the whole frame matters and light isn't a constraint, that sweet spot is often worth targeting deliberately.
A common beginner mistake: chasing blur for its own sake
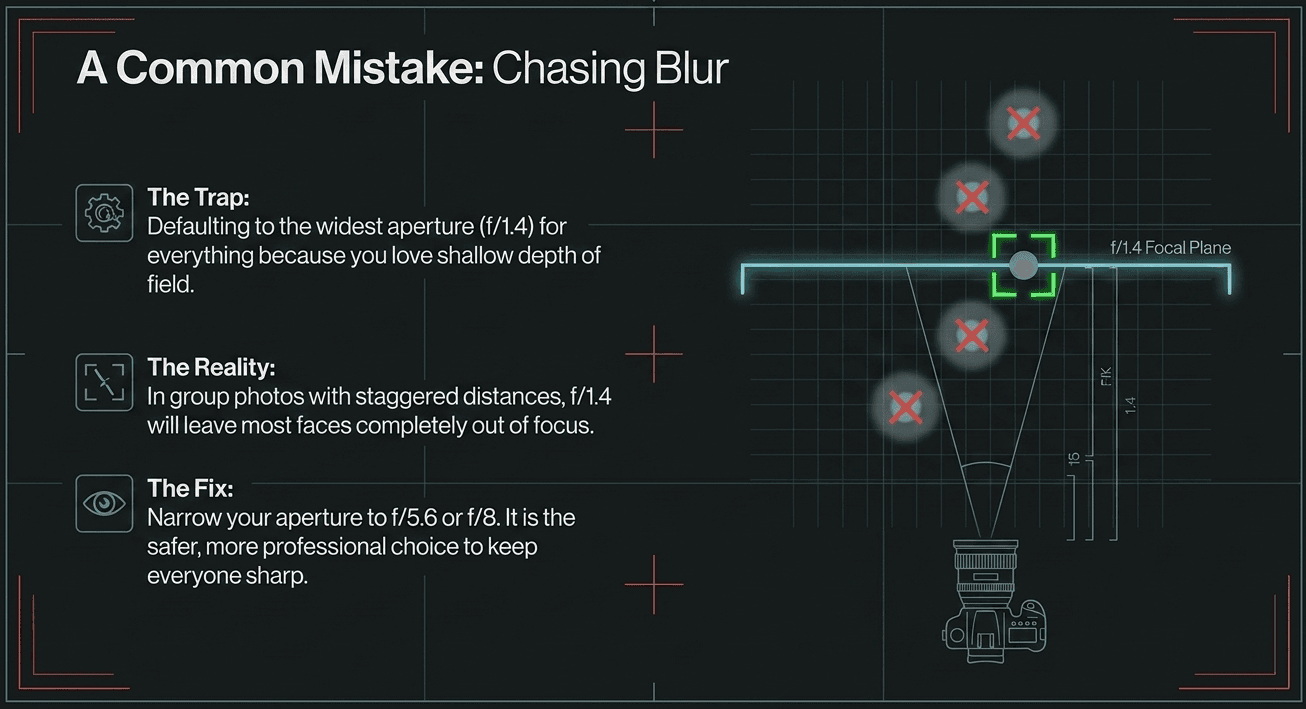
New students often fall in love with shallow depth of field and default to their widest aperture for everything, including group photos and situations where multiple people or objects need to stay sharp. Shoot a group of five people standing at different distances from the camera at f/1.4, and you'll likely get one sharp face while the others fall out of focus. For multiple subjects at varying distances, narrowing your aperture to around f/5.6 or f/8 is usually the safer, more professional choice.
How to choose your aperture: a quick decision guide
- Portraits, product shots, anything where isolating one subject matters: start around f/1.8 to f/2.8
- Group photos, multiple subjects at different distances: f/5.6 to f/8
- Landscapes, architecture, anything needing front-to-back sharpness: f/11 to f/16
- Very low light, and depth of field isn't your priority: open as wide as your lens allows, and let ISO or shutter speed absorb the rest of the exposure adjustment
What comes next in this module
- Shutter Speed Explained — freezing motion vs creating intentional motion blur
- ISO Demystified — when to push it, and when to keep it low
- How to Read a Histogram and Common Exposure Mistakes Beginners Make round out this module
Master aperture and depth of field hands-on at Zyamaru Films Academy
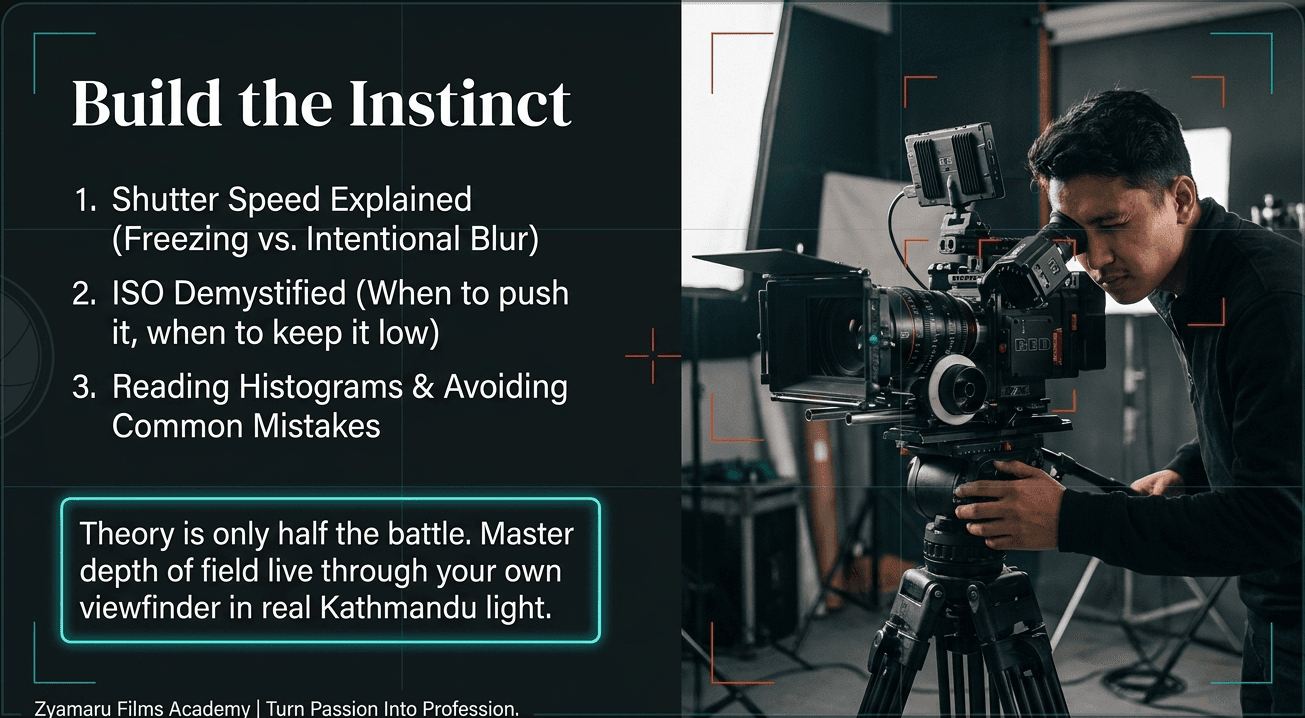
Seeing depth of field described is one thing — watching it change live through your own viewfinder as you adjust the aperture ring, on your own subject, in real Kathmandu light, is what actually builds the instinct. That's core to the hands-on sessions in our Basic Photography to Cinematography course at Zyamaru Films Academy in Tahachal, taught by an industry-active cinematographer with access to a full range of professional lenses through our gear store and studio.
Turn Passion Into Profession.
Frequently asked questions
Why does a smaller f-number mean a bigger aperture opening?
Because f-stop numbers are fractions of the lens's focal length, not direct measurements. A smaller denominator (like 1.4) represents a larger fraction of the opening than a larger denominator (like 16), the same way one-half is a bigger portion than one-sixteenth.
What's the best aperture for a beginner to practice with?
Something in the f/4 to f/5.6 range is a forgiving starting point — wide enough to see some background separation, but narrow enough to keep a whole subject reliably in focus while you're still learning.
Does a wider aperture always mean a better photo?
No. A wide aperture is a strong creative tool for isolating a single subject, but it's the wrong choice for group shots, landscapes, or anything needing front-to-back sharpness, where a narrower aperture is actually the better technical decision.